
Chain oiler for the Honda NC750X
3 installation reports for this model
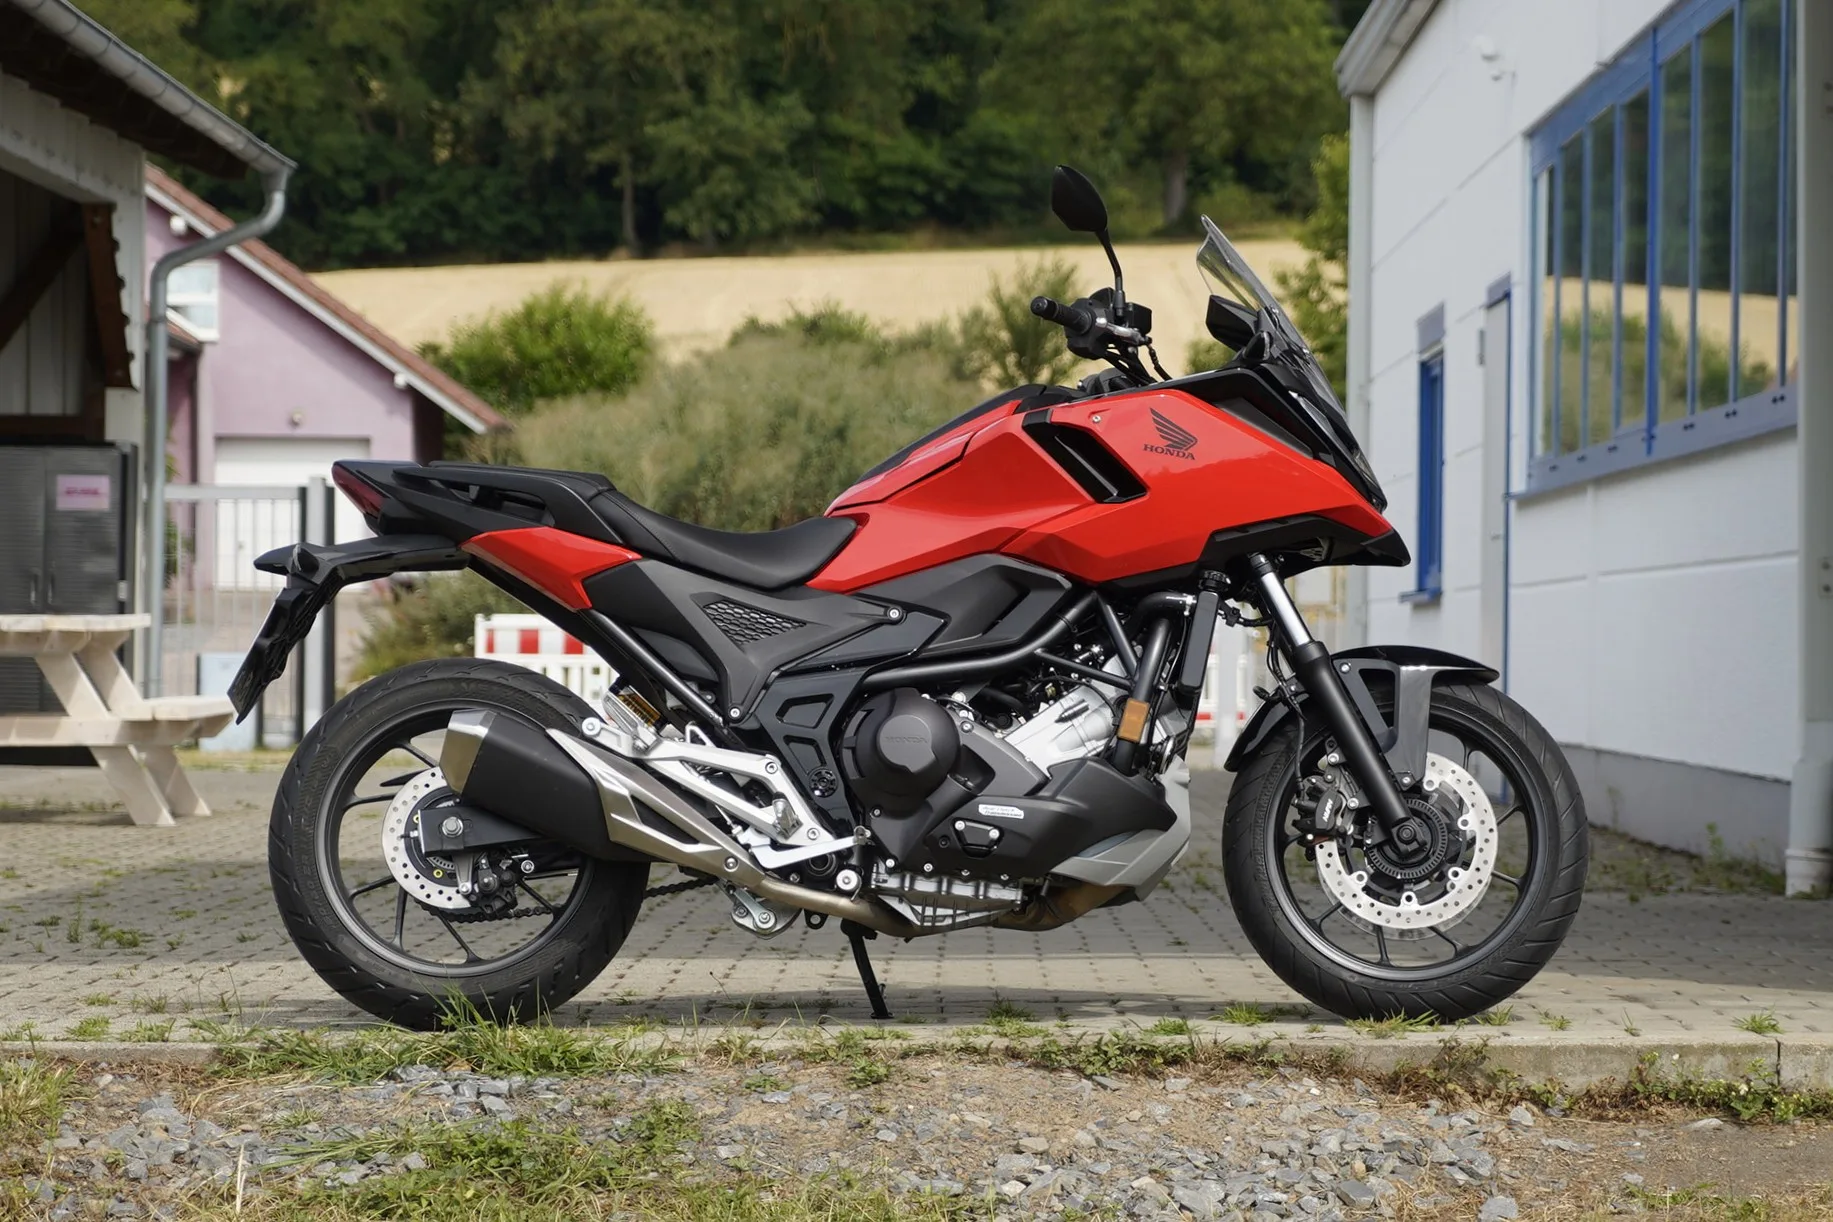
Installation report by SK
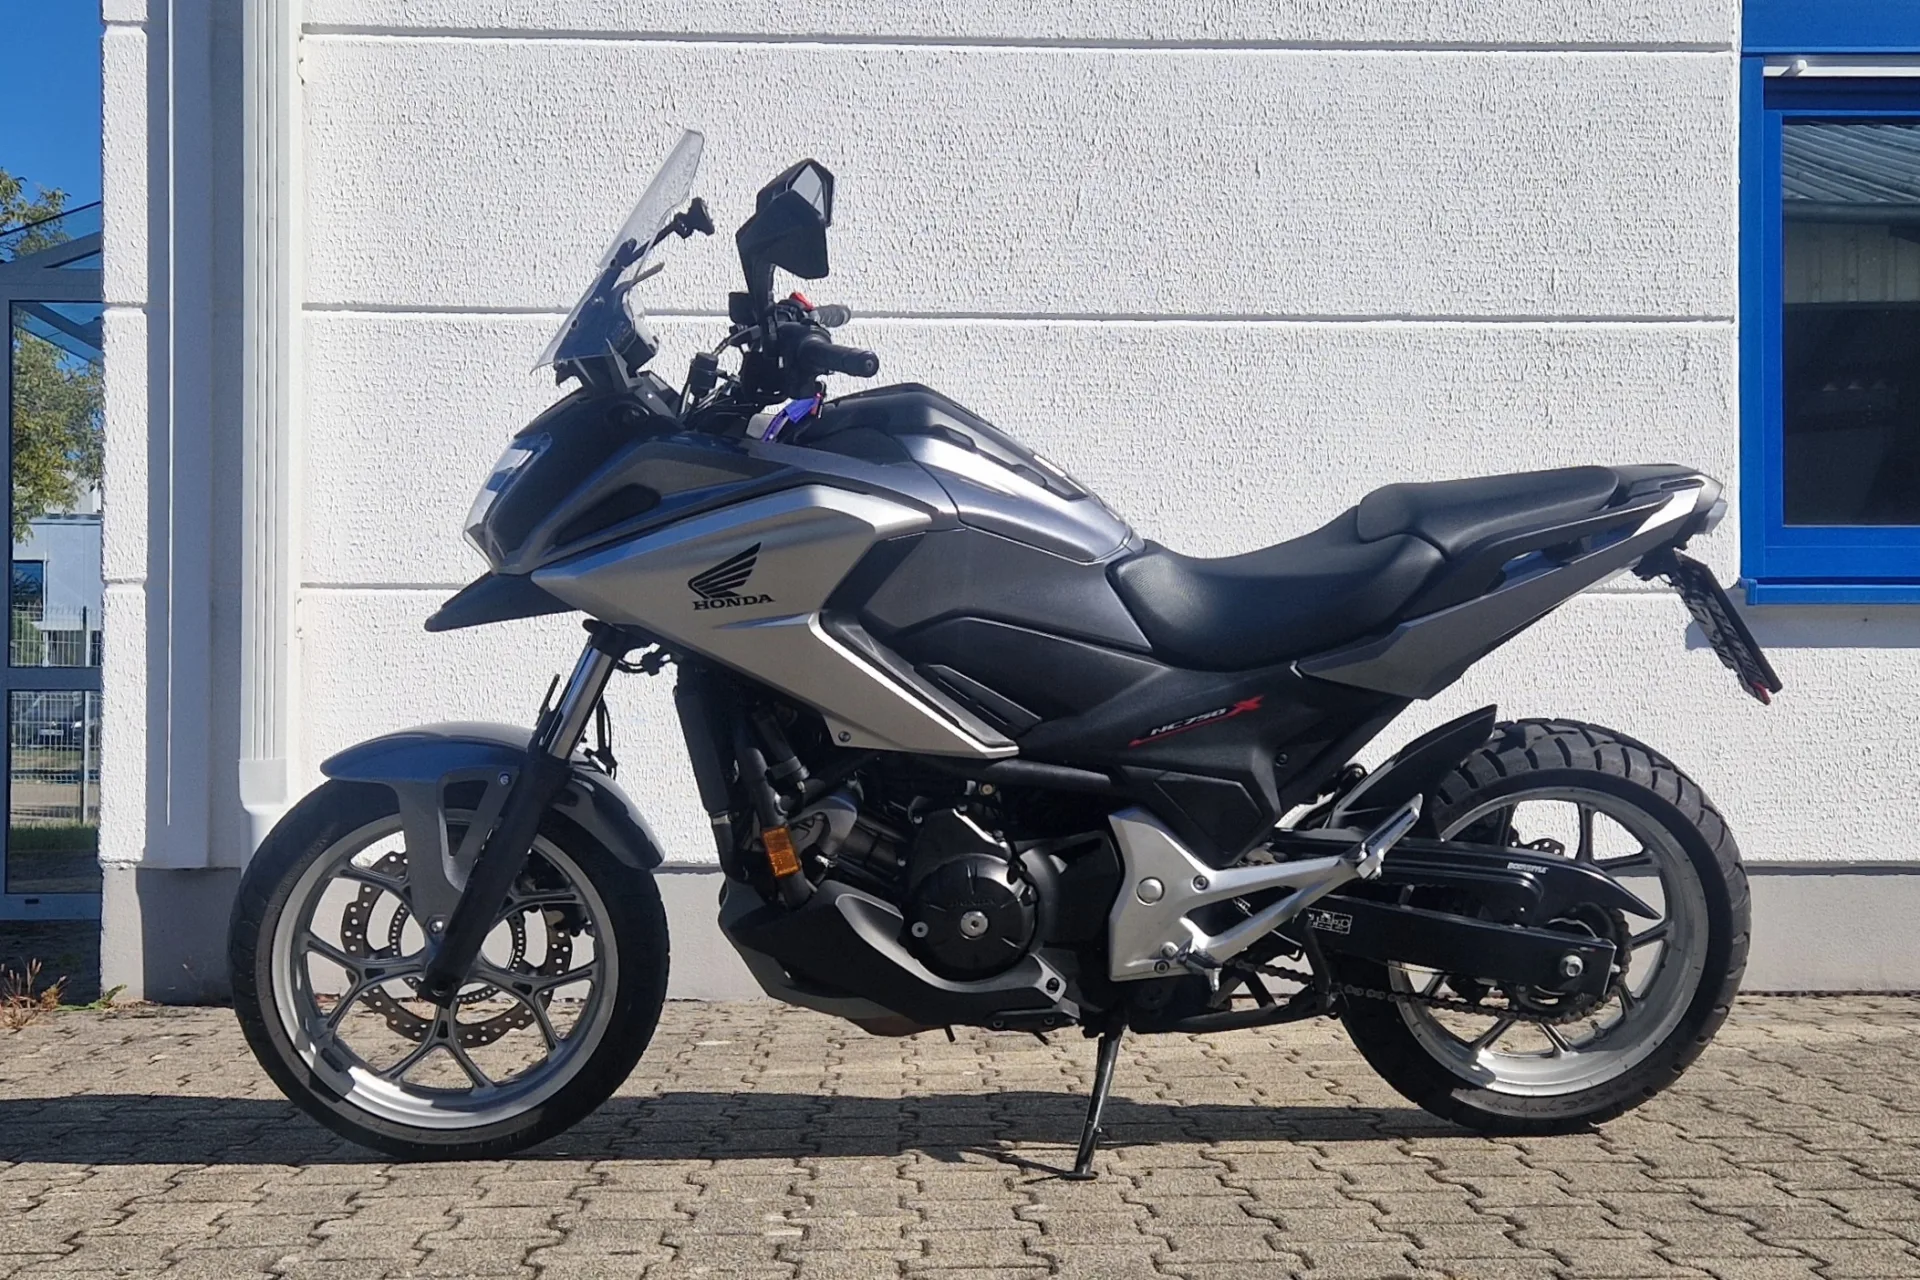
Honda NC750X – year of manufacture 2025
This is how SK solved the installation – unfortunately we cannot guarantee that it works correctly, as we were not able to check the installation ourselves.
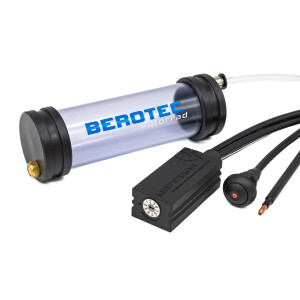
Oil reservoir 60 ml
On the left-hand side of the subframe

Metering valve
On the left-hand side of the frame, behind the side panel. The supplied stainless steel bracket was used.

Nozzle
At the rear sprocket, outer side.

Switched 12 V supply
Connected at the taillight (brown wire) with a branch connector.

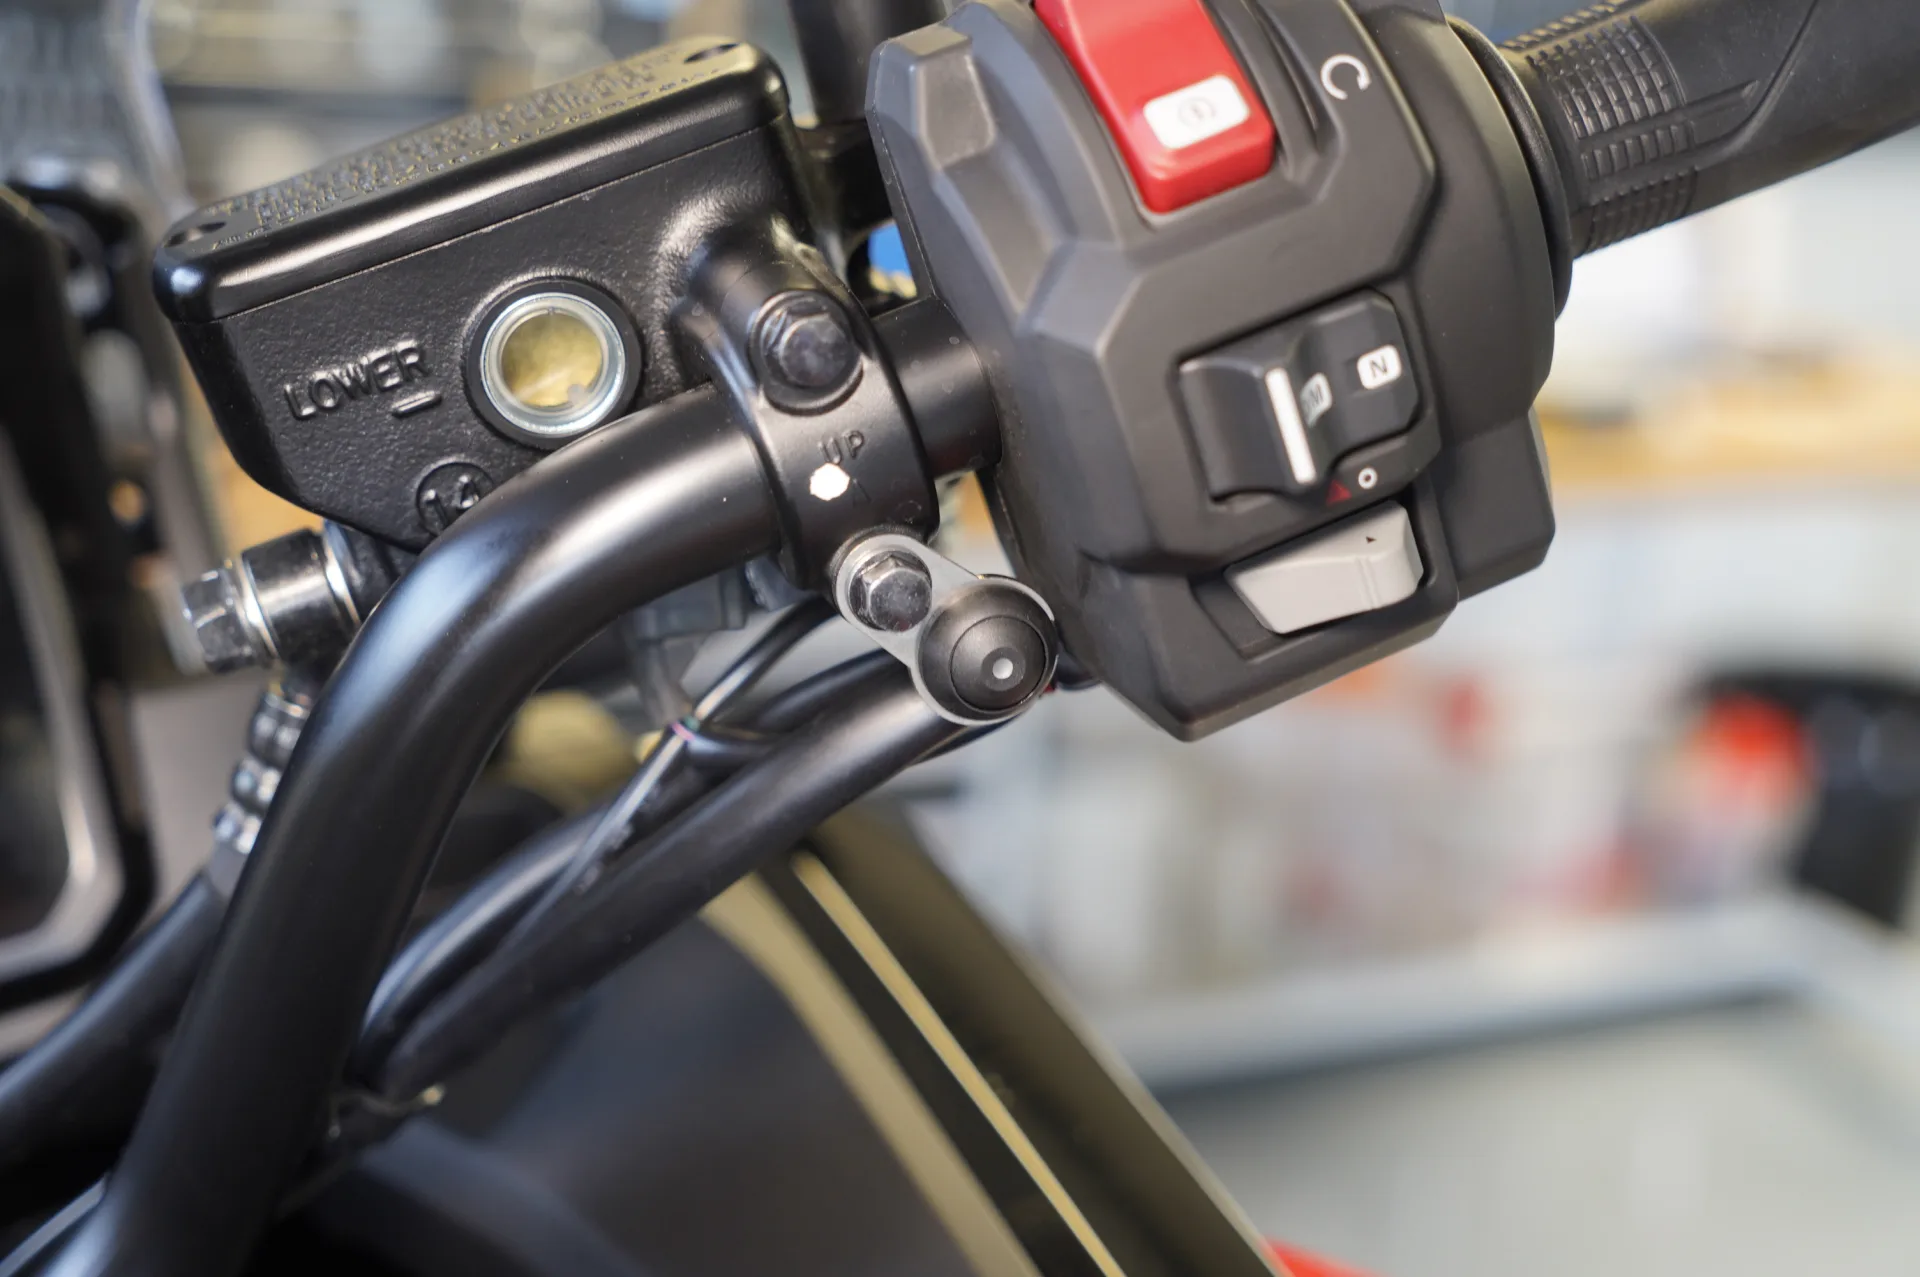
Rain switch
On the right-hand side of the handlebar
Control unit
Under the pillion seat.

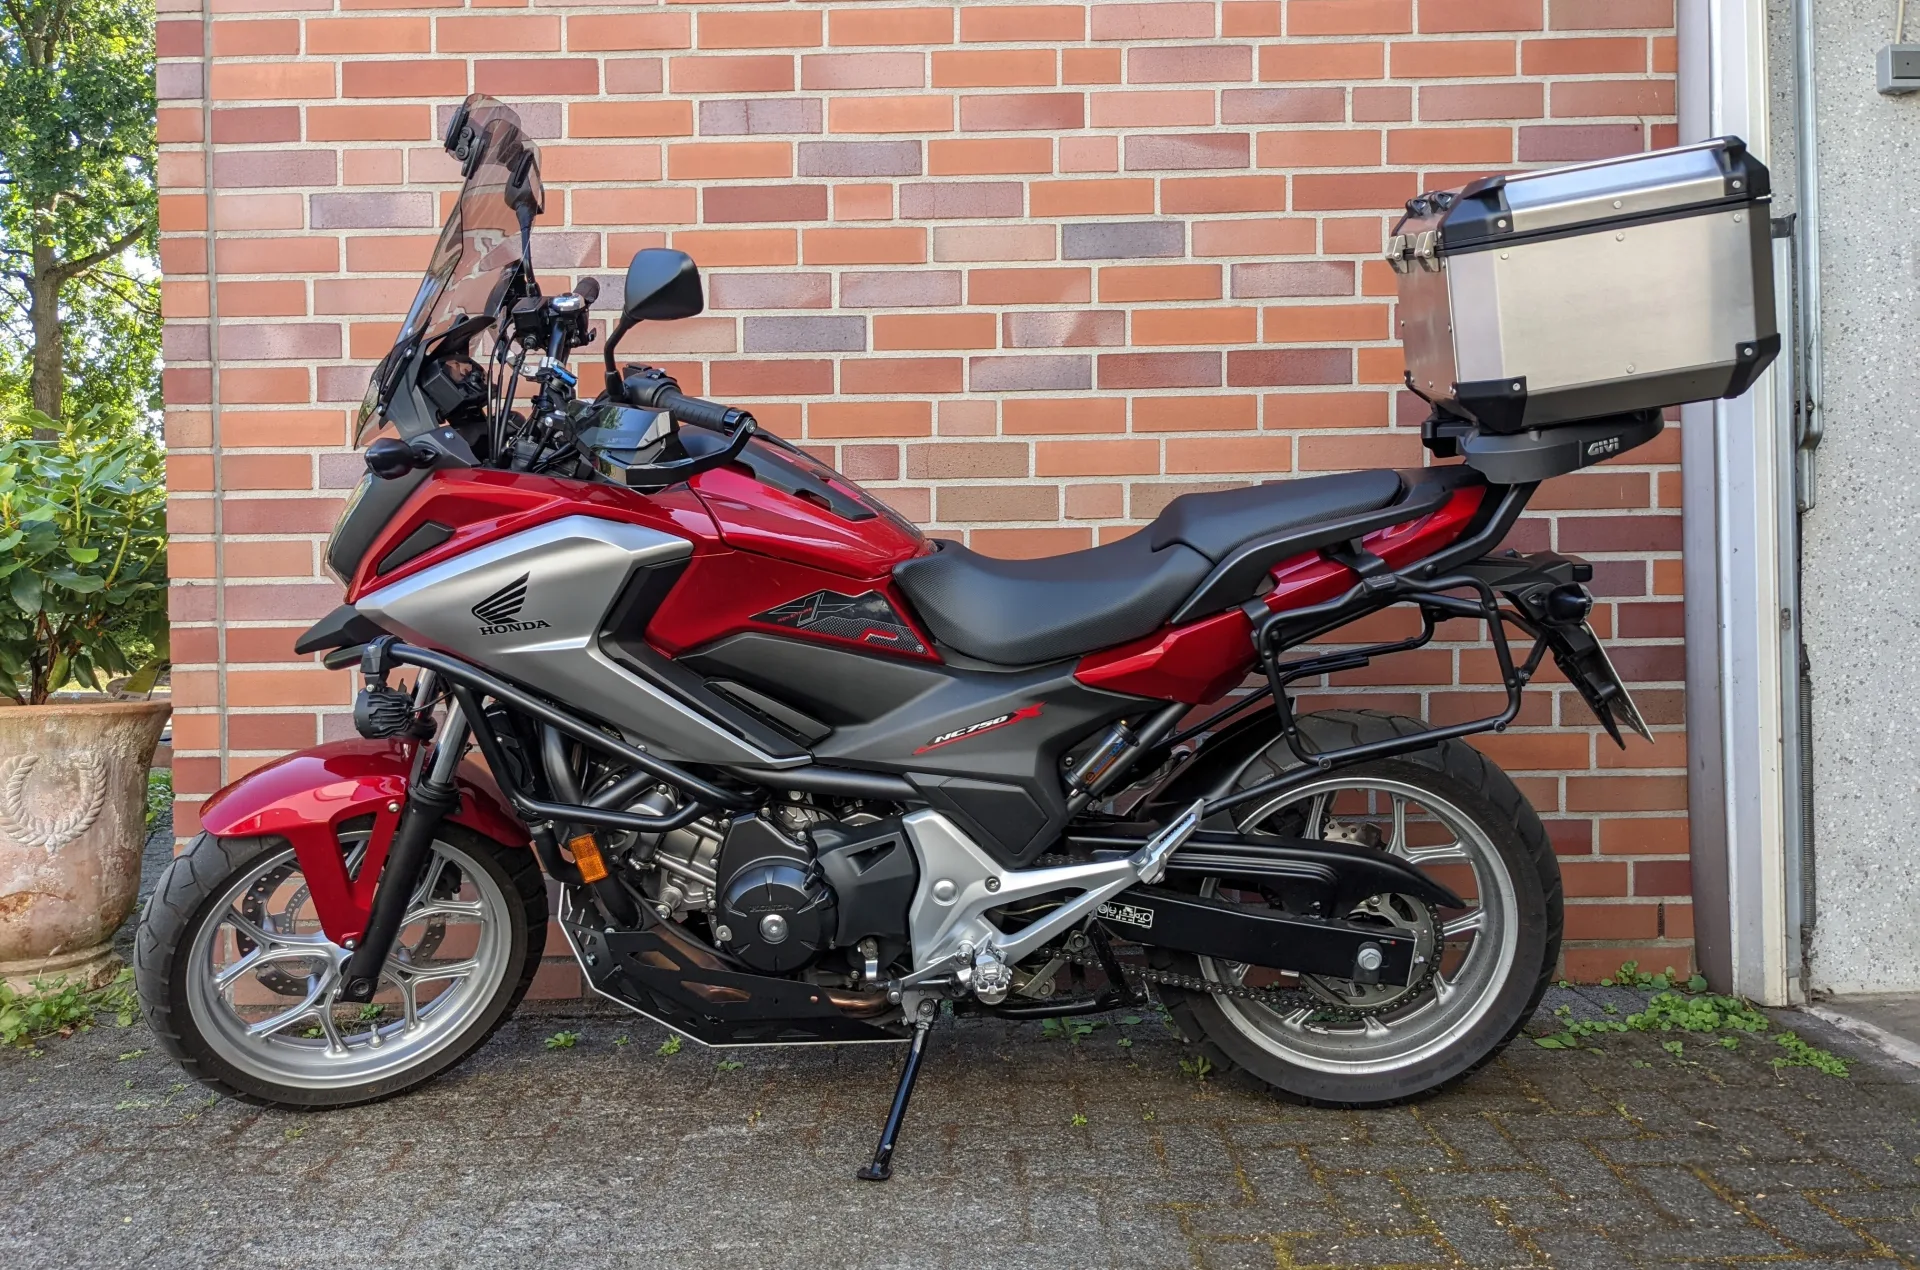
Installation report by Felix
Honda NC750X – year of manufacture 2017
This is how Felix solved the installation – unfortunately we cannot guarantee that it works correctly, as we were not able to check the installation ourselves.
Oil reservoir 60 ml
In the recess of the left side panel. The reservoir filling runs from the T-piece behind the panel, near the metering valve, up to the filler cap under the pillion seat. The upper fixing point of the reservoir consists of two cable ties, as a cross member is welded in behind the tube there.

Metering valve
Behind the side panel on the left, on a bracket with a cable tie. A larger piece of foam rubber behind the valve as additional protection.

Nozzle
At the rear sprocket, outer side, centre/bottom. Hose routed along under the swingarm, brought out sideways ahead of the chain slider and led under the footpeg mount towards the metering valve.

Switched 12 V supply
Caution! In my case there was NO switched positive at the horn, but permanent ground with the positive switched via the horn button. The switched positive was tapped with a soldered joint at the 12 V socket in the helmet compartment (optional original accessory) on the left side (red circle).

Rain switch
On the right-hand side of the handlebar (because on the left there was no room, due to the heated grips)

Control unit
Above the battery, behind the cover in the helmet compartment.

Installation report by Dirk
Honda NC750X – year of manufacture 2017
This is how Dirk solved the installation – unfortunately we cannot guarantee that it works correctly, as we were not able to check the installation ourselves.

Oil reservoir 60 ml
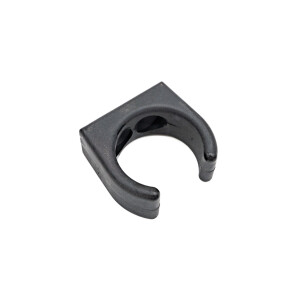
Oil reservoir secured to the front of the frame with a mounting clamp. The reservoir rests on the lower strut. Foam tape fitted between reservoir and frame for protection.


Metering valve
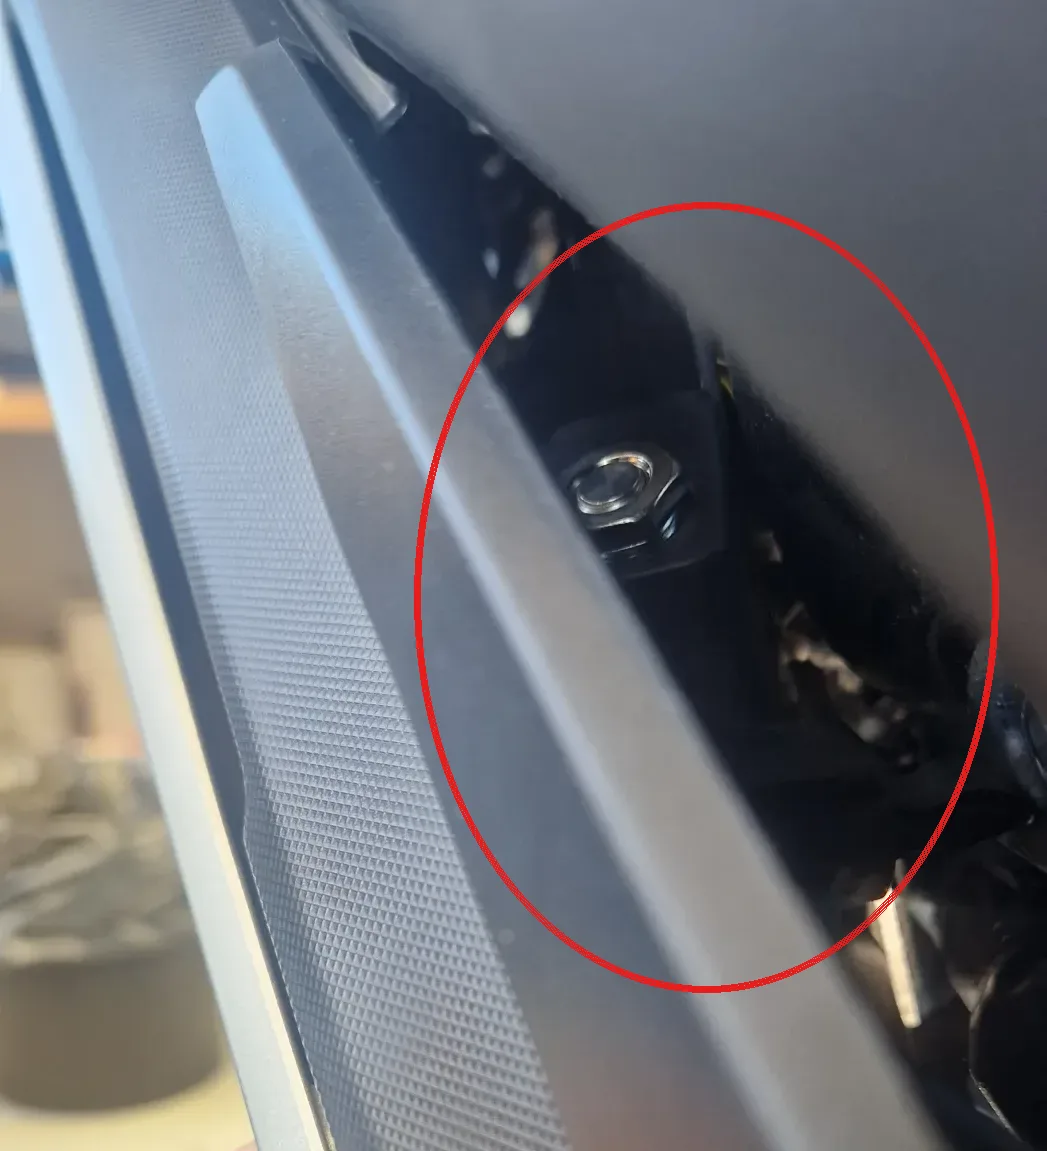
The metering valve was secured to the left-hand frame behind the fairing using the mounting bracket. The bracket is attached to the frame with cable ties; the valve sits upright on it.


Nozzle
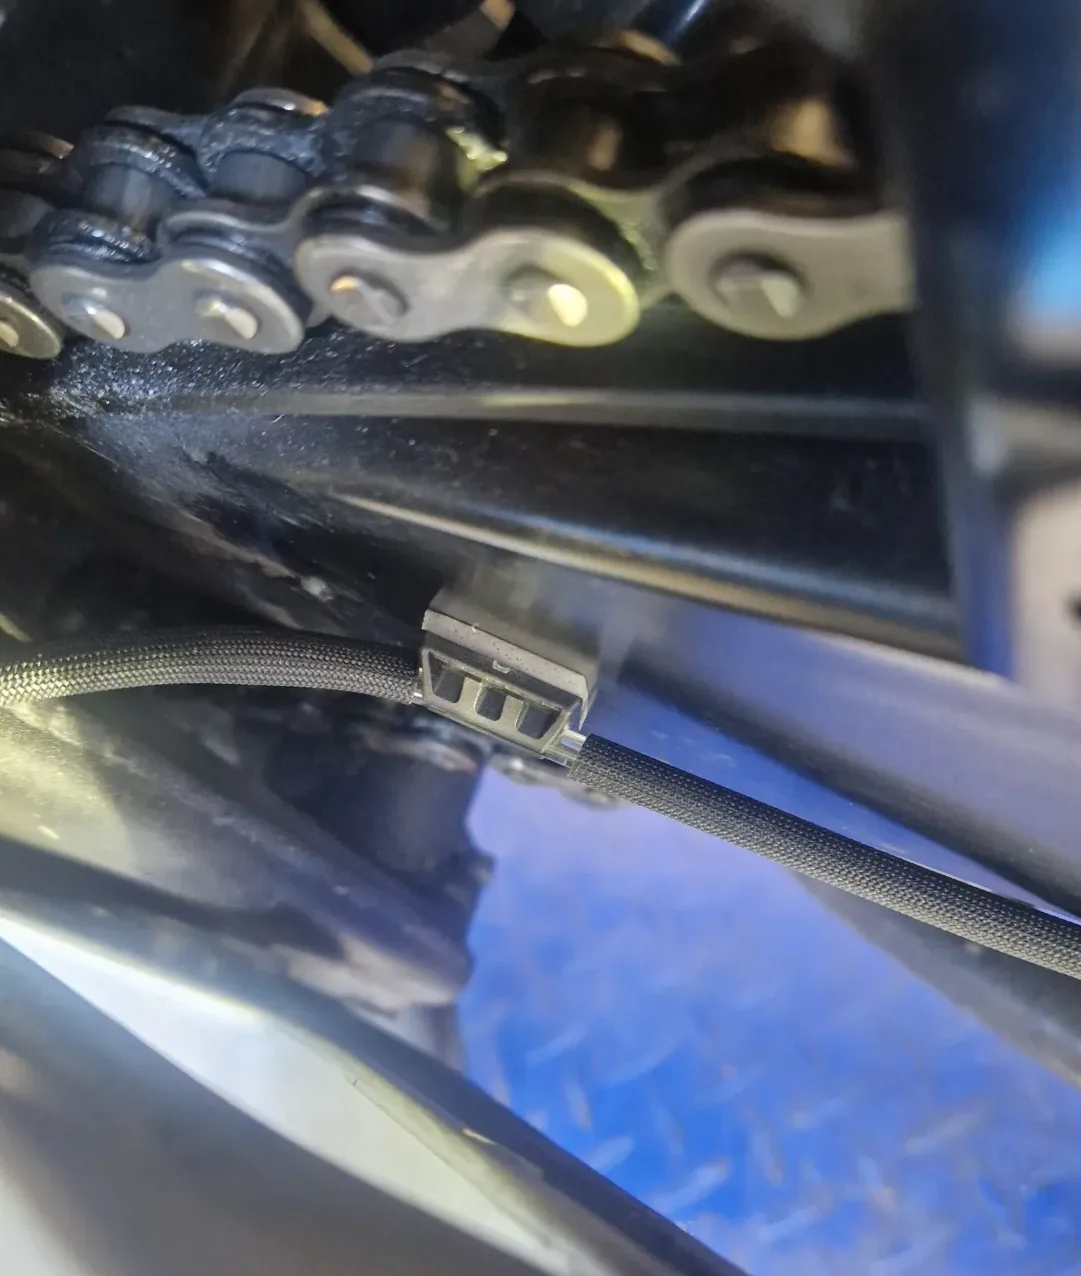
Coming from the metering valve, the oil line was routed along the frame and the swingarm to the rear sprocket. There the nozzle applies the oil.


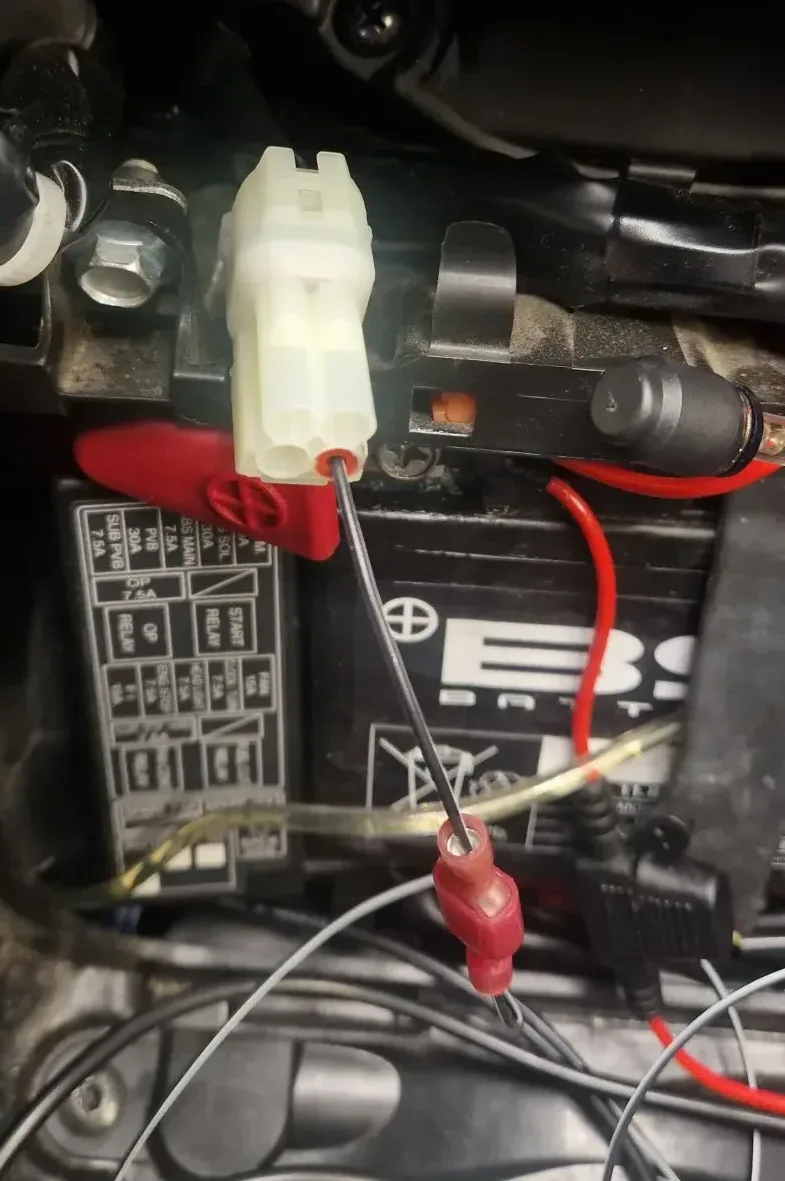
Switched 12 V supply
The switched 12 V supply was taken from the diagnostic port next to the battery.
Rain switch
Rain switch on the right-hand side of the handlebar.

Control unit
Control unit, filler neck and cables stowed above the battery.

Have you fitted a MOFESSOR? Contribute your own installation report – directly here, with your photos.


