
Chain oiler for the KTM 1190 Adventure R
2 installation reports for this model

Installation report by Stephan
KTM 1190 Adventure R – year of manufacture 2015
This is how Stephan solved the installation – unfortunately we cannot guarantee that it works correctly, as we were not able to check the installation ourselves.
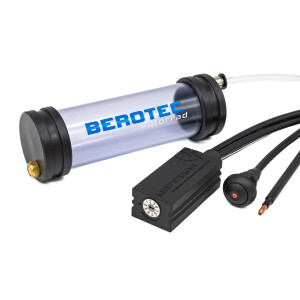
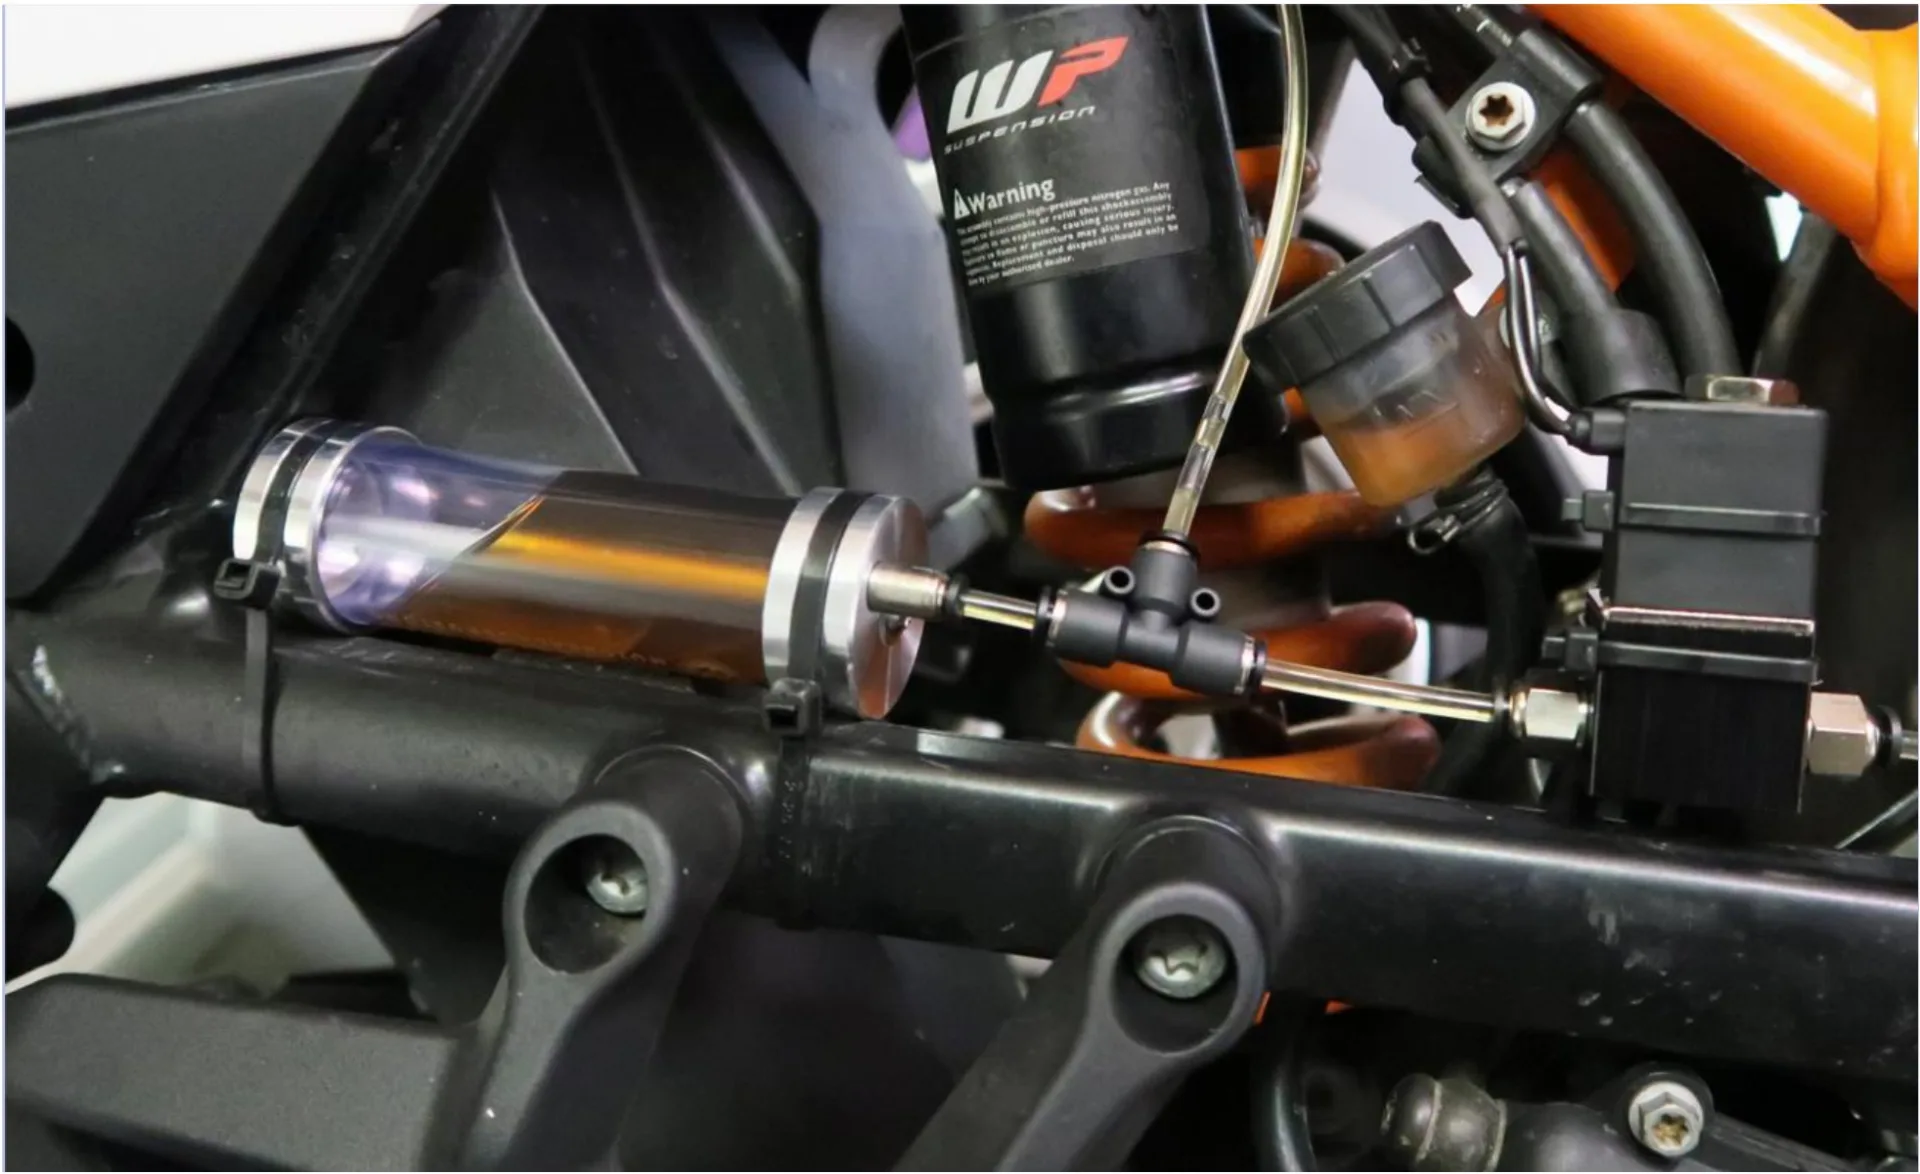
Oil reservoir 60 ml
I placed the oil reservoir on the left under the side cover. There is already a rubber cover there on which the reservoir can be set (with the variable reservoir vent fitted in addition).
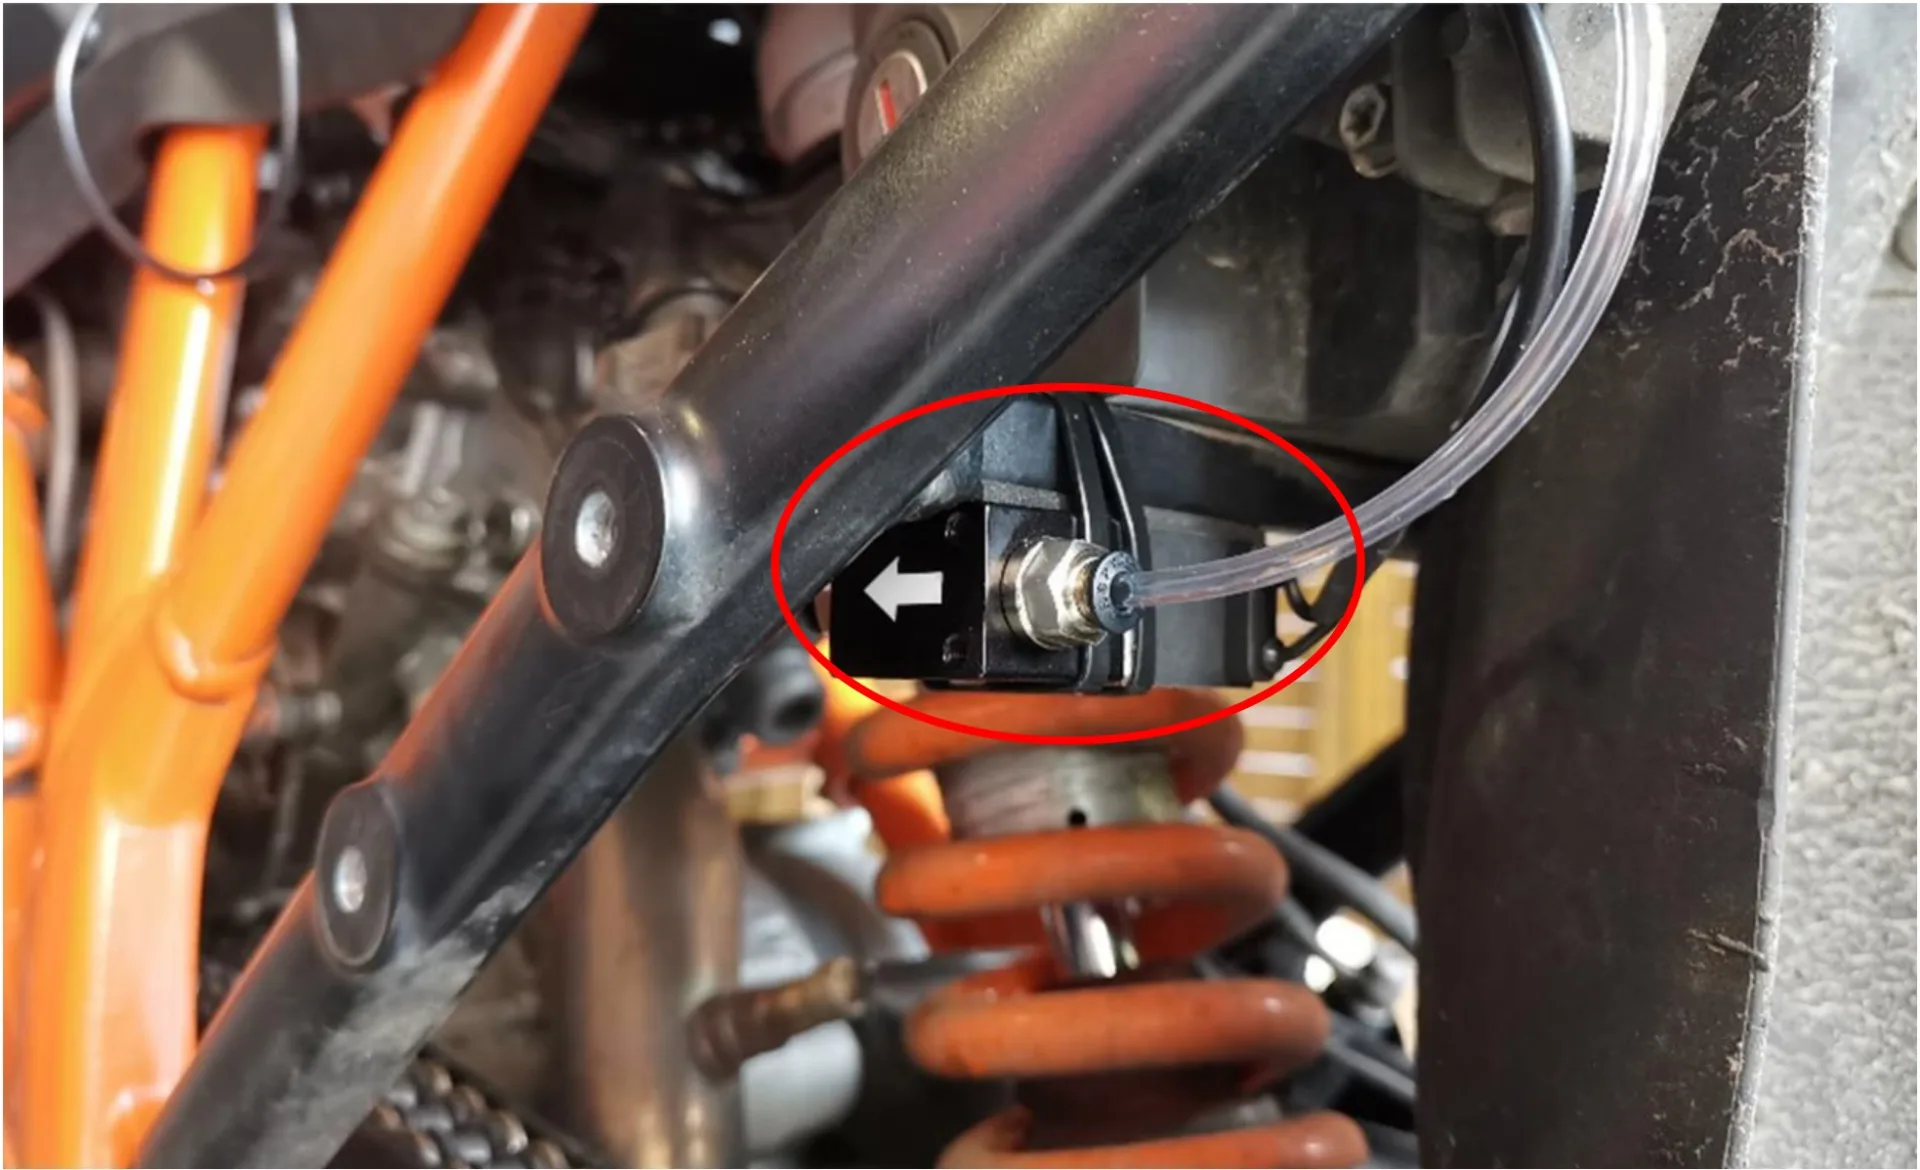
Metering valve
I attached the metering valve to the frame cross brace behind the shock absorber on the left side with a double cable tie. Between the valve and the frame I stuck the supplied foam rubber padding, which I cut to size.
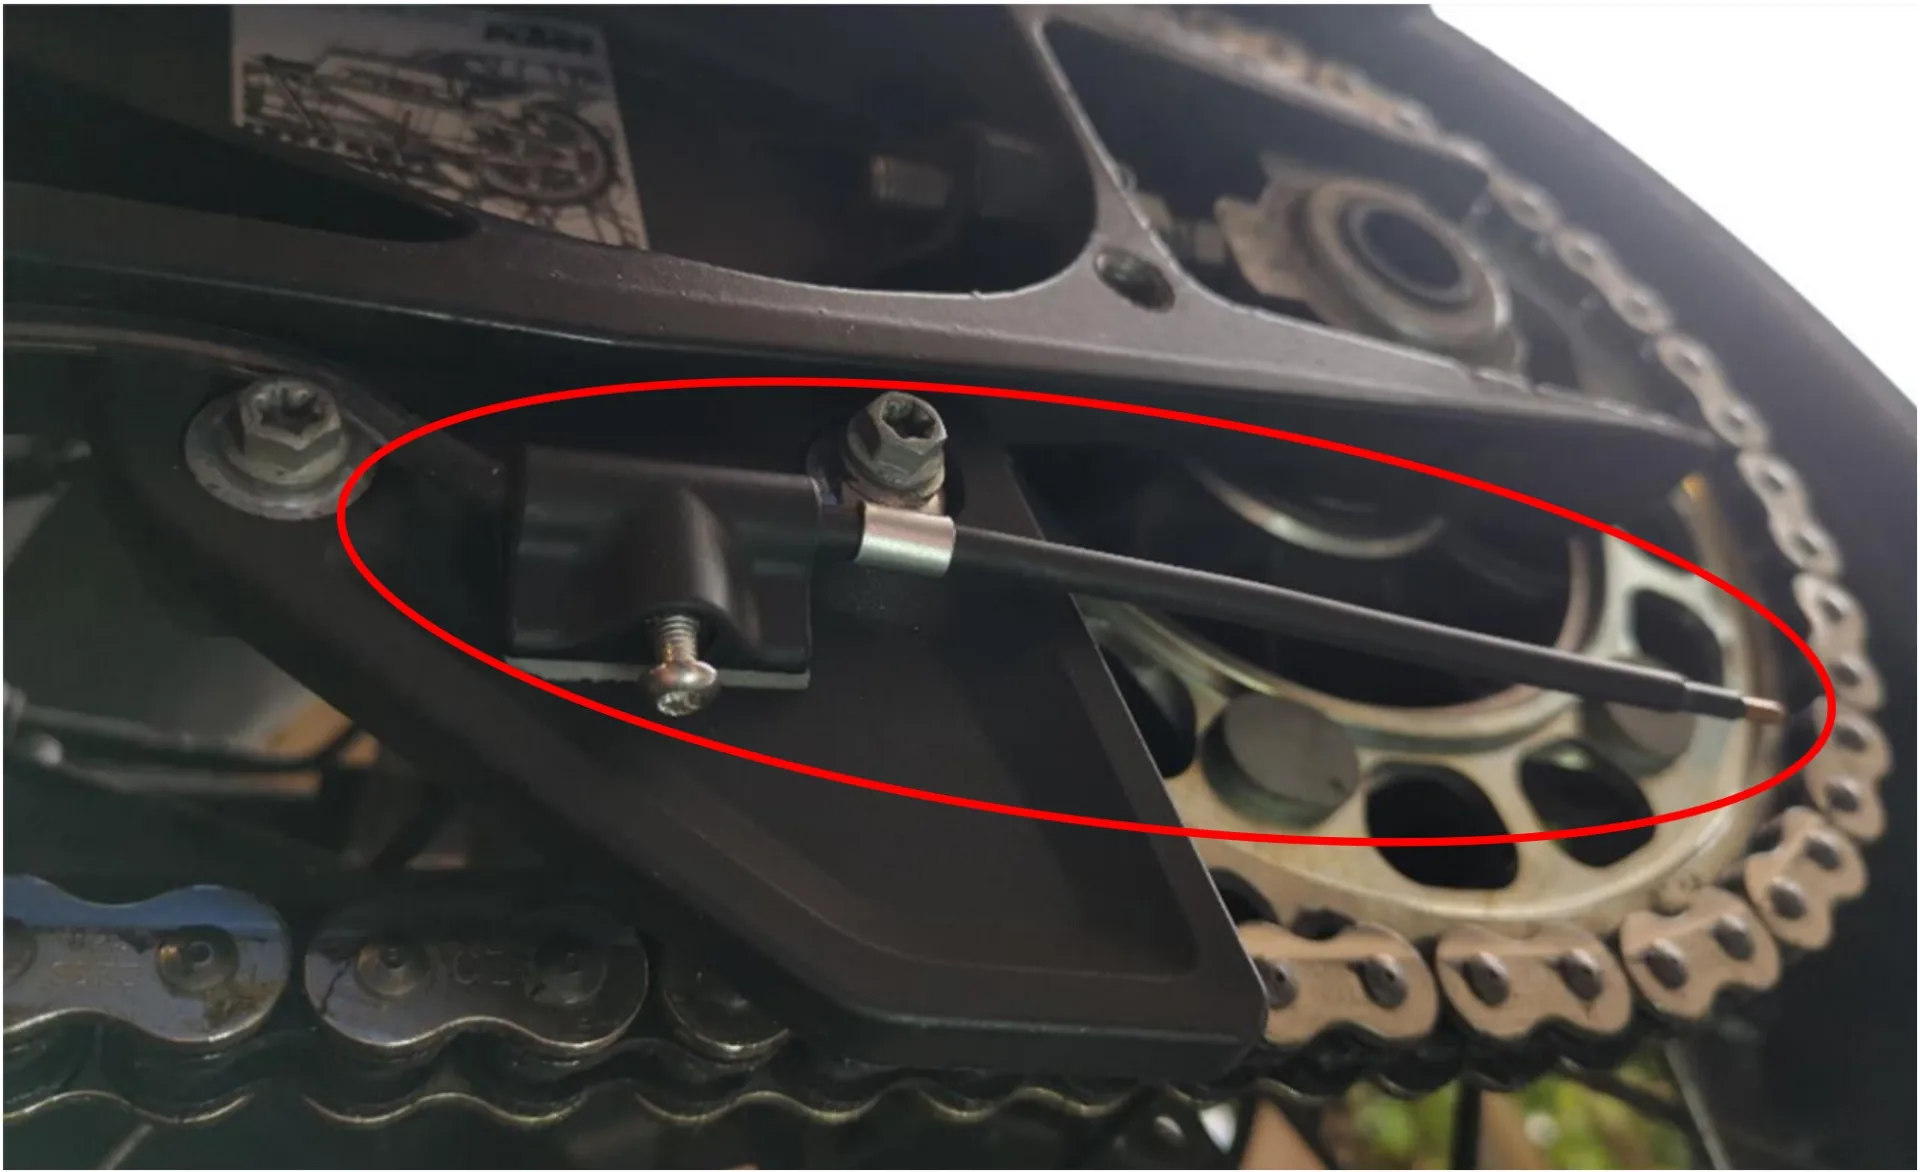
Nozzle
At the rear sprocket, outer side (nozzle bracket plus the aluminium clamp used for mounting)
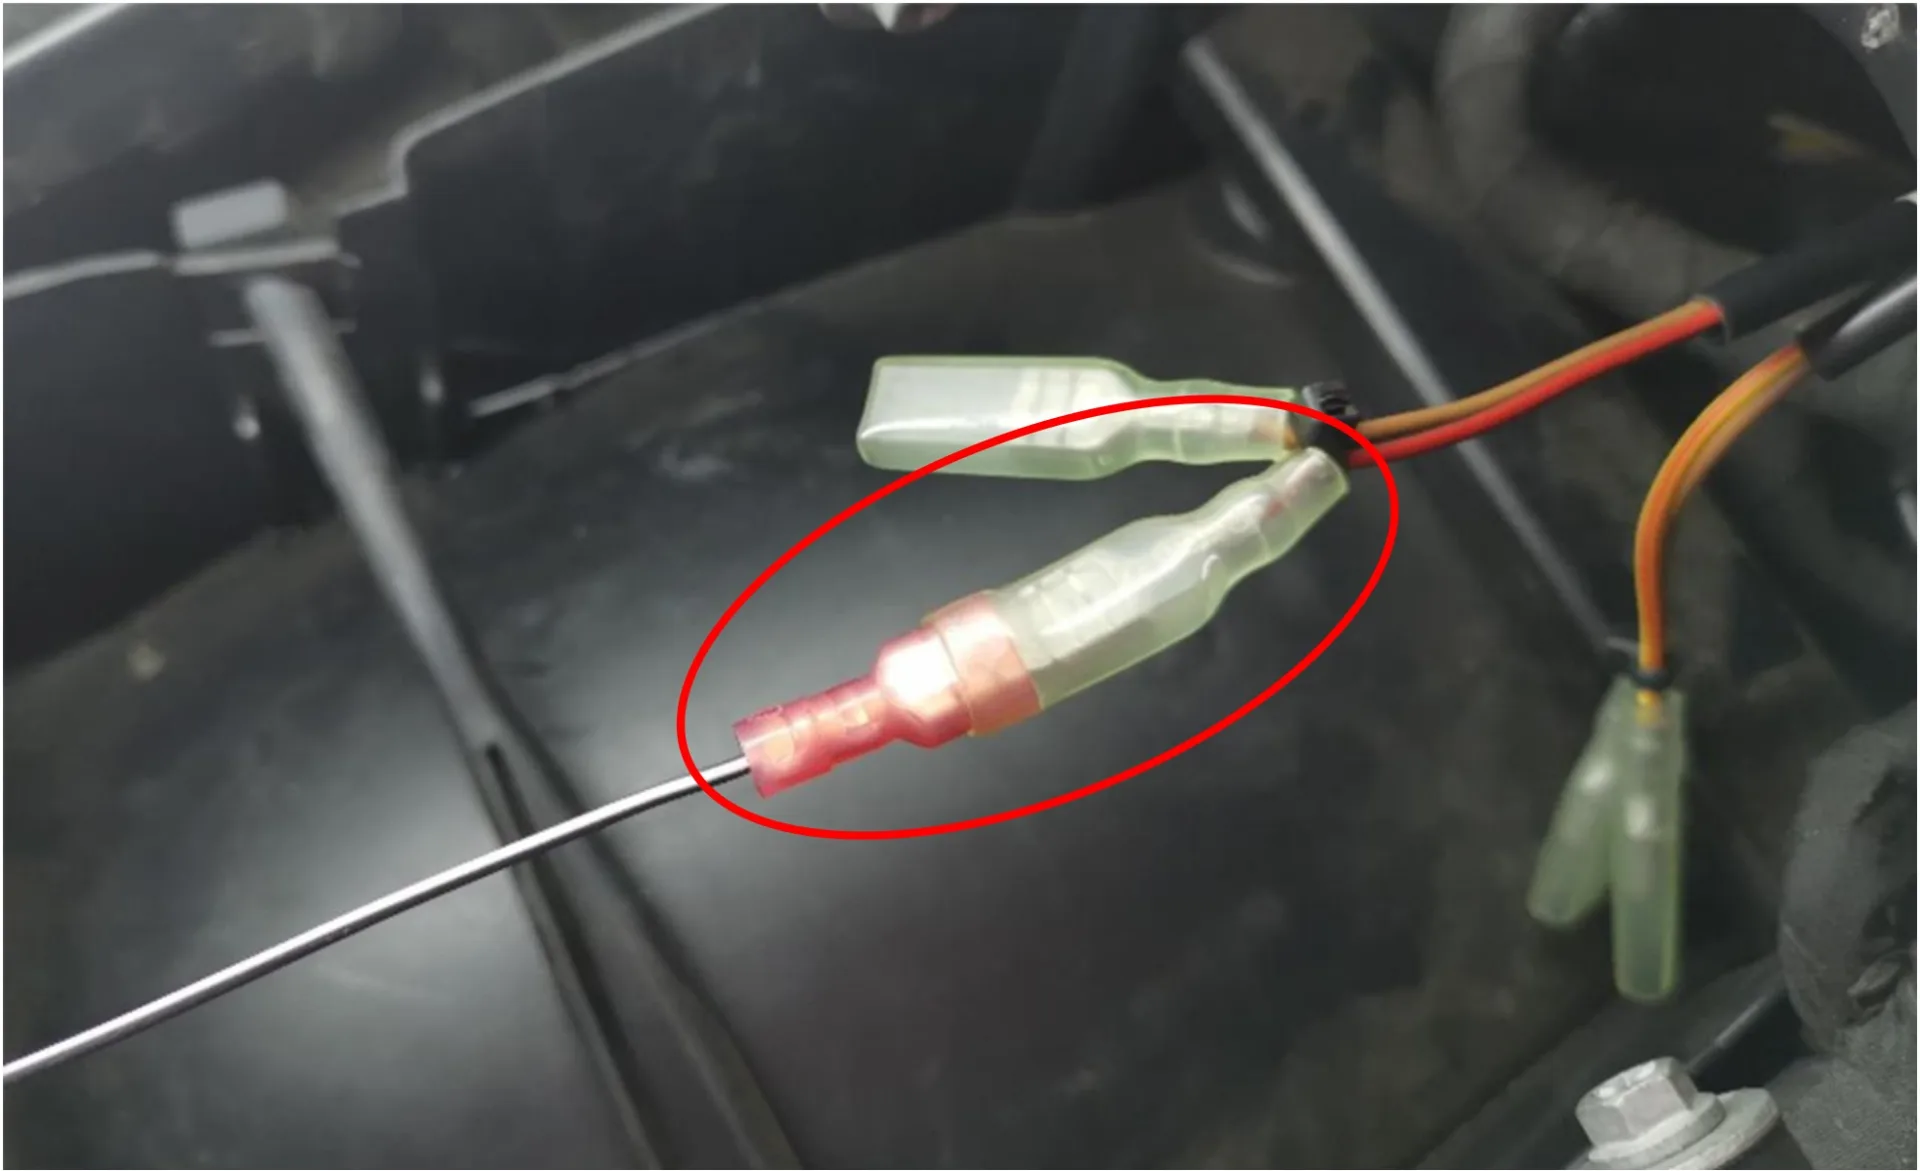
Switched 12 V supply
Connecting to ACC 2 (ignition) is also very easy on the 1190 R, as both an ACC 1 and an ACC 2 are already prepared at the rear under the seat.
Rain switch
I attached the rain switch on the left side of the handlebar, at the mounting point for the hand guard.

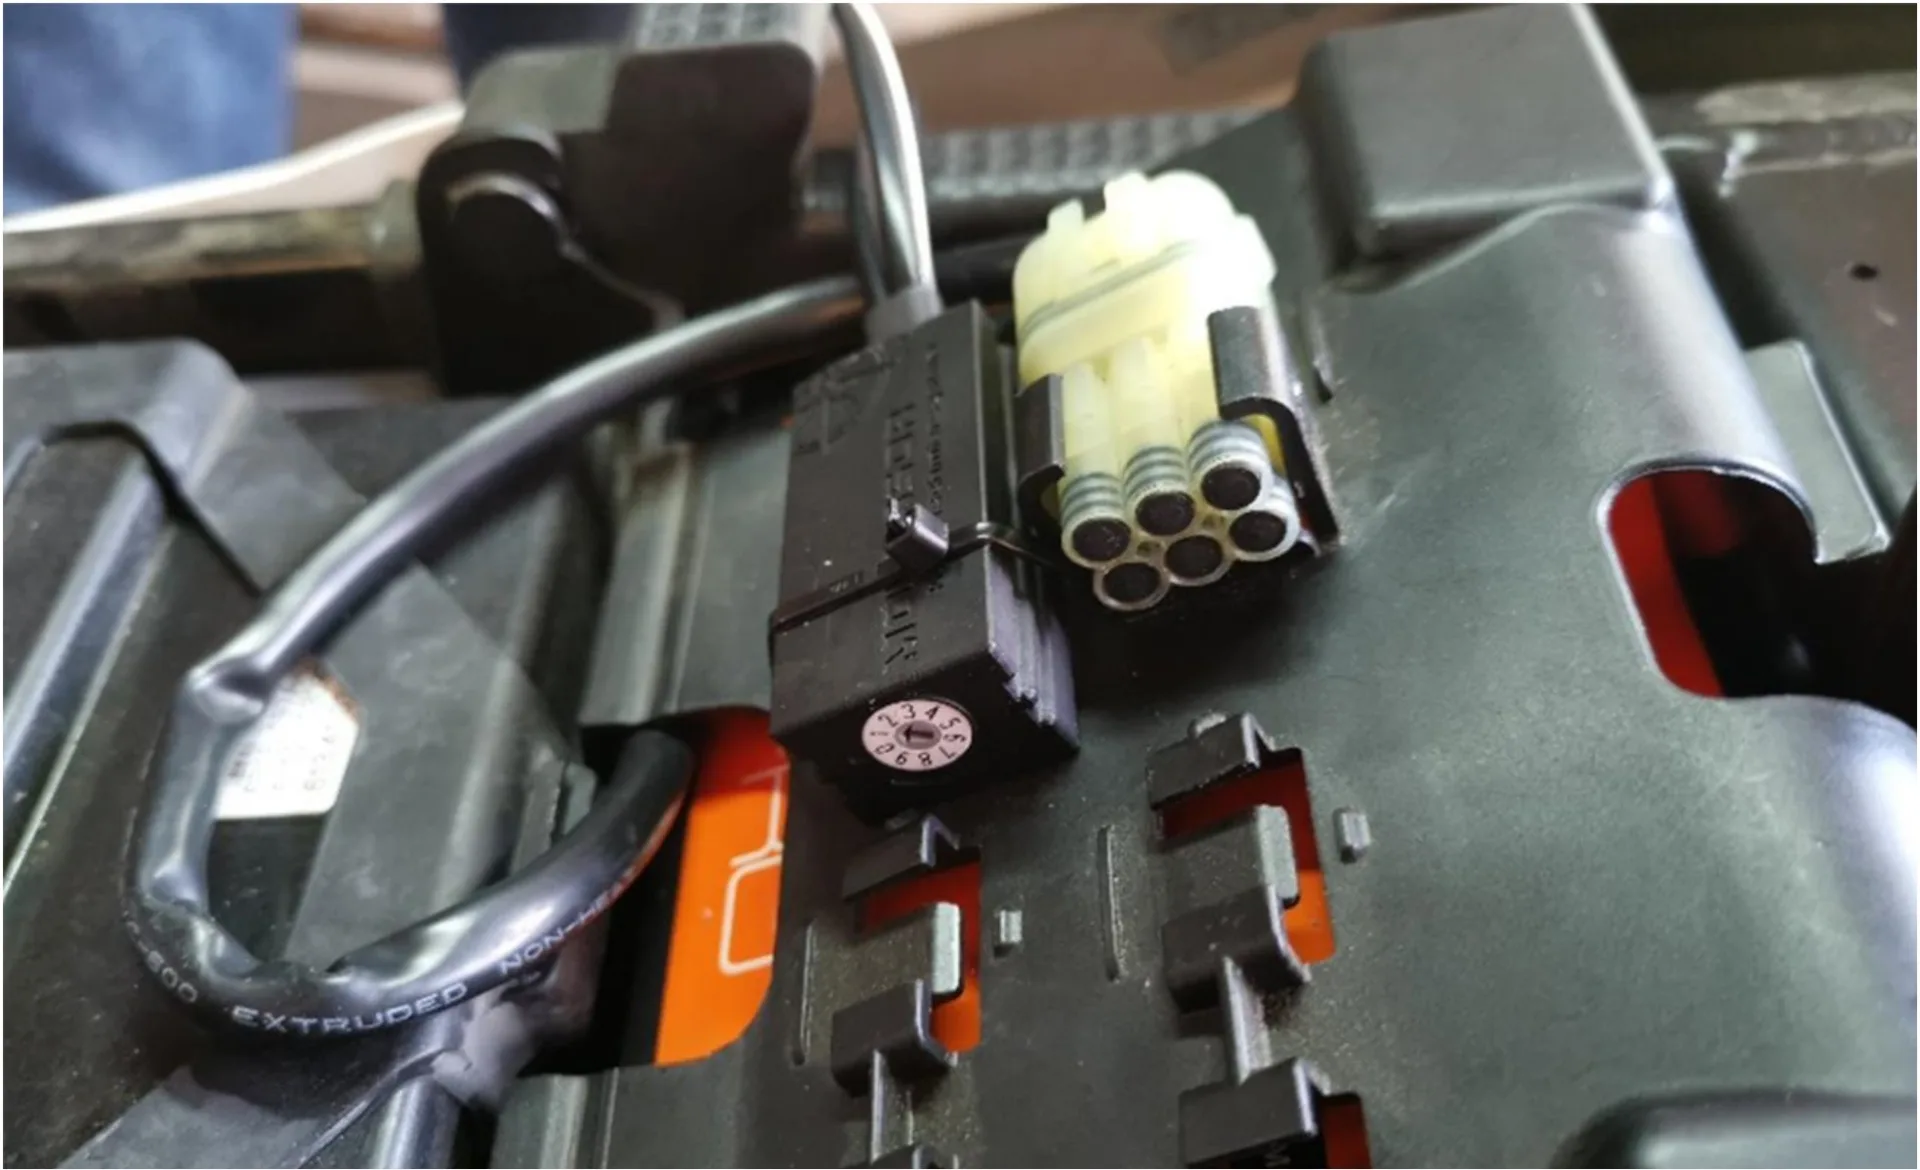
Control unit
Here fitting it on the battery cover under the seat was the obvious choice. This spot is a fairly exact fit and offers the possibility of securing the central control unit firmly with a cable tie. The control unit is also easy to reach, although not without removing the seat.
Installation report by Carsten
KTM 1190 Adventure R – year of manufacture 2013
This is how Carsten solved the installation – unfortunately we cannot guarantee that it works correctly, as we were not able to check the installation ourselves.
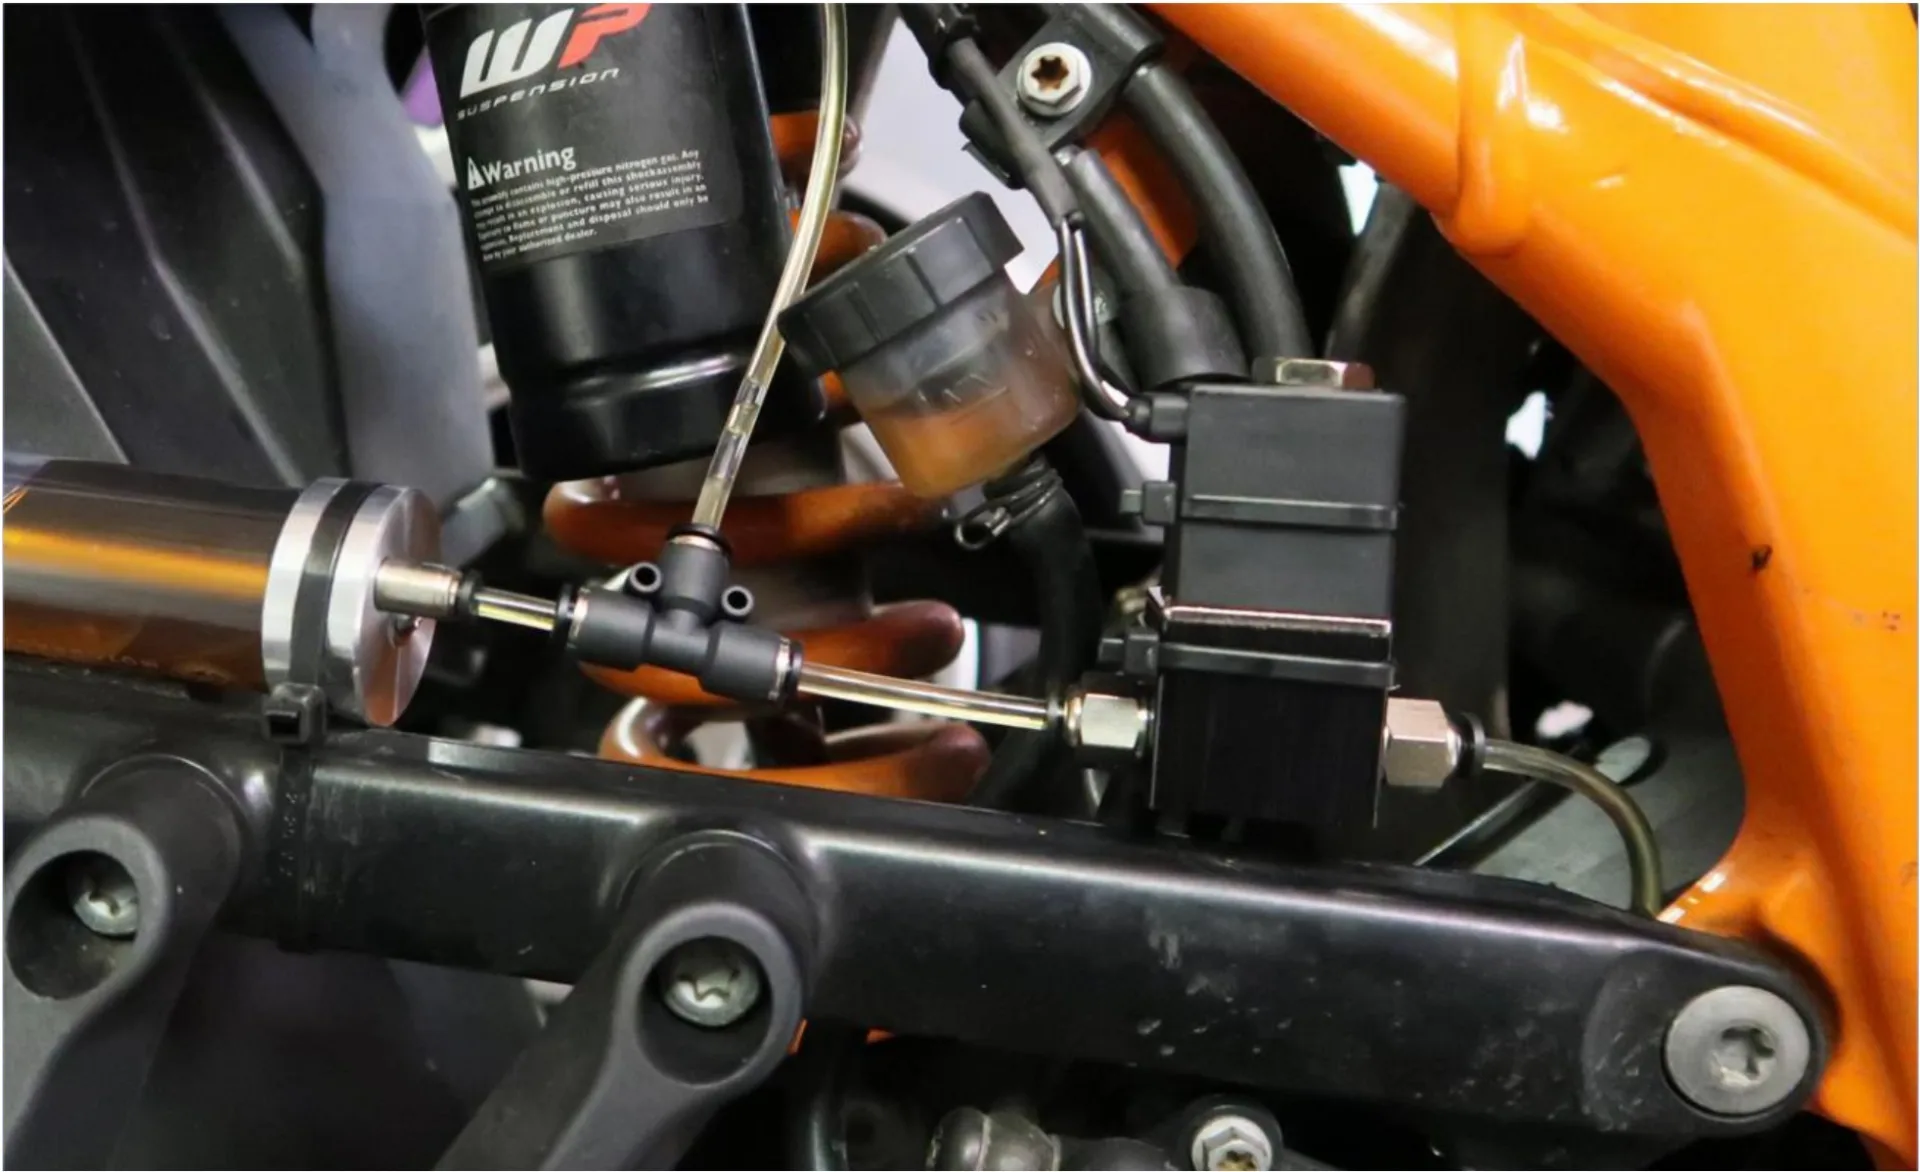
Oil reservoir 60 ml
On the right-hand side of the subframe, level with the pillion footpeg
Metering valve
Also on the right-hand side of the subframe
Nozzle
At the rear sprocket, outer side

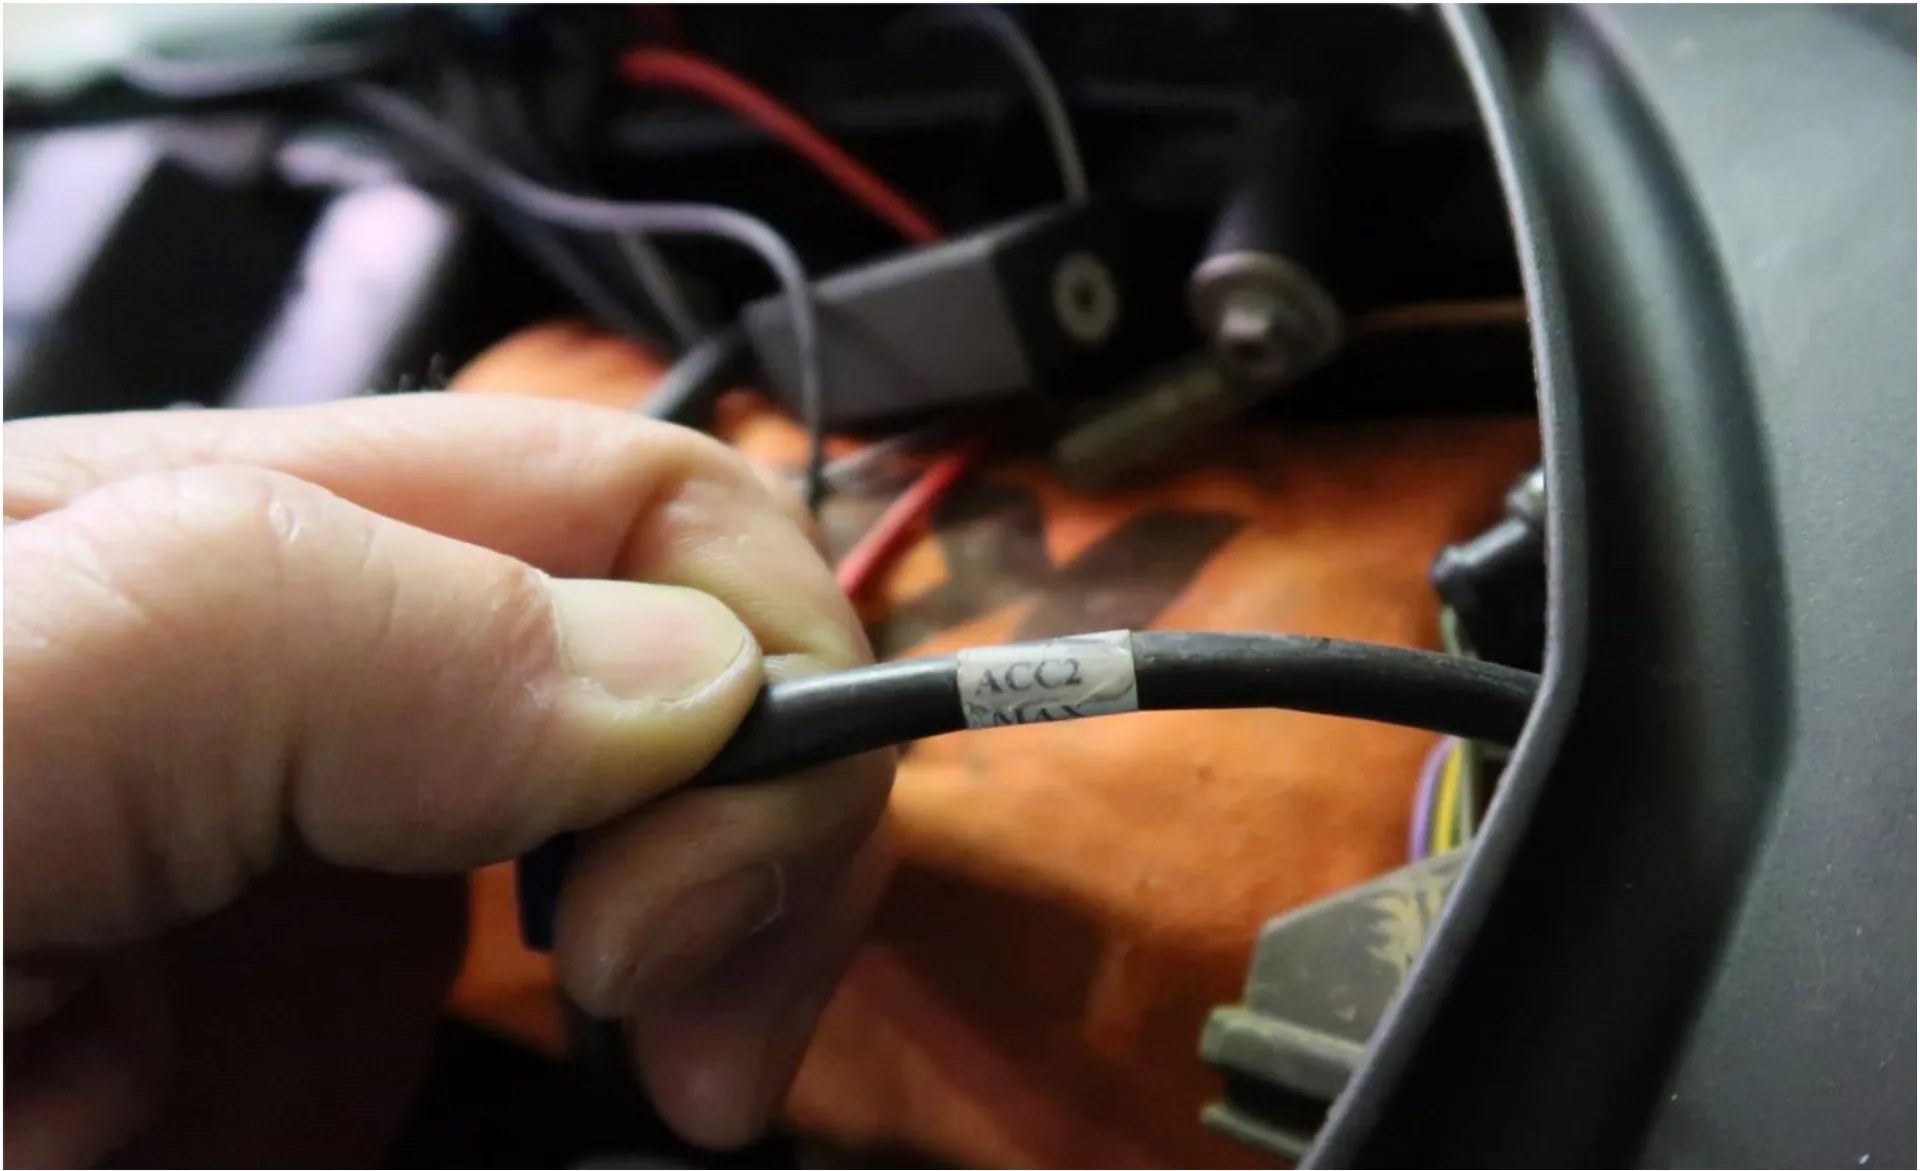
Switched 12 V supply
Under the seat, tapped at the "ACC2"
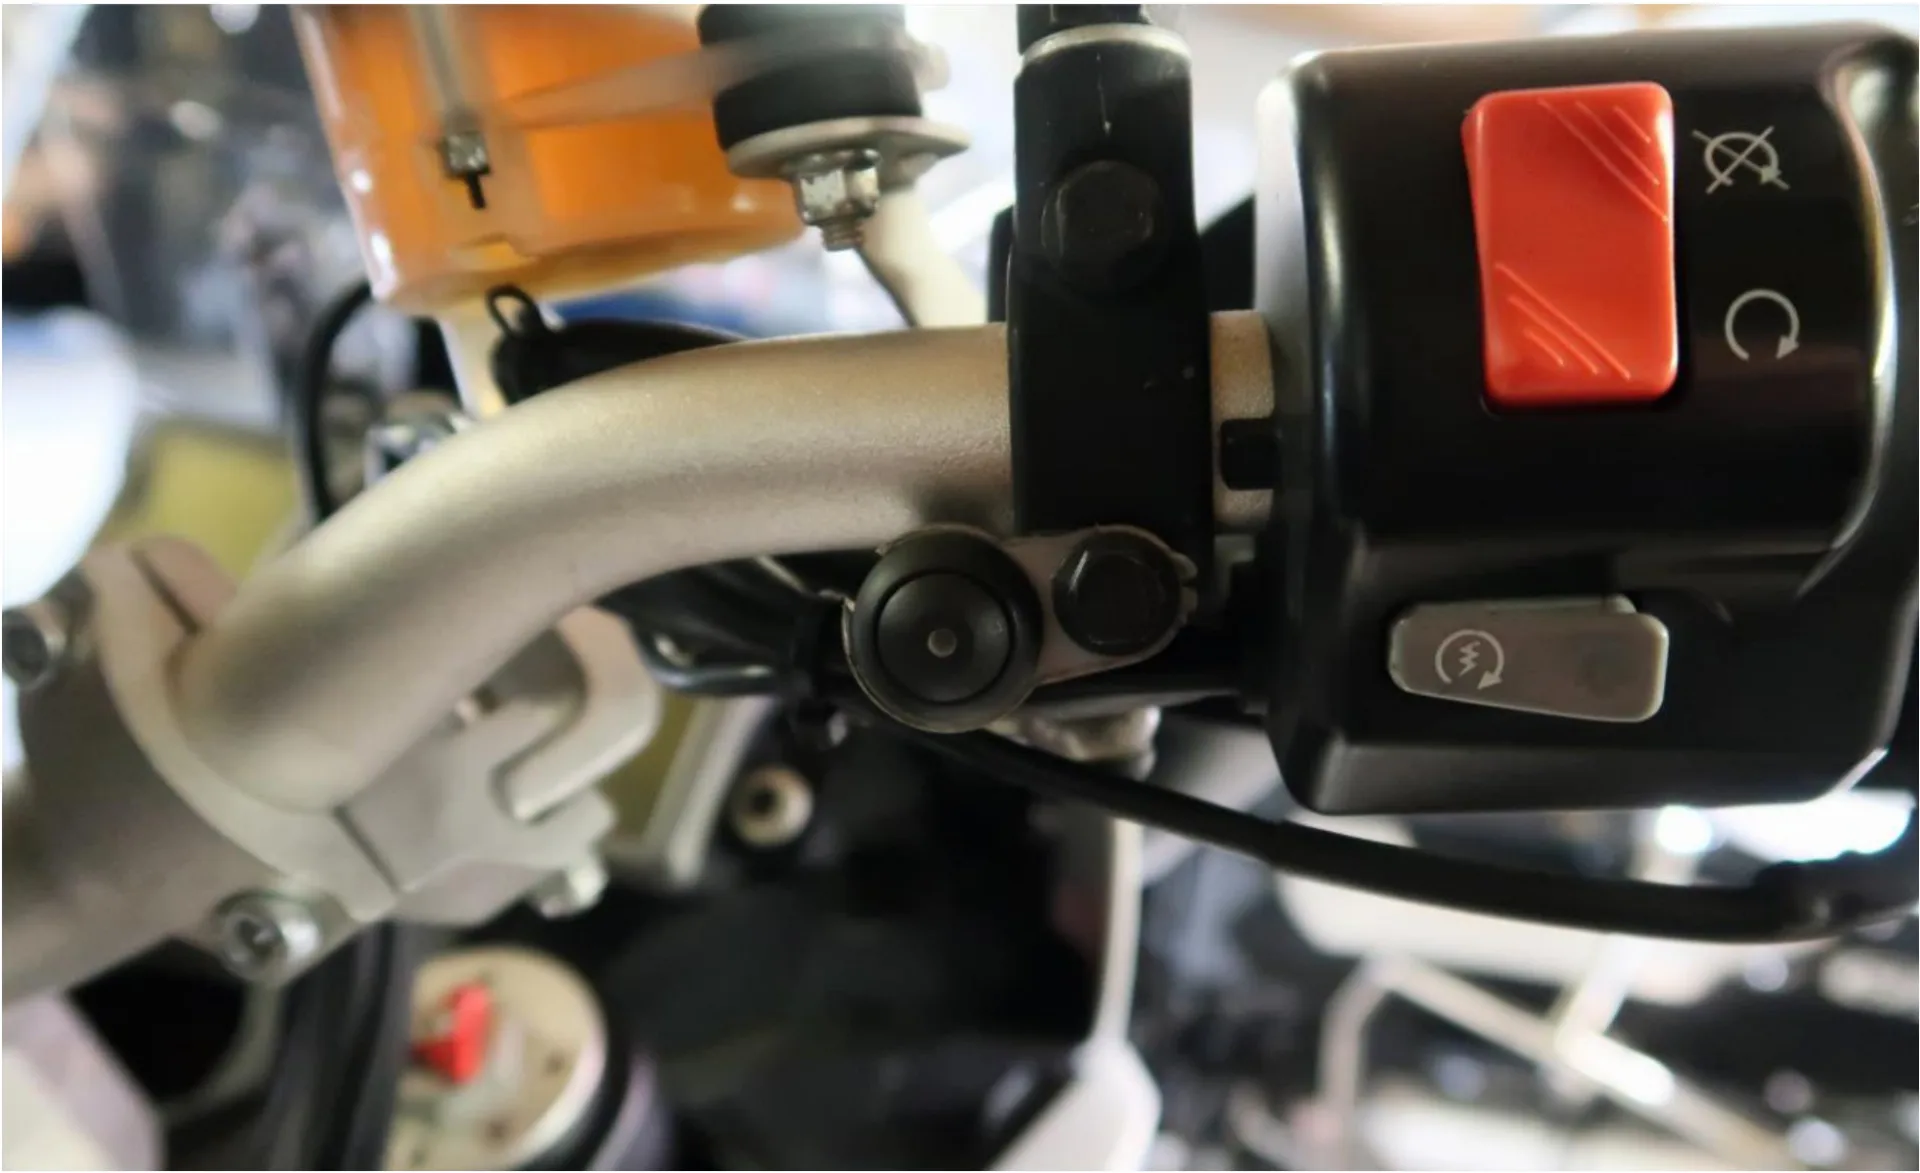
Rain switch
On the right-hand side of the handlebar
Control unit
Stowed under the seat, level with the pillion seat

Have you fitted a MOFESSOR? Contribute your own installation report – directly here, with your photos.


