
Chain oiler for the Yamaha MT 07
2 installation reports for this model

Installation report by Robert
Yamaha MT 07 – year of manufacture 2021
oil reservoir 60 ml
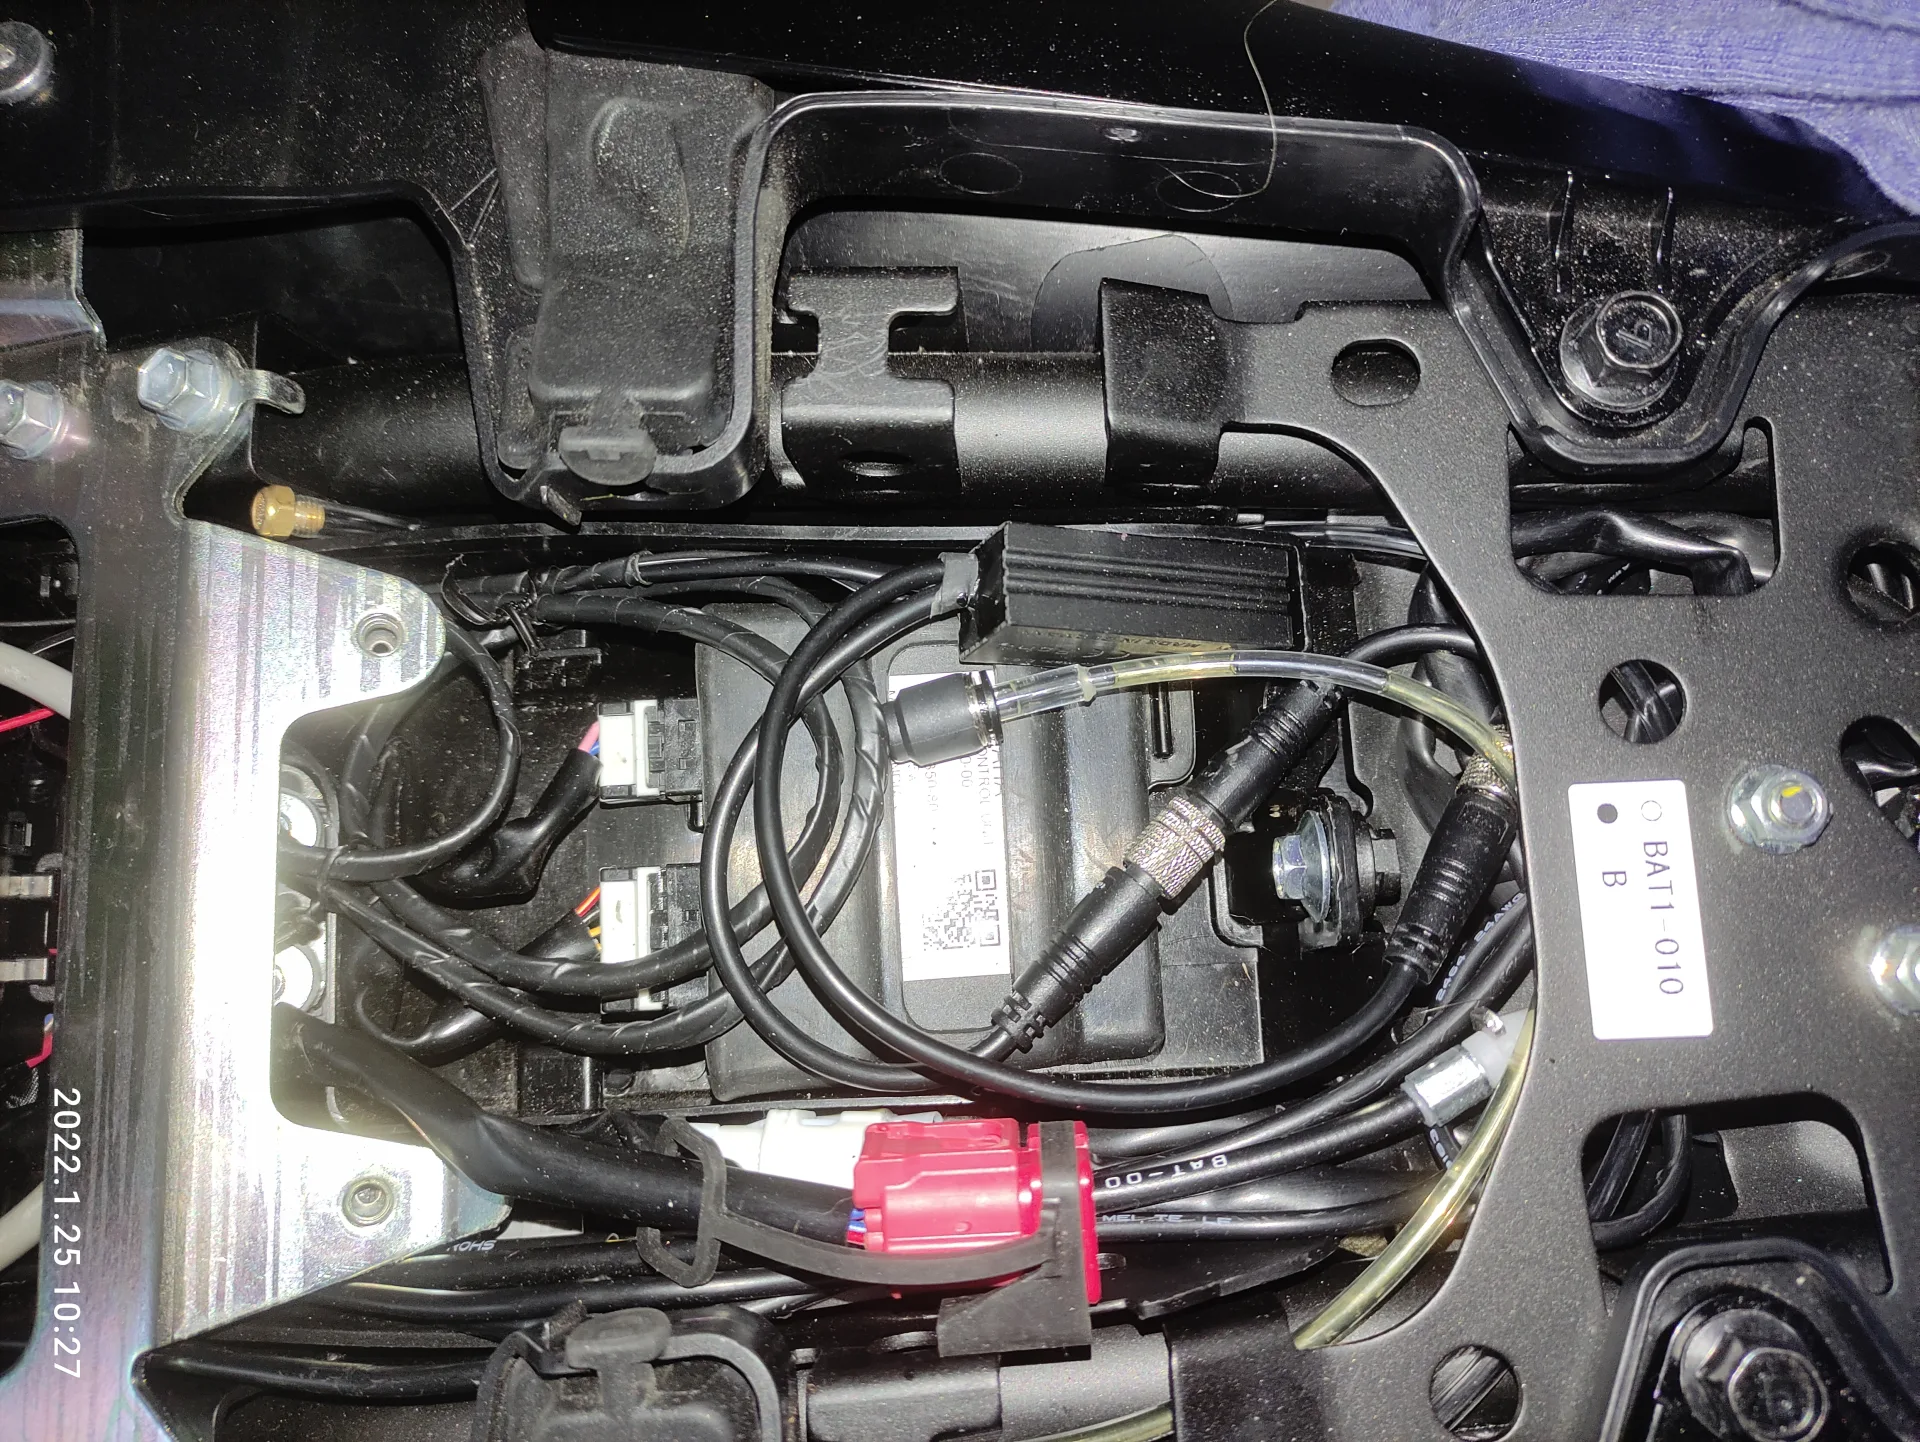
I fitted the oil reservoir under the left panel at the rear. I attached it with cable ties to the upper frame tubes. I also fitted the reservoir vent extension, which I tucked in by the pillion seat.
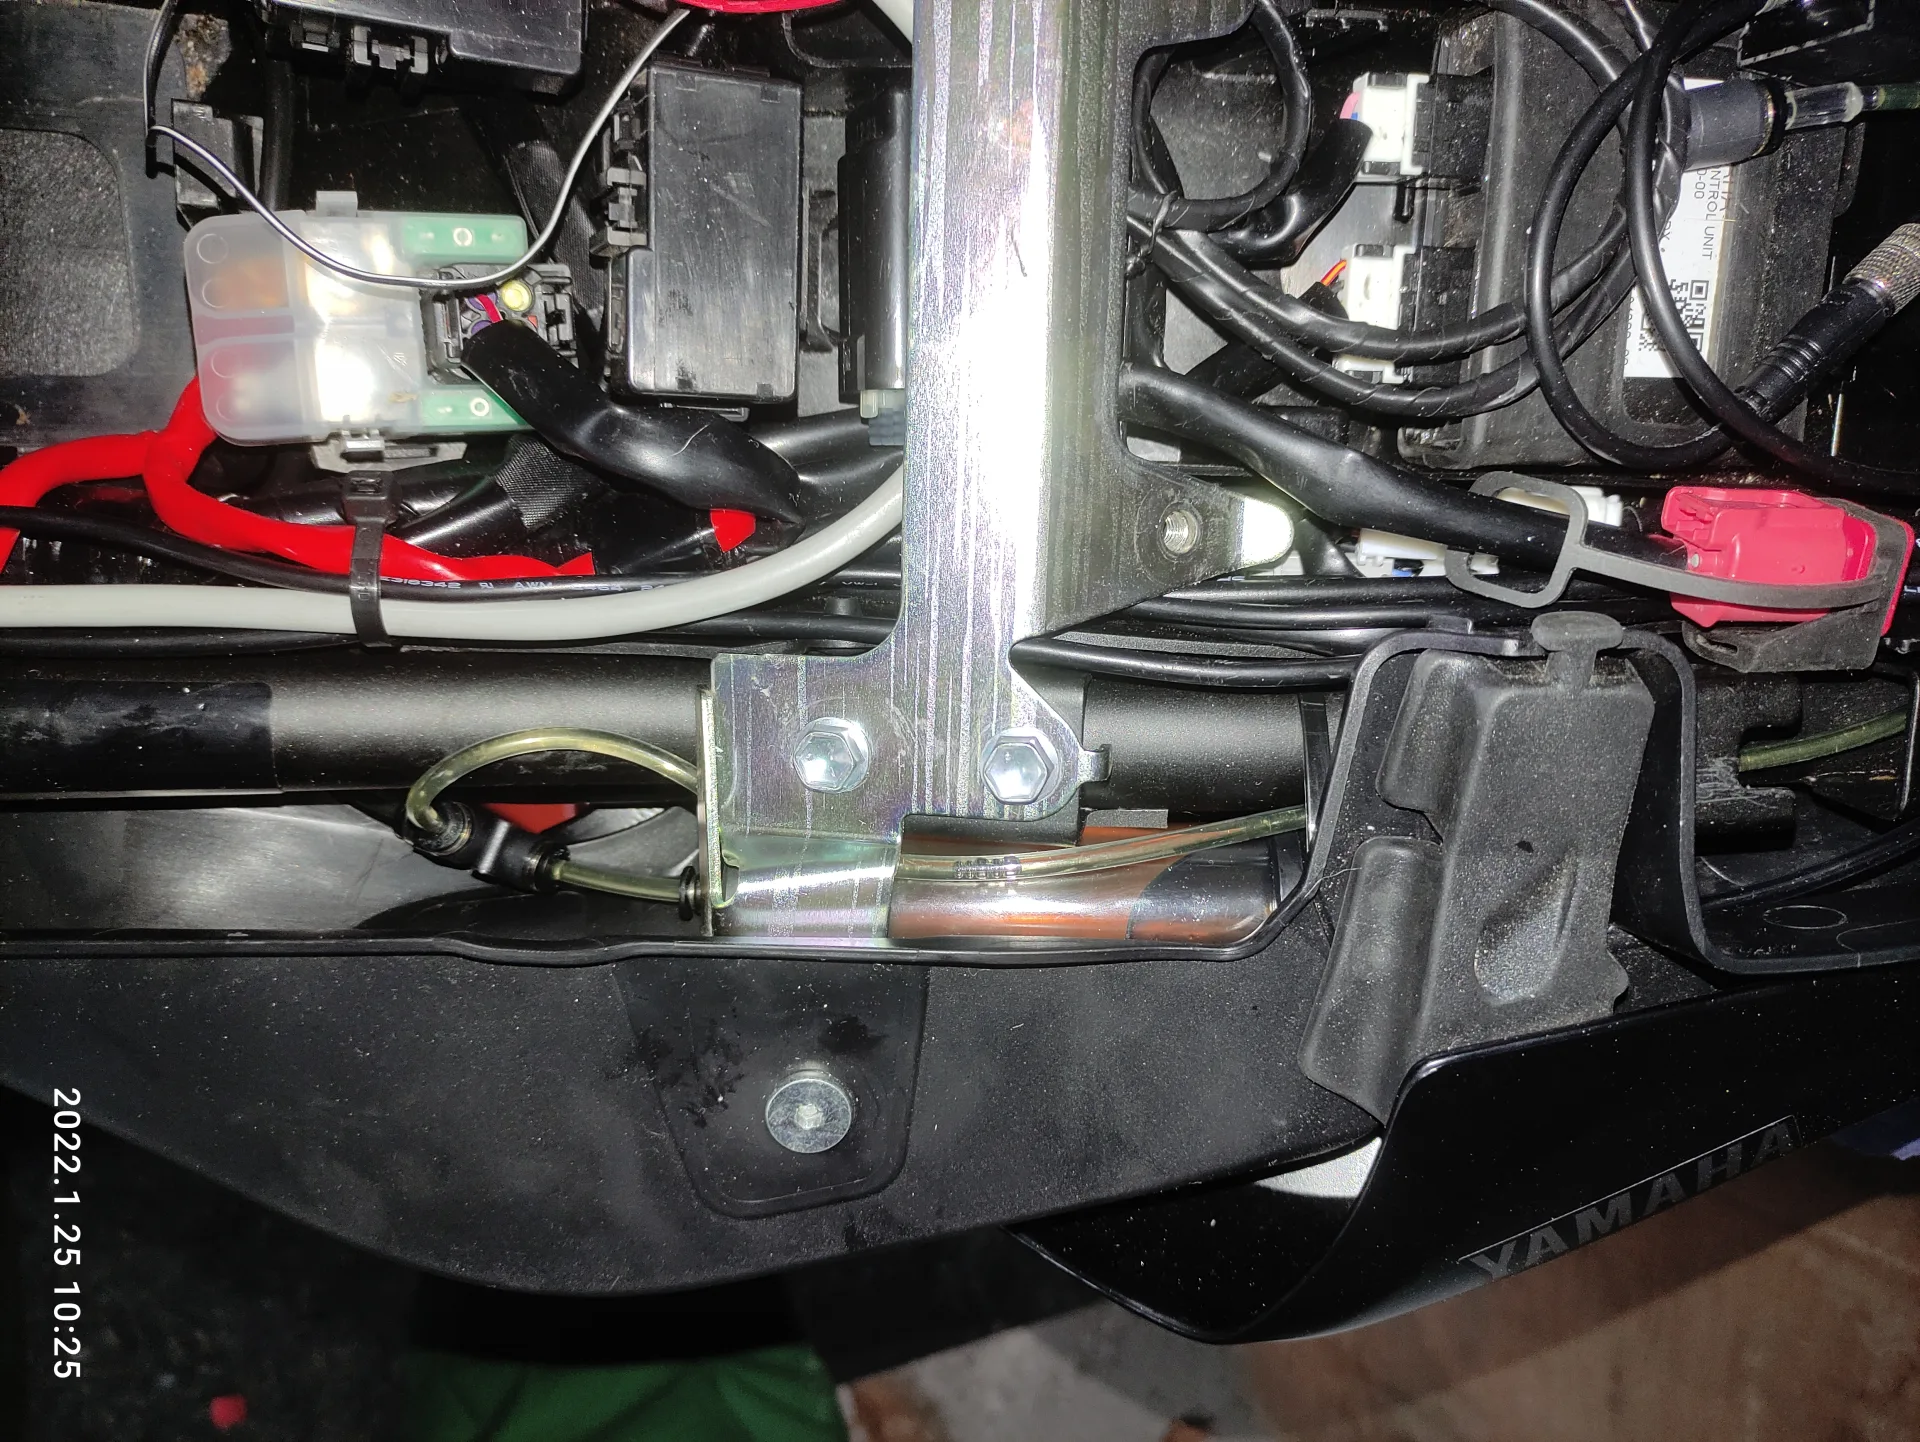
metering valve
I attached the metering valve to the frame with cable ties and additionally secured it with the adhesive strips against slipping or chafing. I routed the cable upwards behind the panel towards the pillion seat.
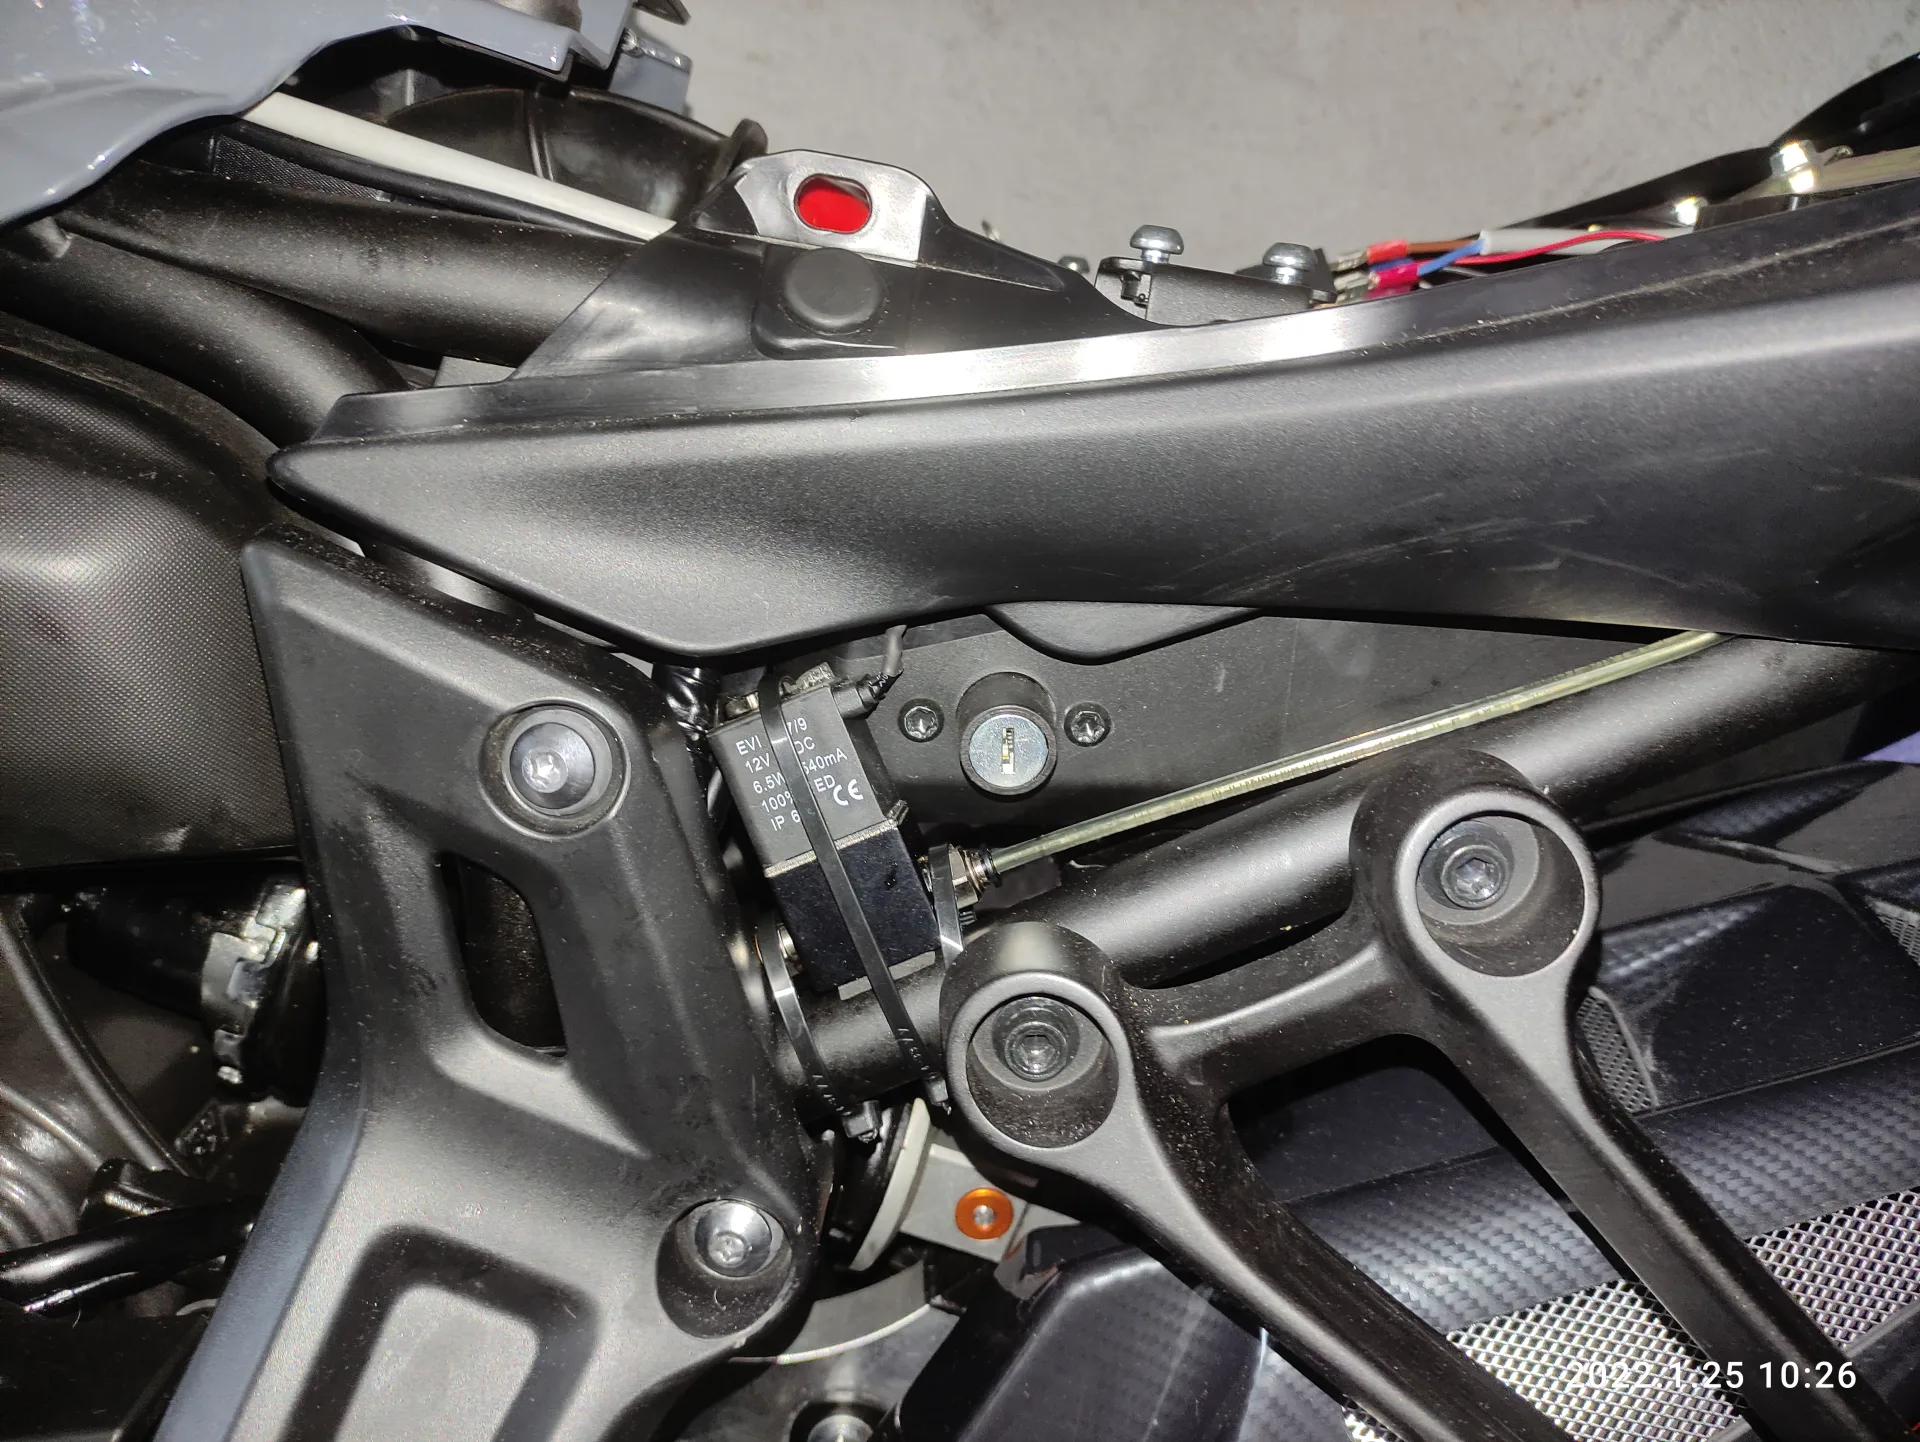
nozzle
I fitted the nozzle with the supplied adhesive brackets on the inside of the swingarm. And, as you can see, aimed centrally at the chain.
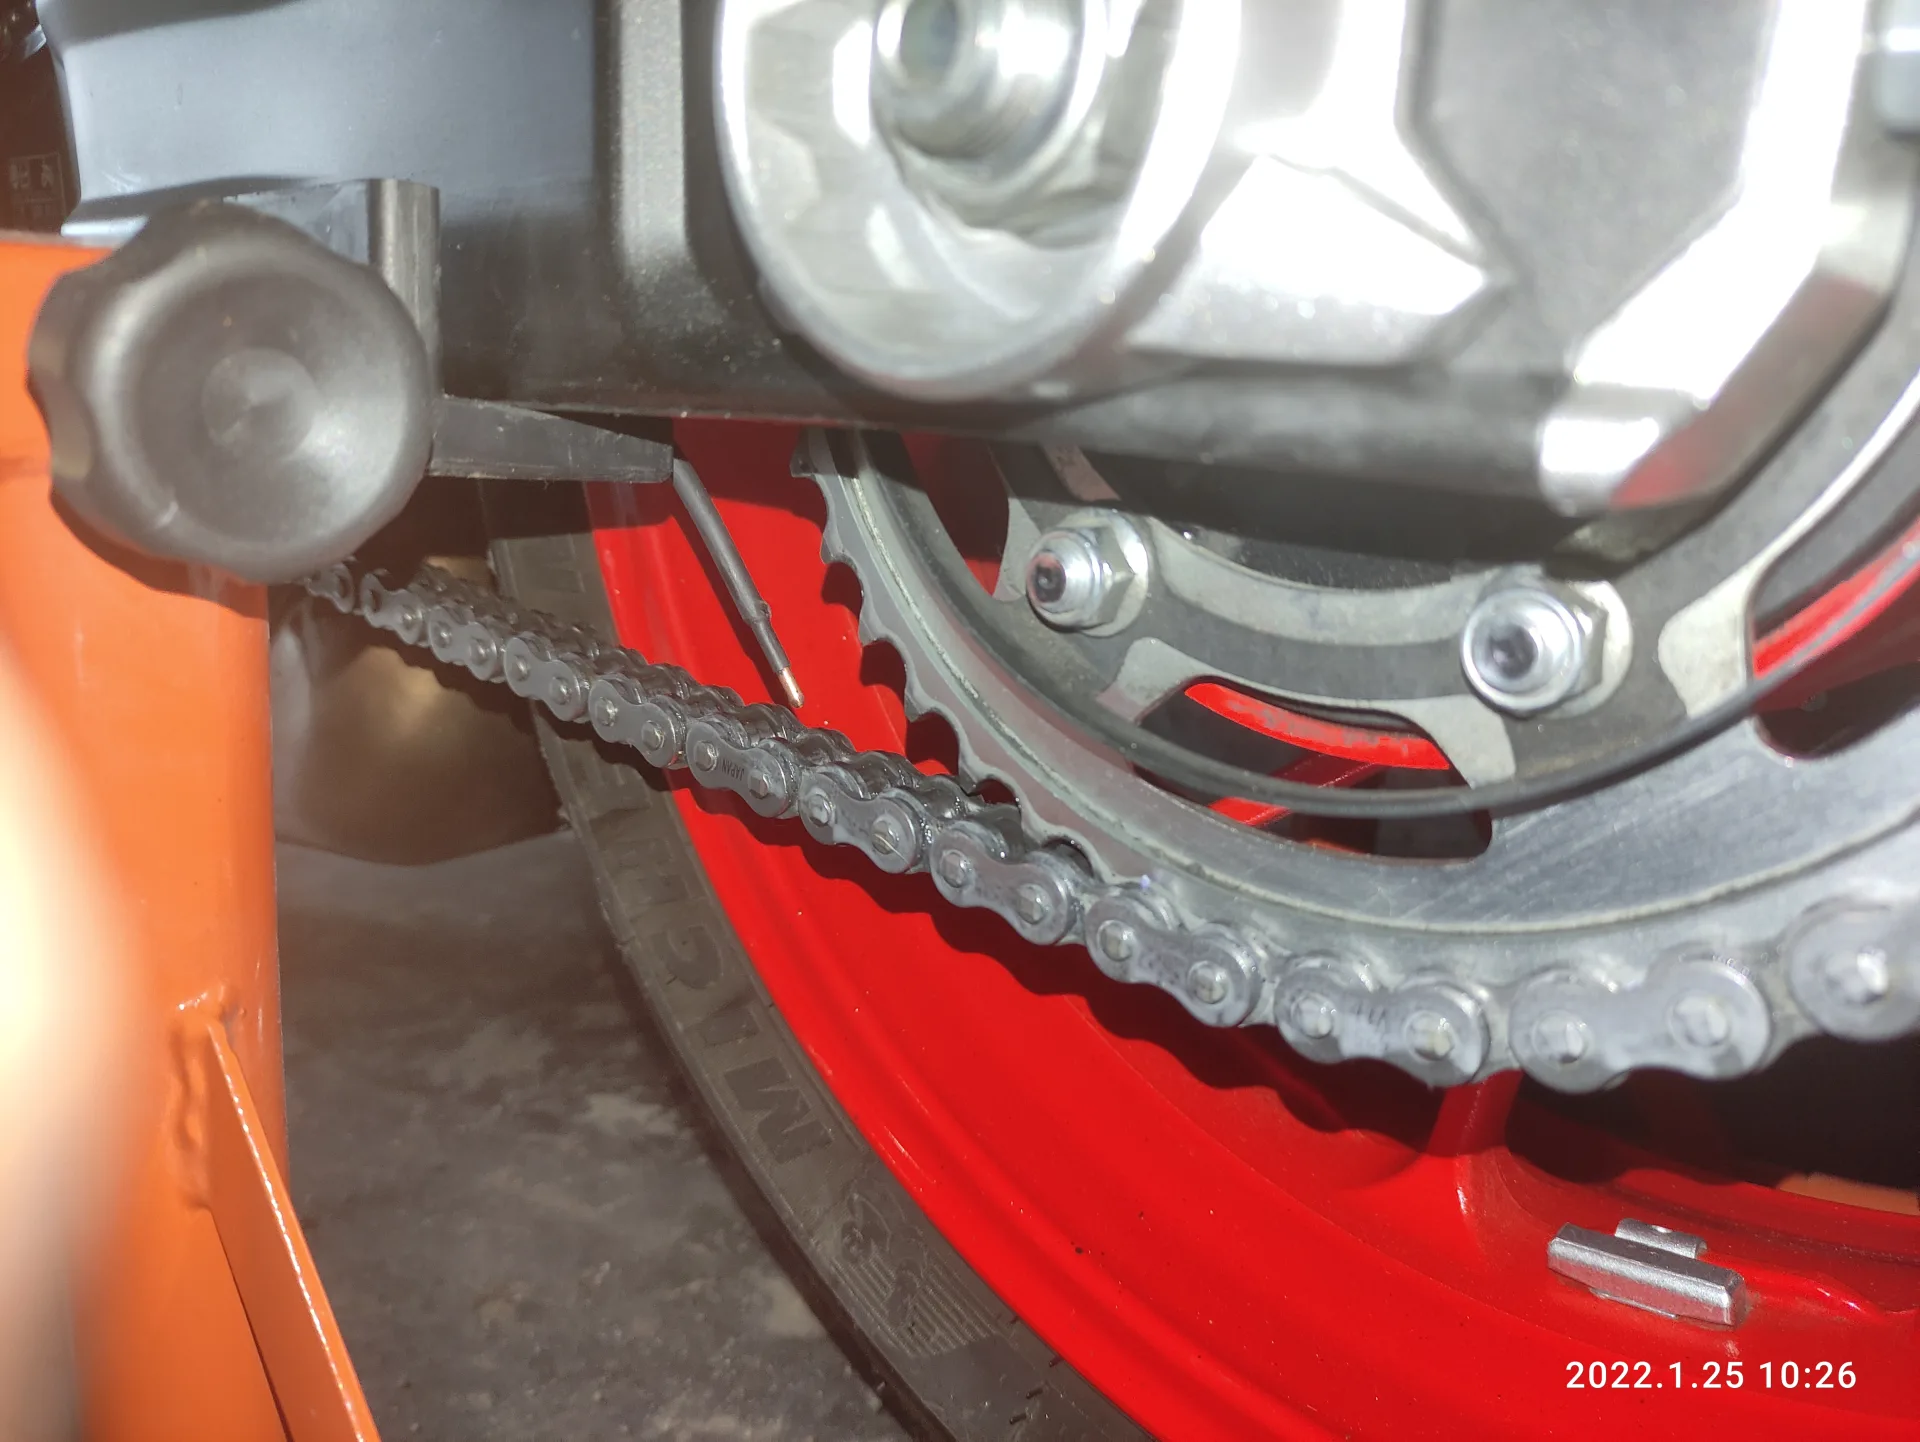
switched 12 V supply
I took the switched positive from the accessory circuit connector. For that you also need the pin contacts 0.75 to 1.5 mm². As I fitted the electronics via a relay, I will describe here how it can be solved most simply. Roughly: positive 12 V at the battery, ground at the battery and the switched positive to the + lead of the accessory circuit connector. (A multimeter is required for measuring.)

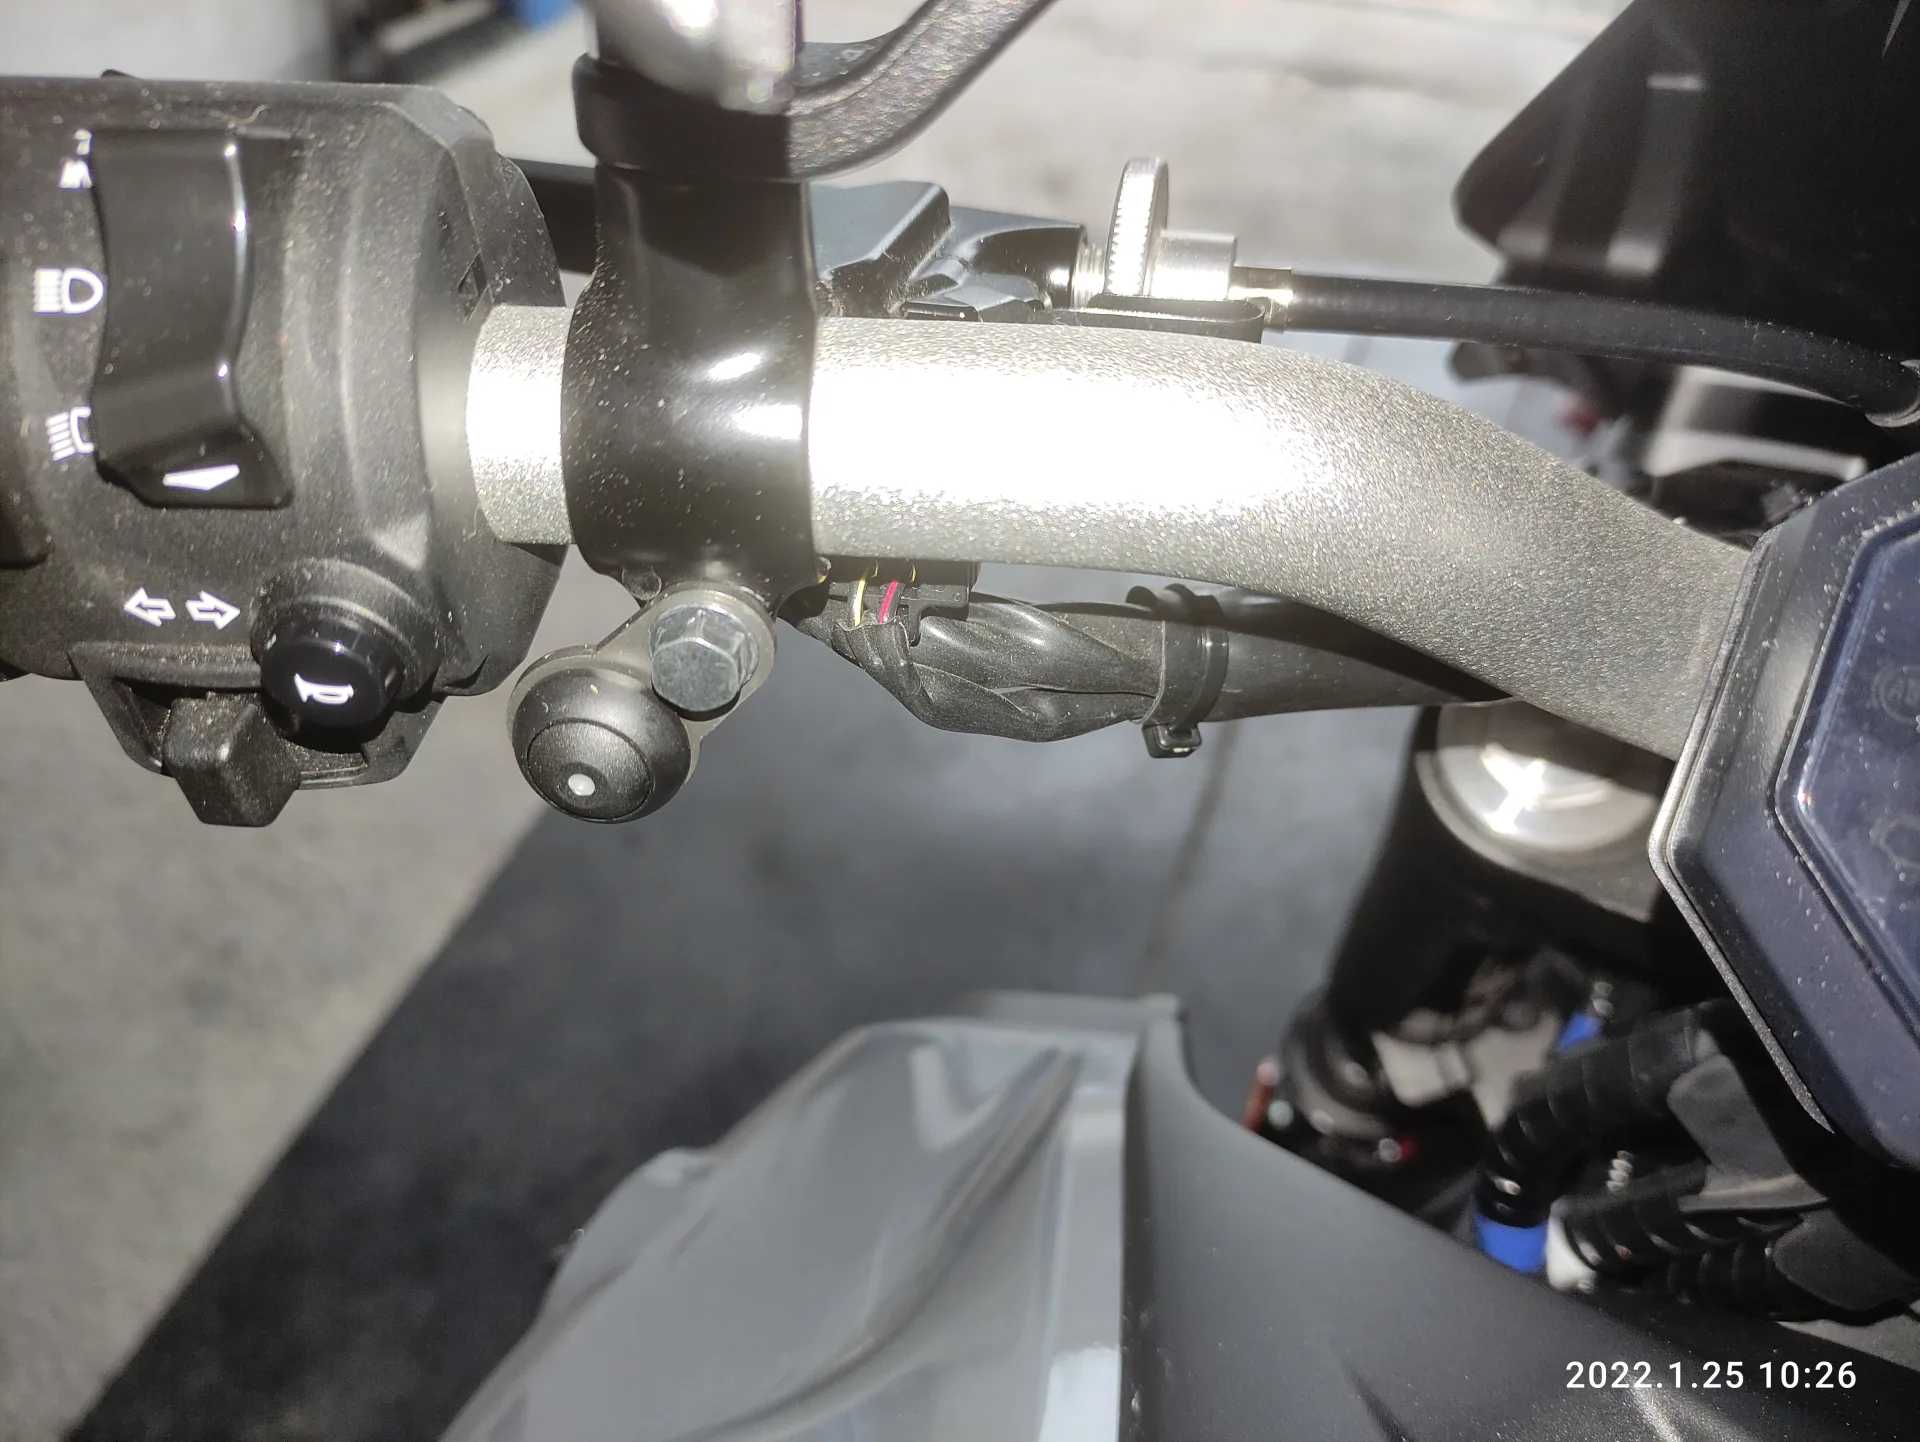
rain switch
Fitted on the left-hand side of the handlebar.
control unit
Under the pillion seat.
Installation report by Marcel
Yamaha MT 07 – year of manufacture 2017
oil reservoir 60 ml
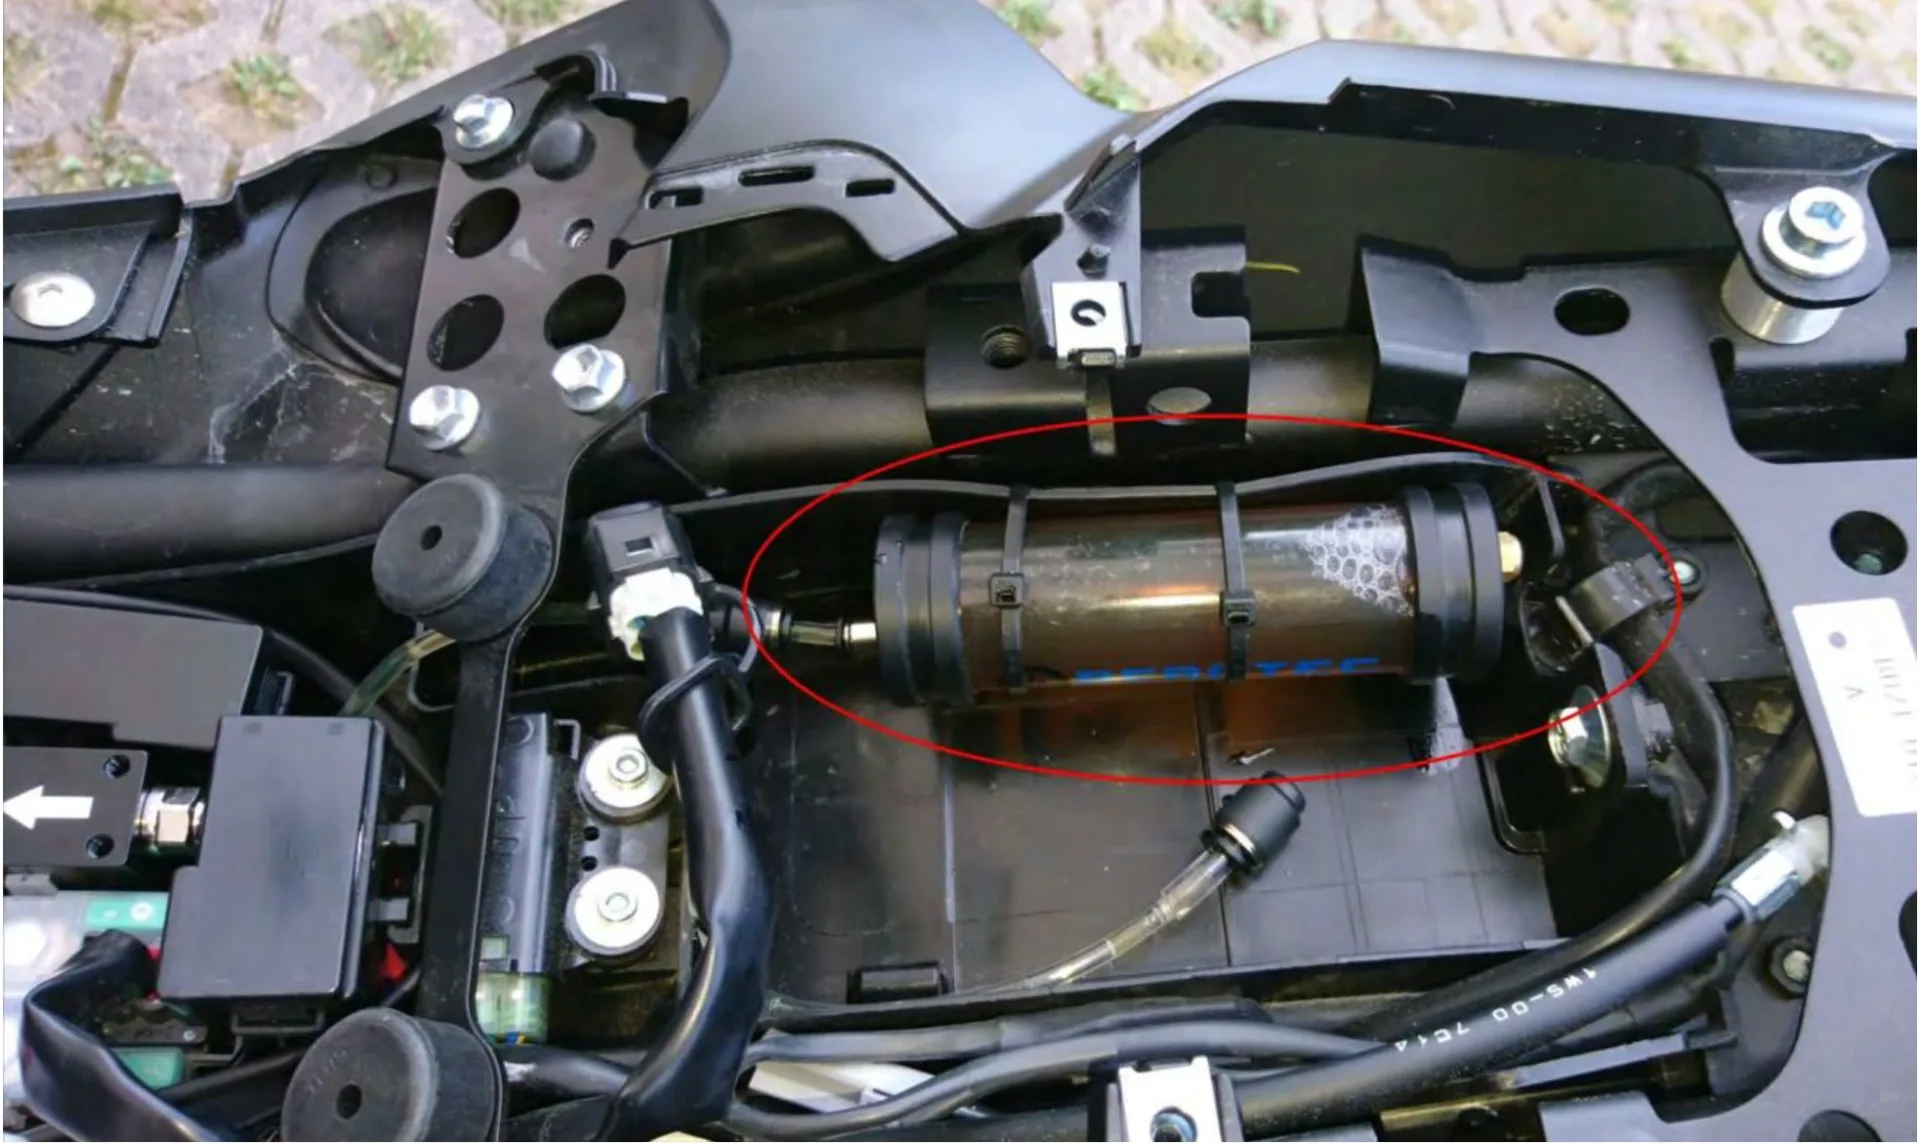
In the storage compartment under the seat, attached to the side wall of the compartment with a cable tie. Two small holes were drilled into the plastic for this.
metering valve
The metering valve was attached to the fuse holder with a cable tie.

nozzle
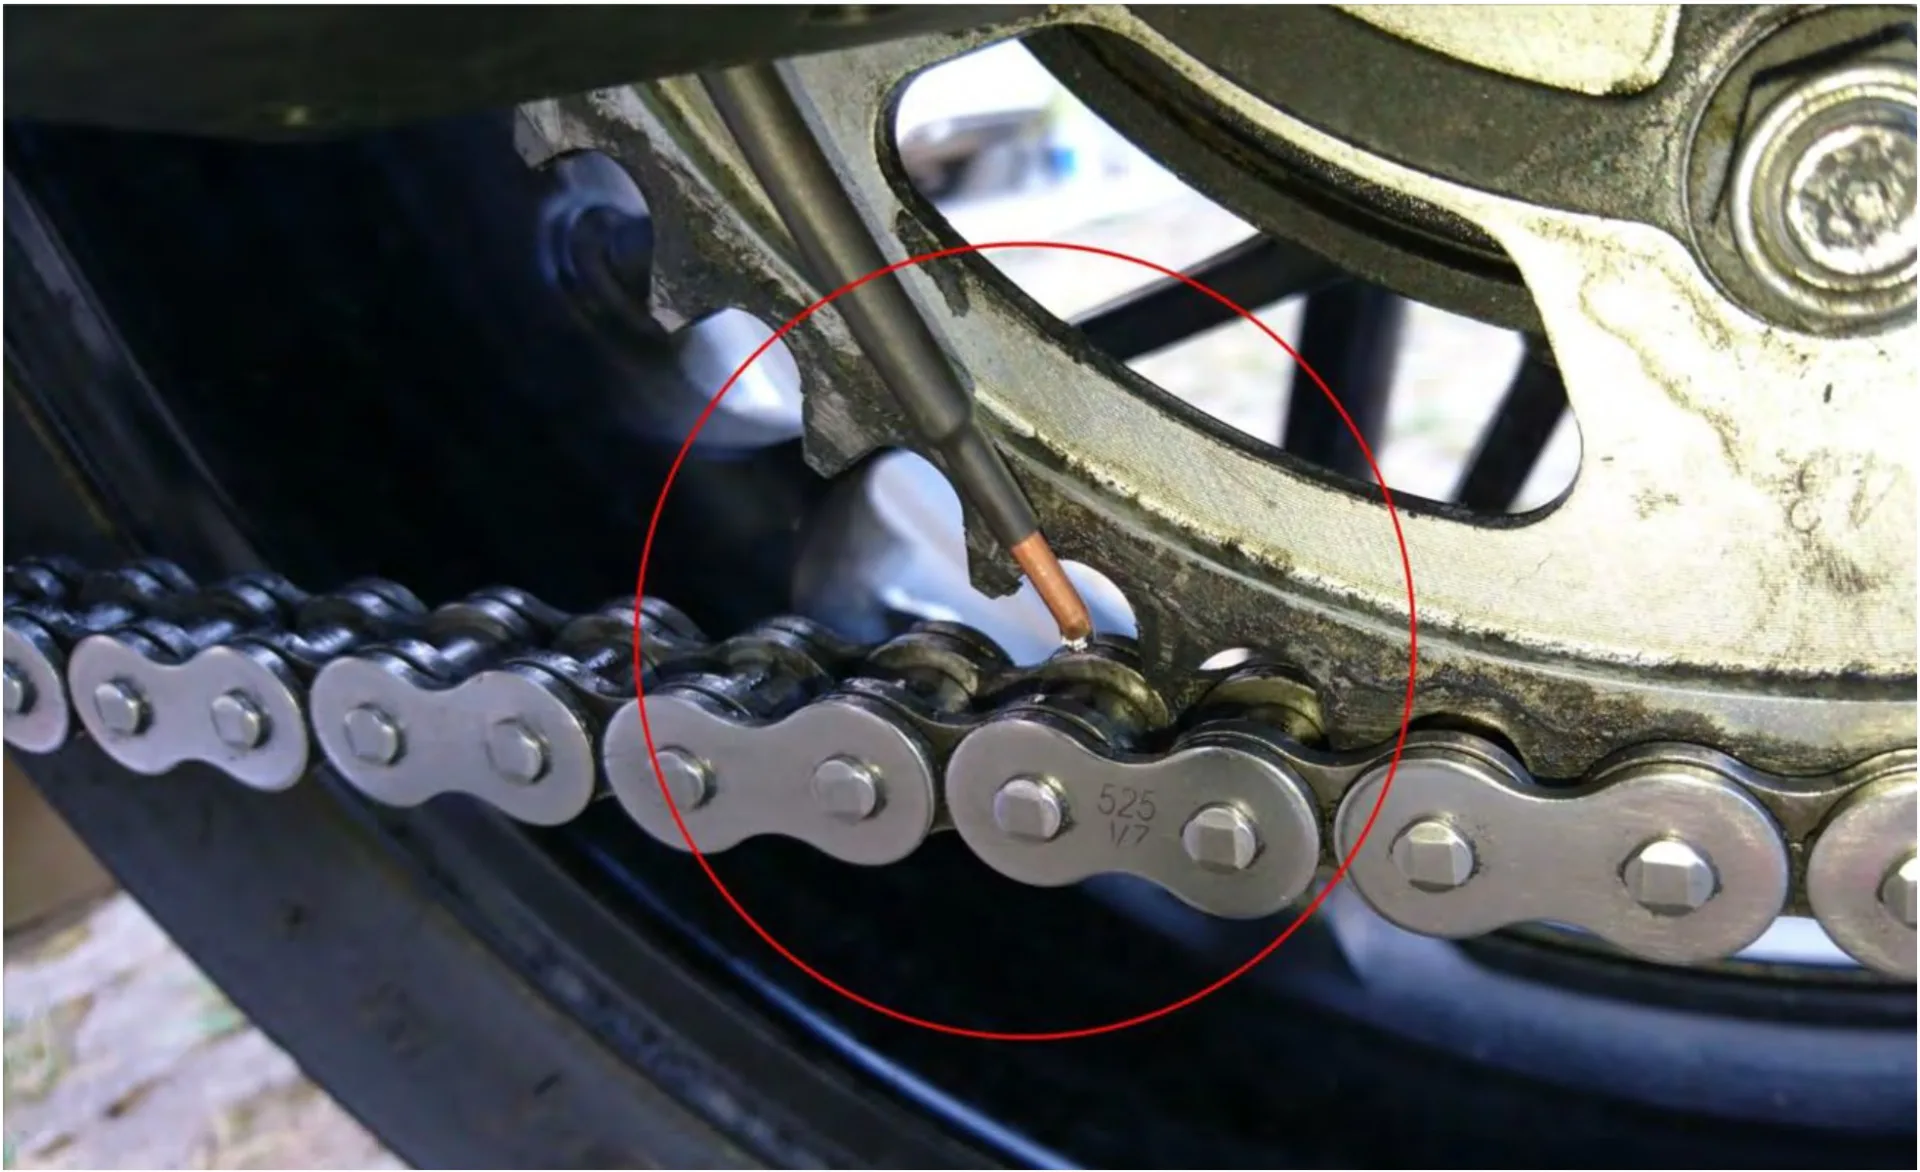
In the usual place at the rear sprocket. The nozzle was attached to the inside of the swingarm with an adhesive pad and the hose routed along the inside and upwards behind the fairing.
switched 12 V supply
The switched positive was tapped at the accessory power connection, together with the GPS power supply.

rain switch
In the usual place, on the left handlebar switchgear.

control unit
The control unit was attached to the wiring harness next to the air intake, together with the cables.


