
Chain oiler for the Honda CB650R
3 installation reports for this model
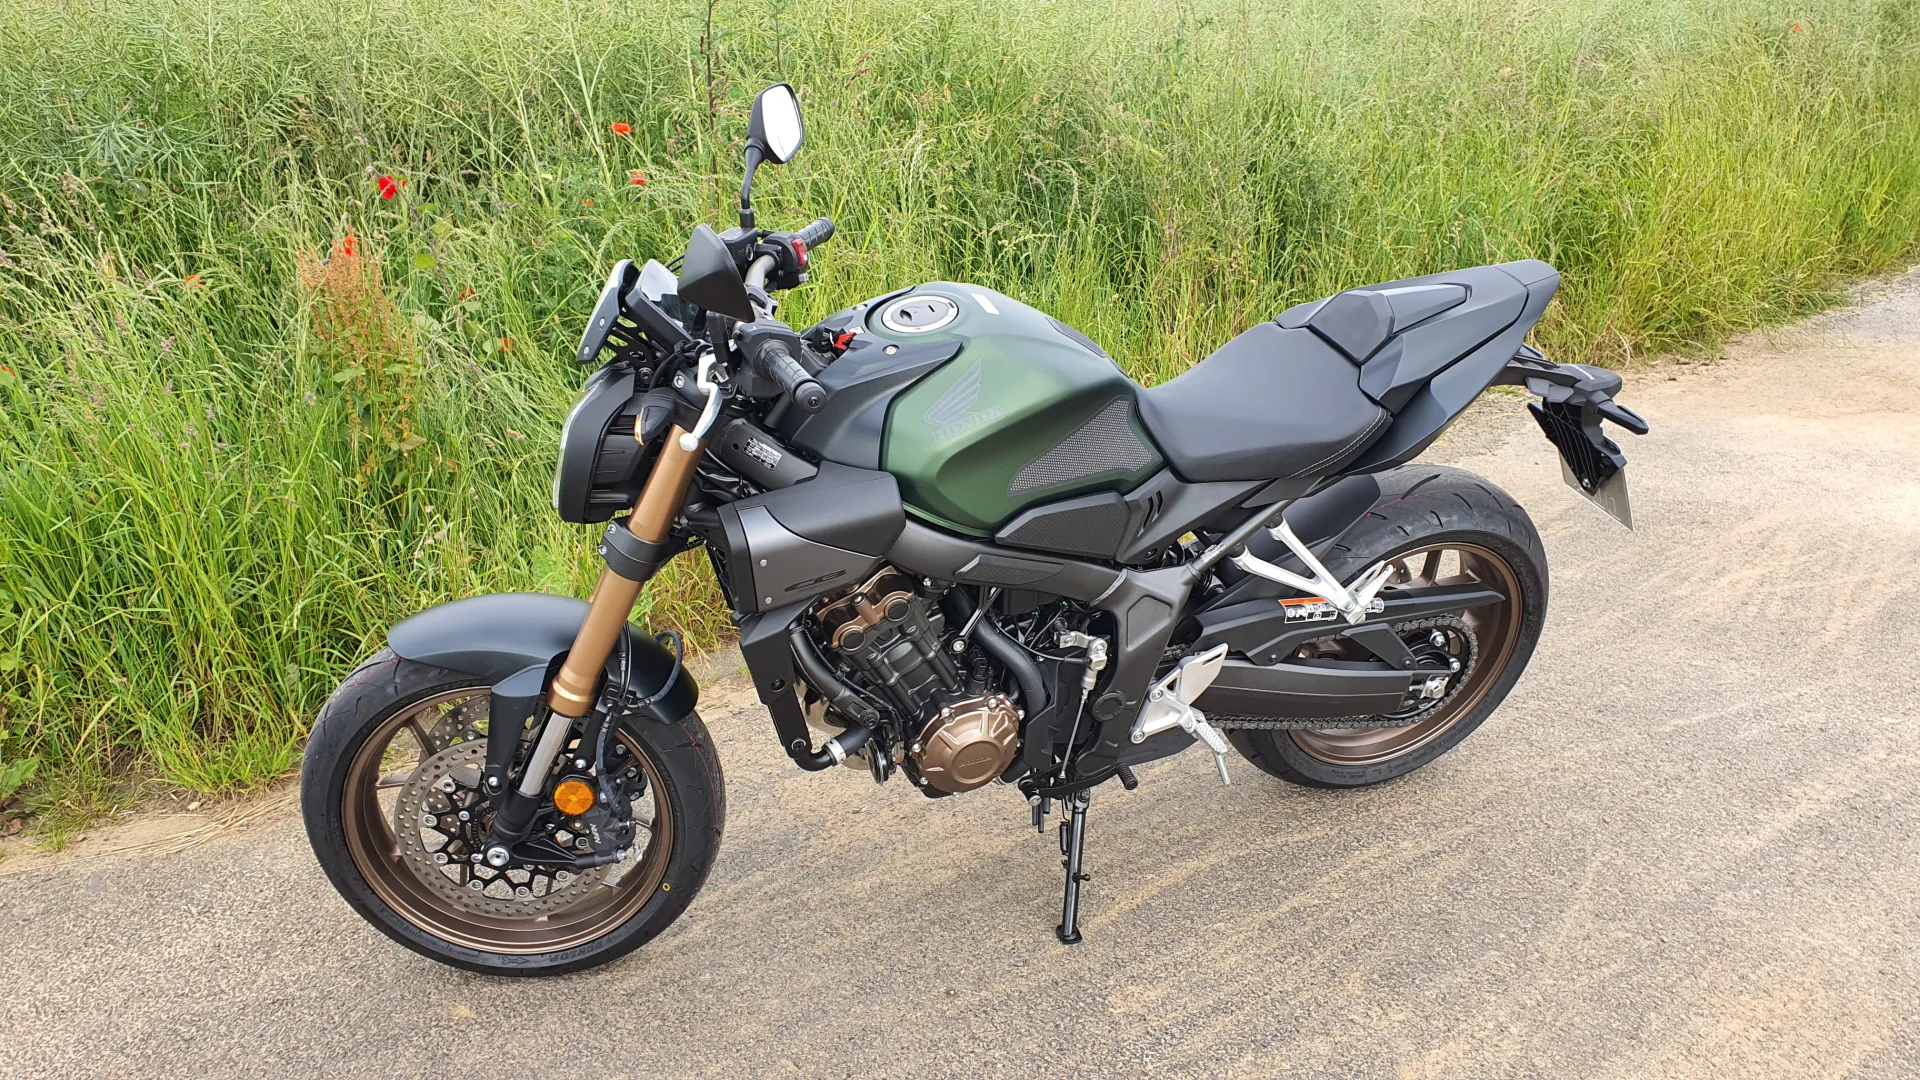
Installation report by D.Lange
Honda CB650R – year of manufacture 2024
This is how D.Lange solved the installation – unfortunately we cannot guarantee that it works correctly, as we were not able to check the installation ourselves.
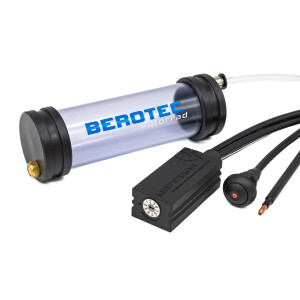
Oil reservoir 60 ml
Under the pillion seat, attached to the right-hand side of the frame with two cable ties. The long ones supplied were unfortunately too short here and were therefore replaced with longer ones. A piece of the supplied self-adhesive foam in between each time, to avoid chafing.
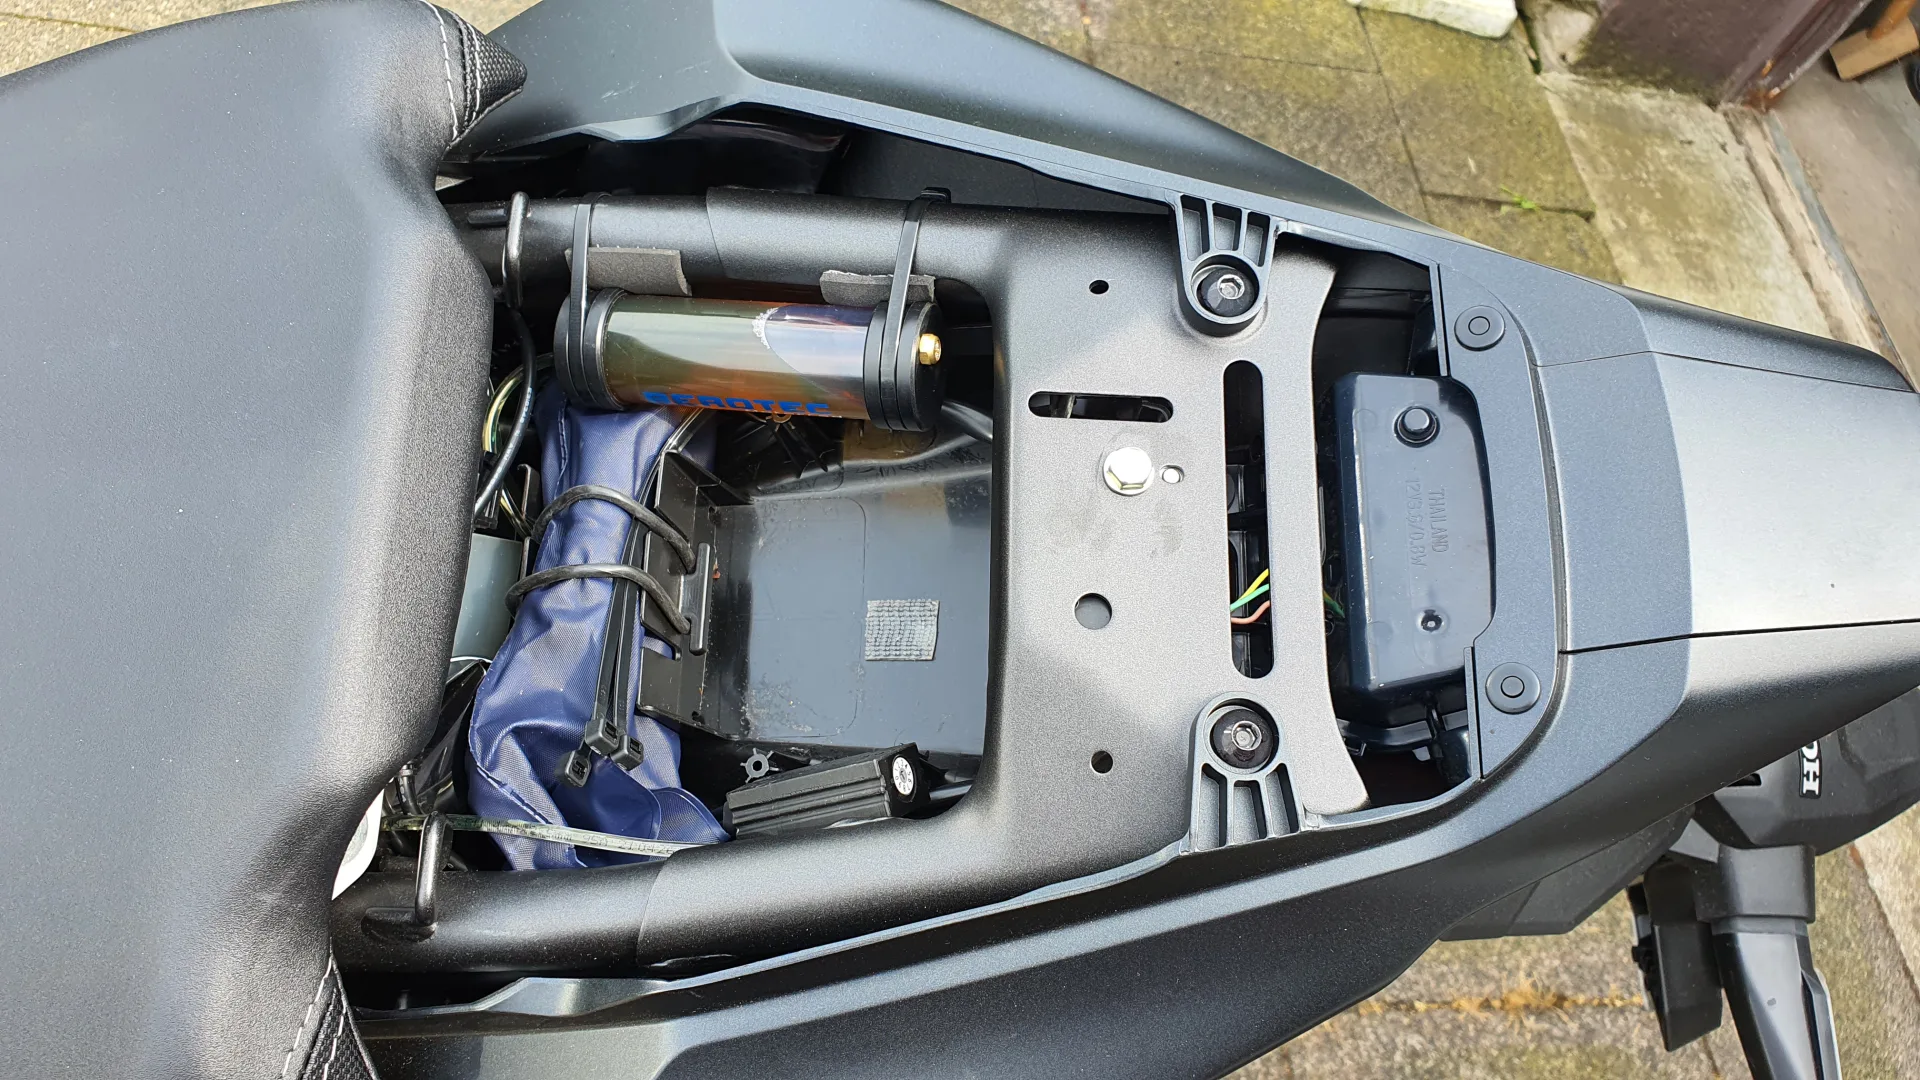
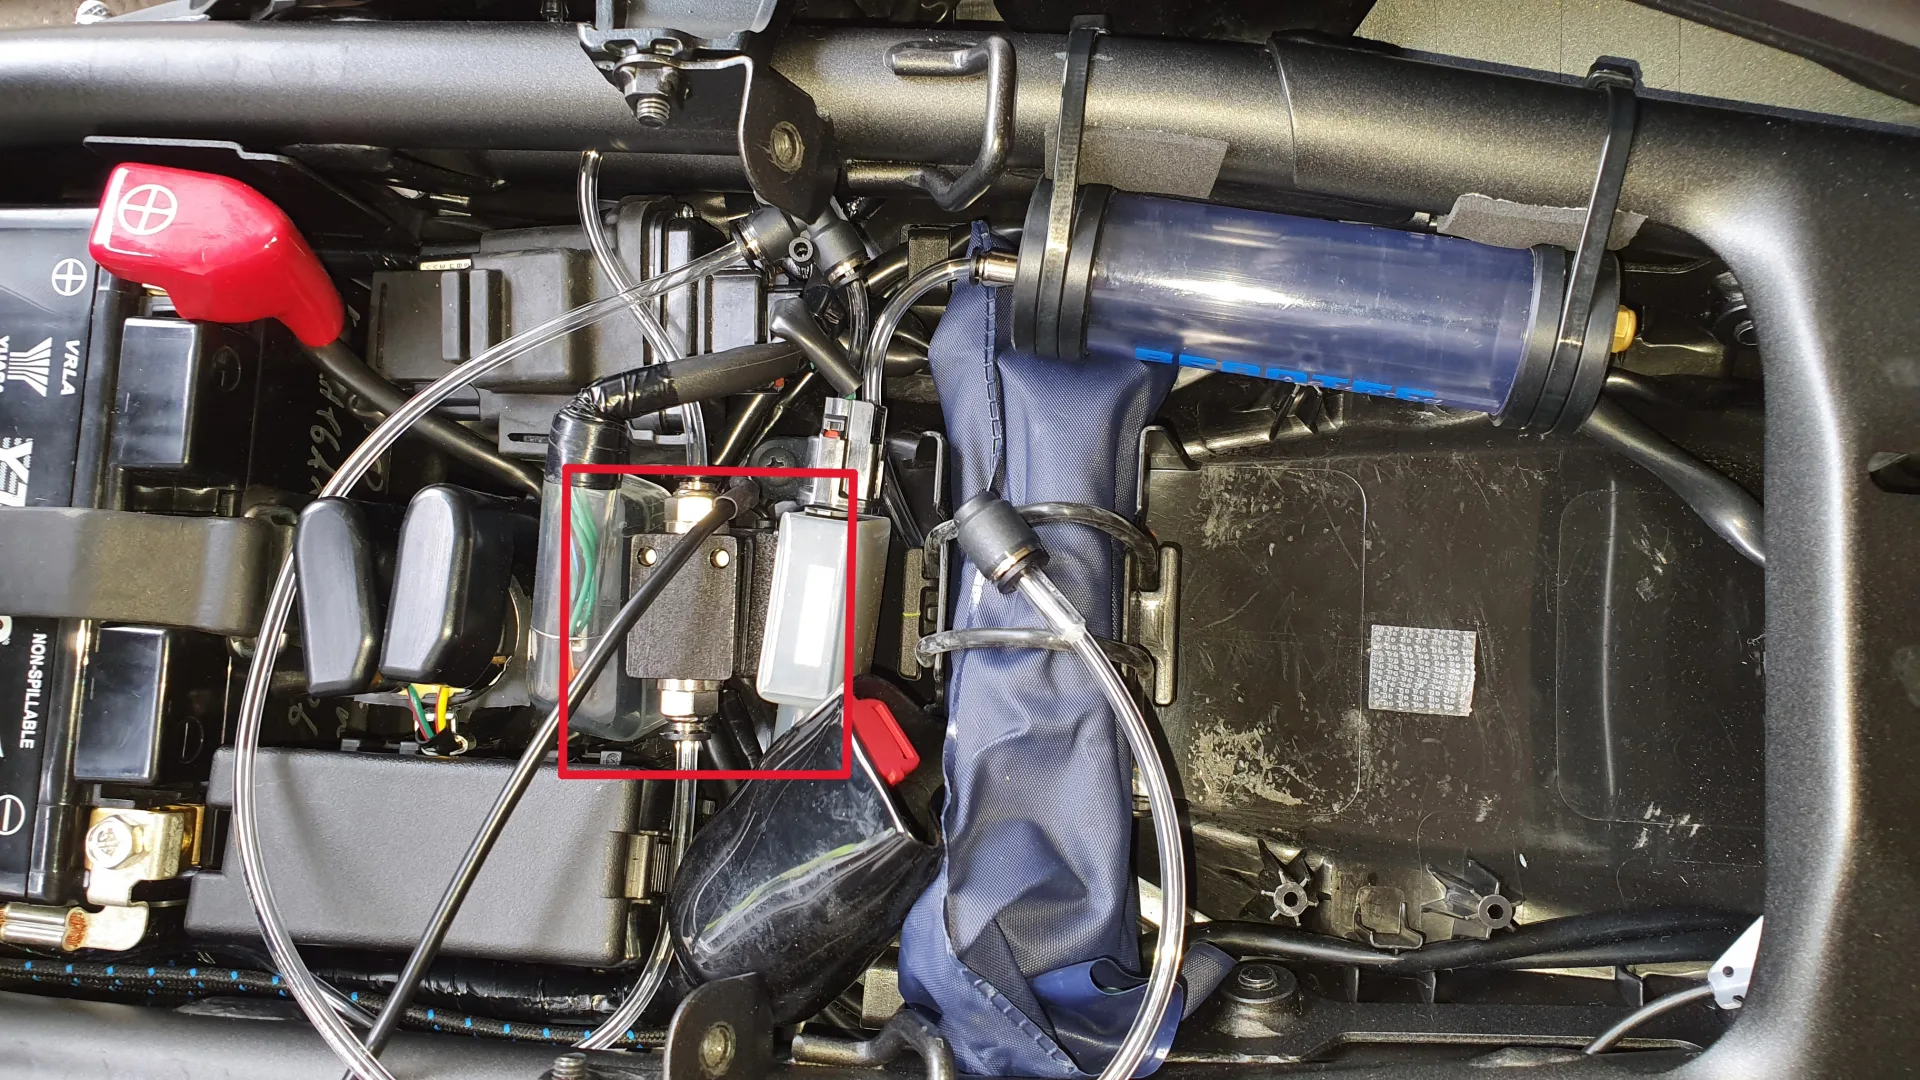
Metering valve
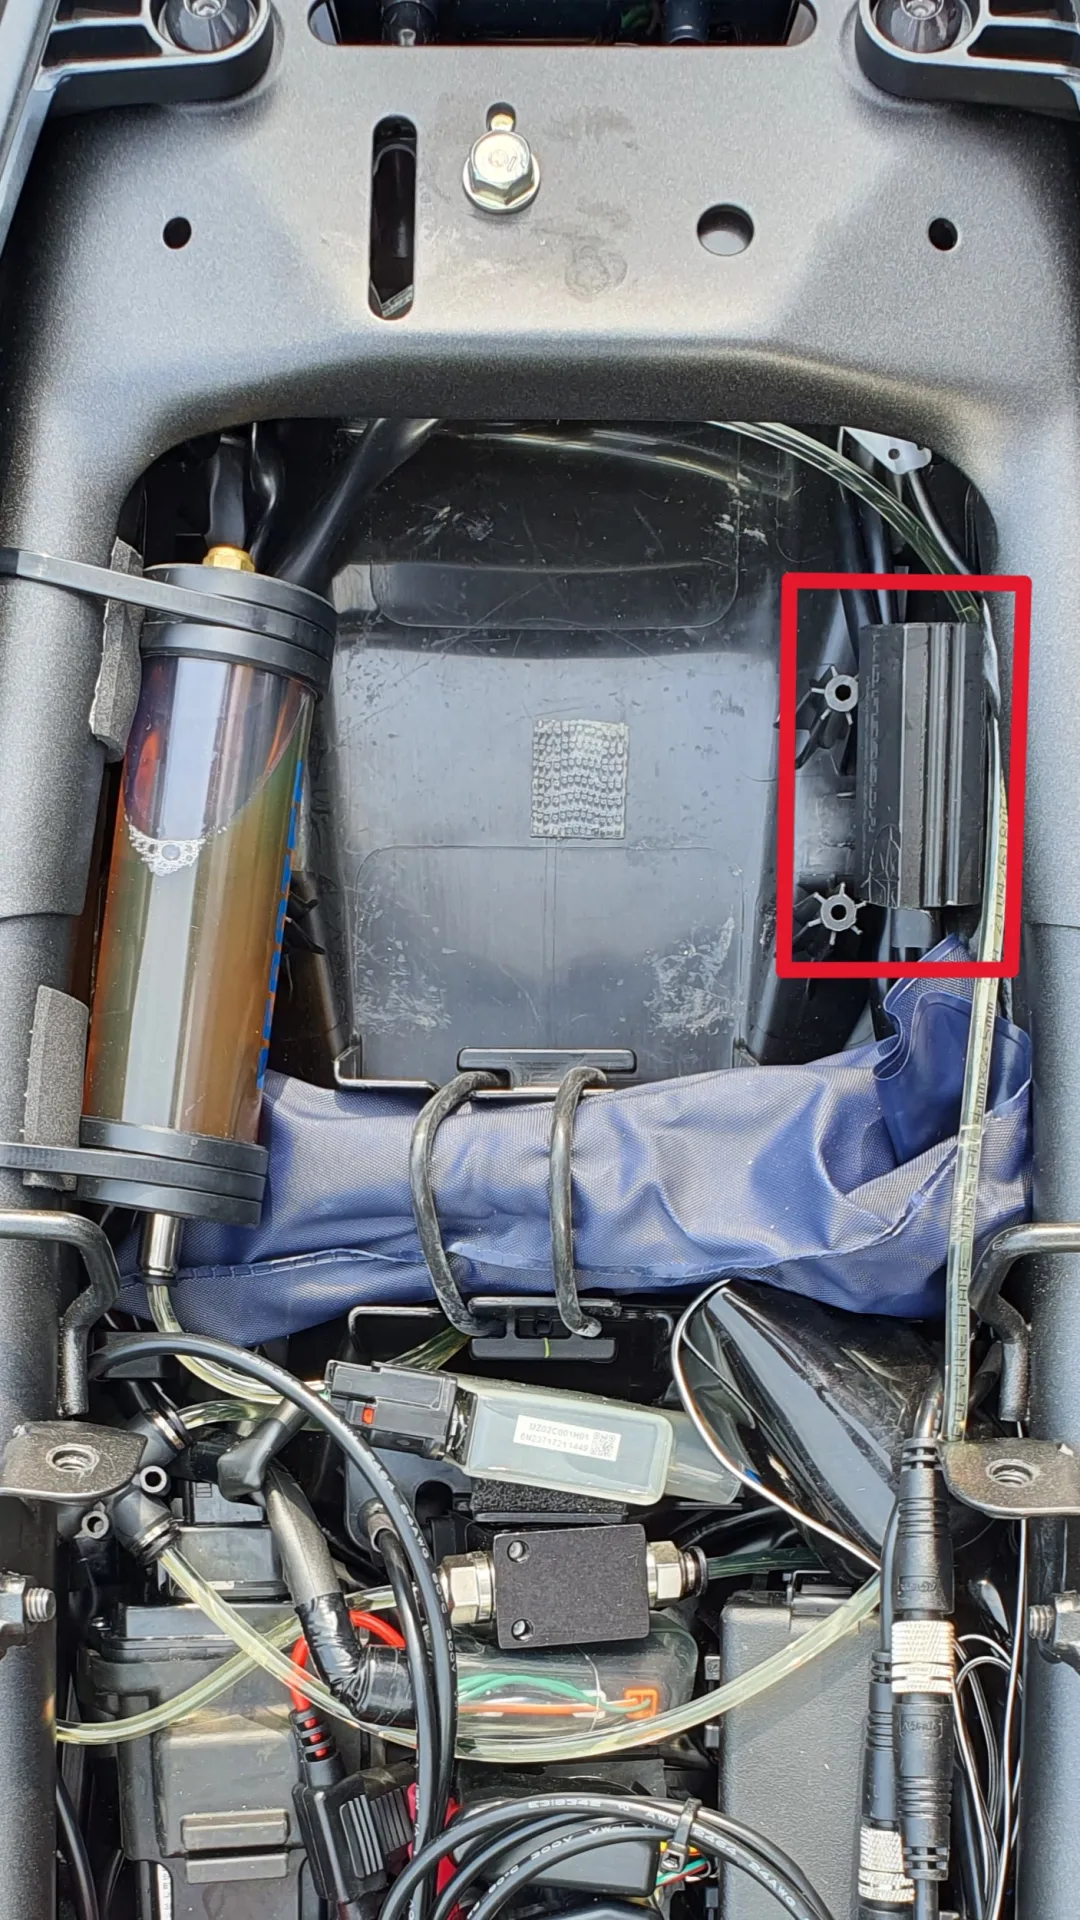
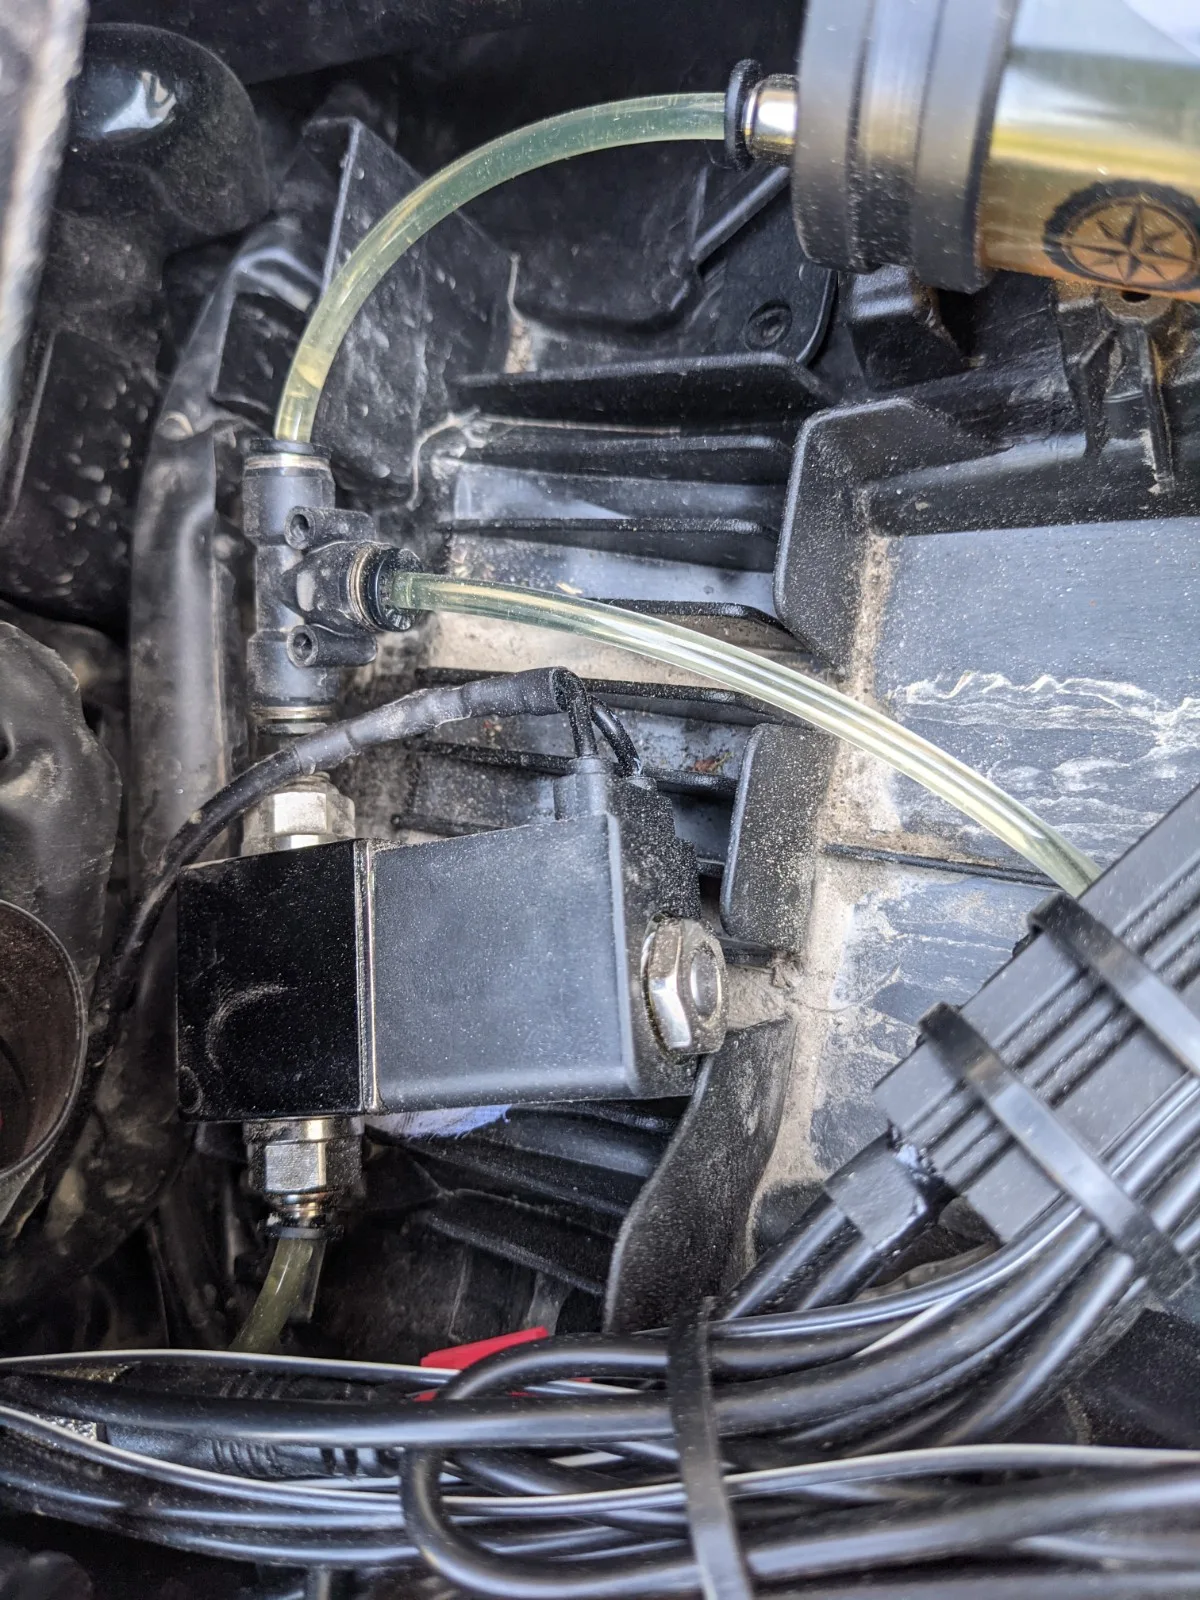
Under the seat, between the USB connection and the taillight connection, there is plenty of room for the metering valve. It simply sits loosely in between; you could add a little of the self-adhesive foam here should it wobble too much after all.
Nozzle
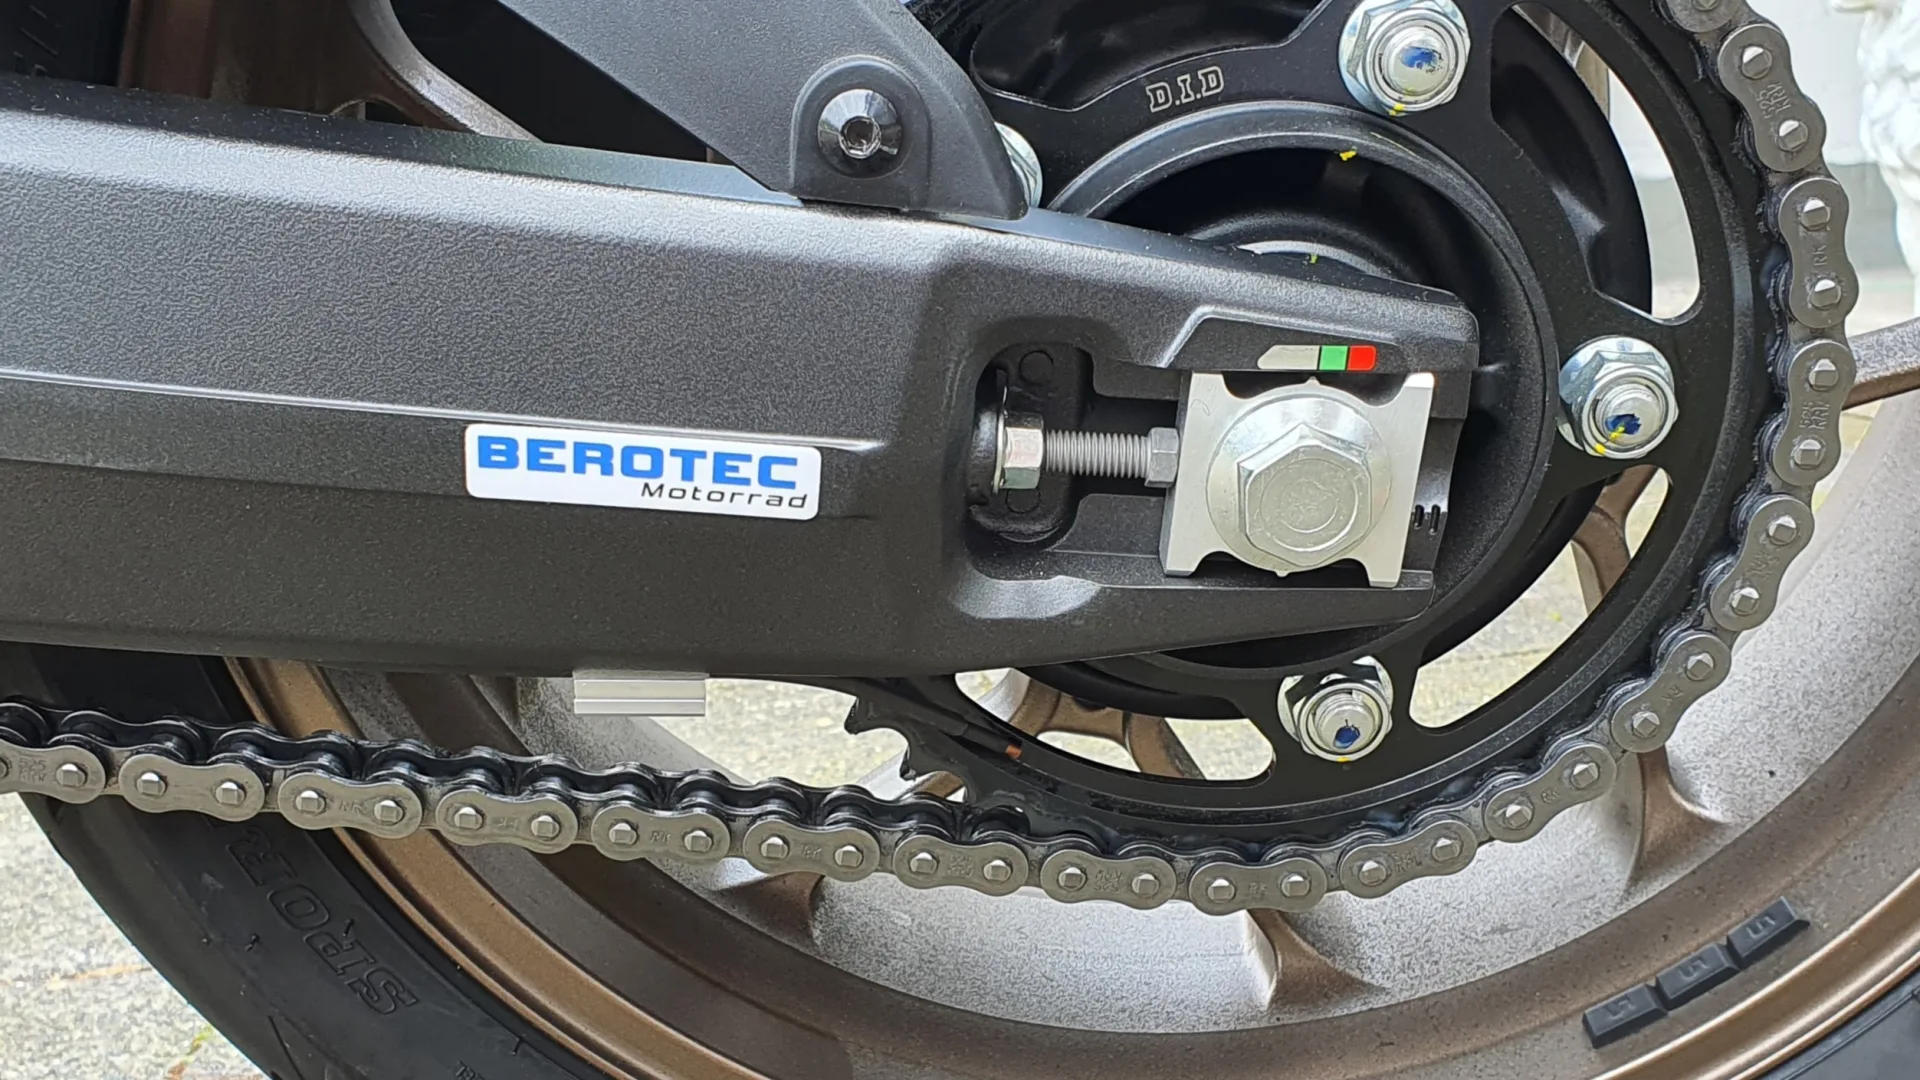
At the rear sprocket, outer side. The nozzle bracket was glued to the underside of the swingarm (the adhesive pads really do stick very well!). The hose was routed upwards on the inside of the swingarm, likewise with two adhesive pads.
Switched 12 V supply
On the left side (next to the fuse box) there is an eight-pin accessory connector (with four contacts) which carries ignition-switched positive at the contact in the corner. My friendly dealer provided me with the AMP Superseal contact and a seal. The contact was crimped on without a special crimping tool.

Rain switch
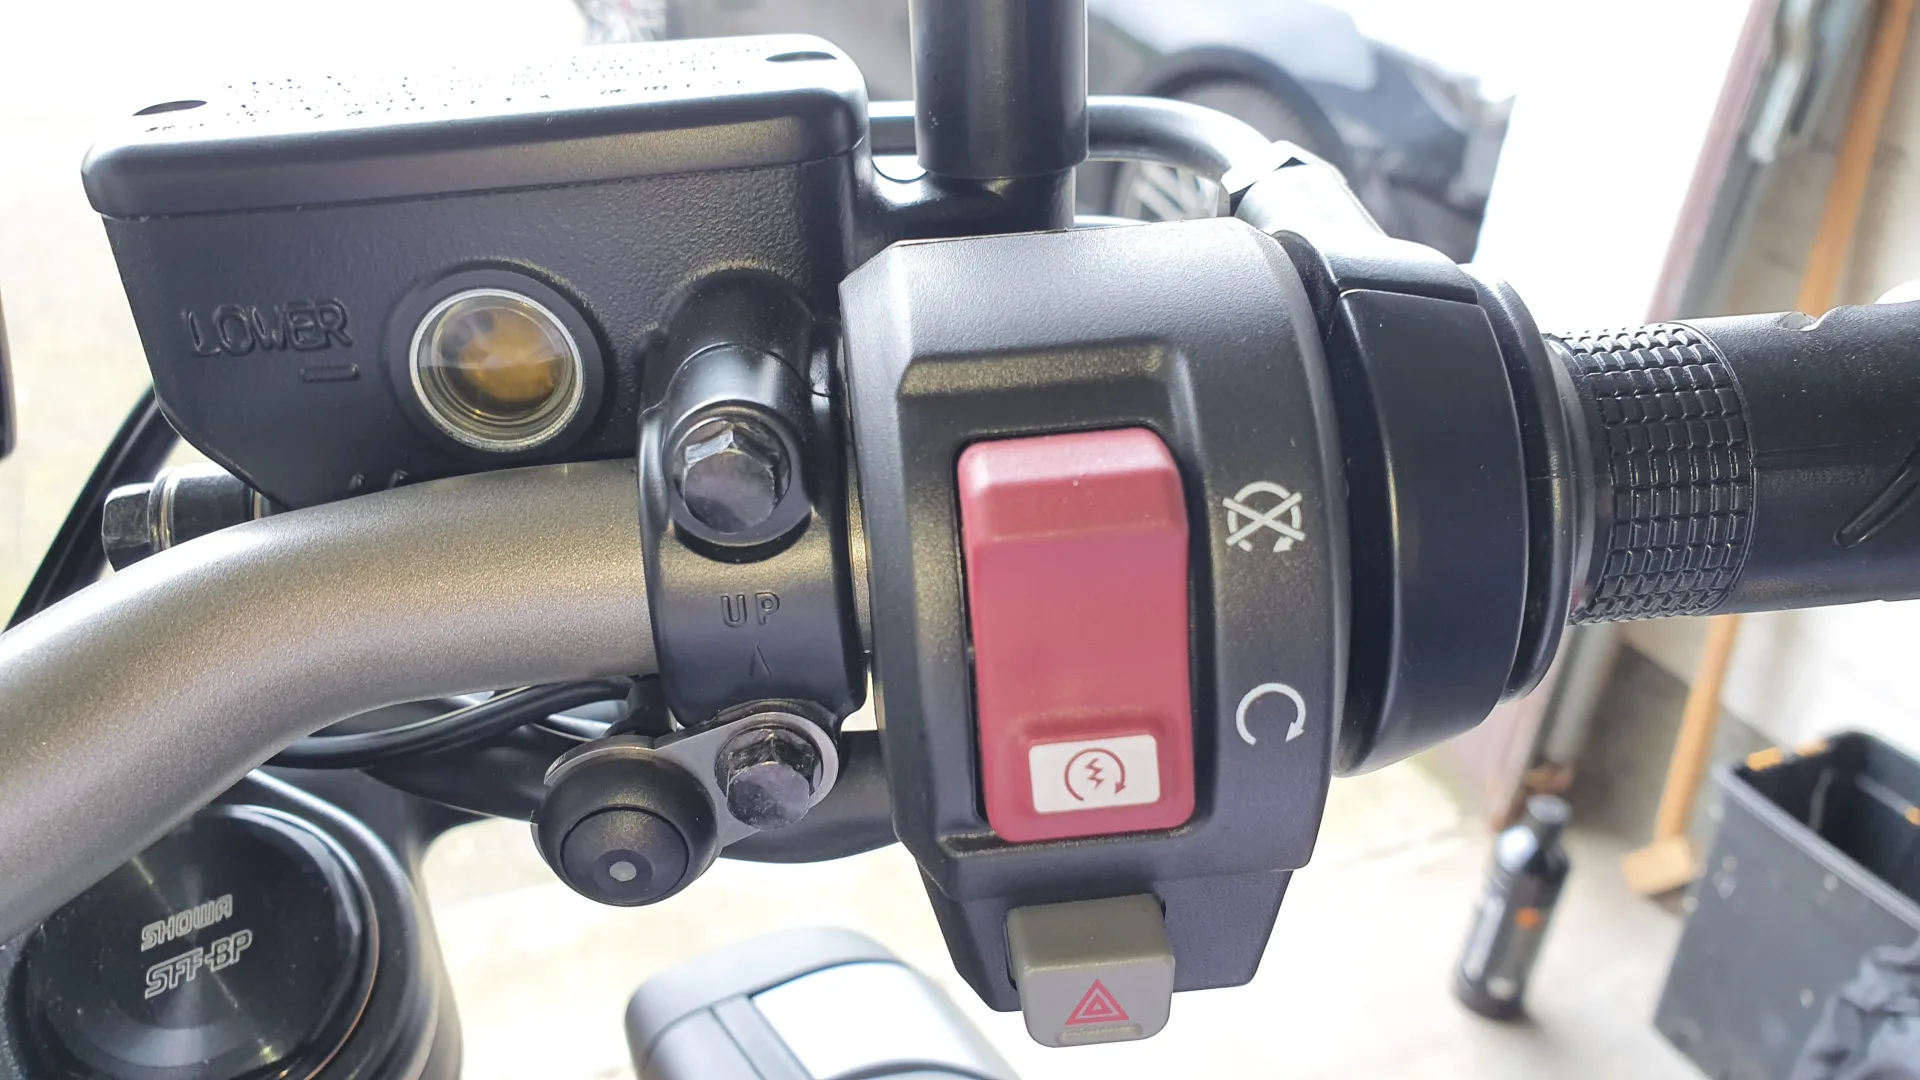
I fitted the rain switch on the right side and routed the cable along the existing wiring under the fuel tank to the rear. I did not have to remove the tank for this. When the side panel is taken off, there is enough room to route and secure it with small cable ties.
Control unit
Under the pillion seat, opposite the oil reservoir. That makes it easy to get at for readjusting. The filler hose for the oil reservoir was also stowed at the rear.
Installation report by F.Tielmann
Honda CB650R – year of manufacture 2022
This is how F.Tielmann solved the installation – unfortunately we cannot guarantee that it works correctly, as we were not able to check the installation ourselves.
Oil reservoir 60 ml
Under the seat, on the right-hand side of the frame (with the variable reservoir vent fitted in addition)

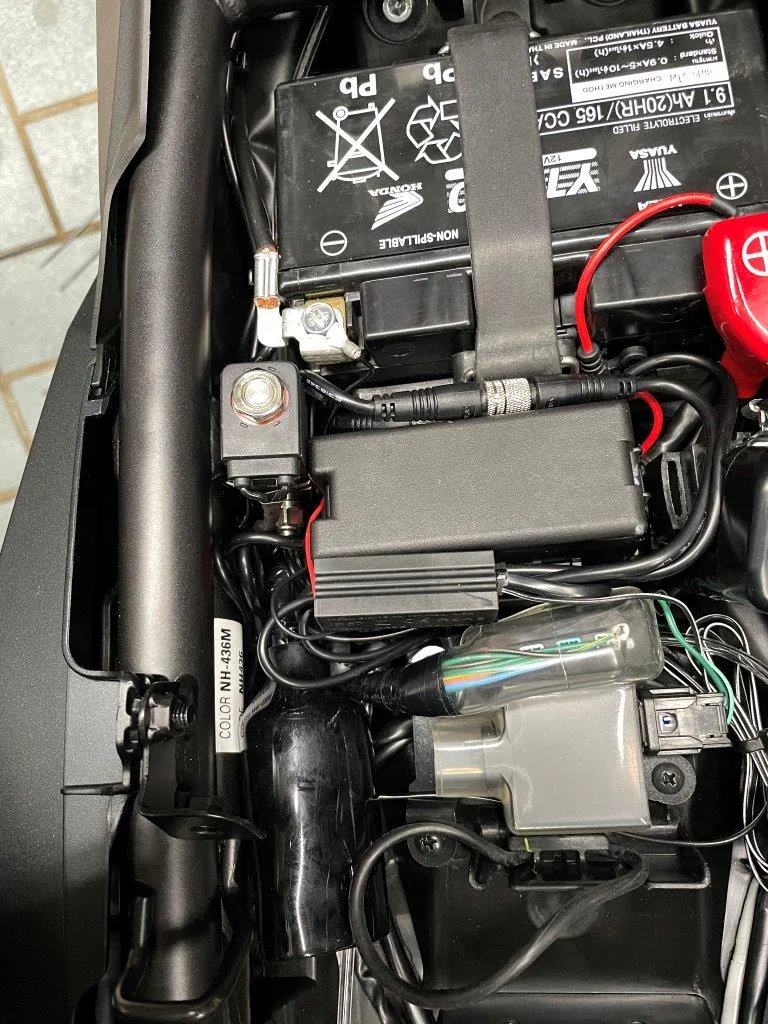
Metering valve
Under the seat on the left, with a cable tie between the fuse box and the frame
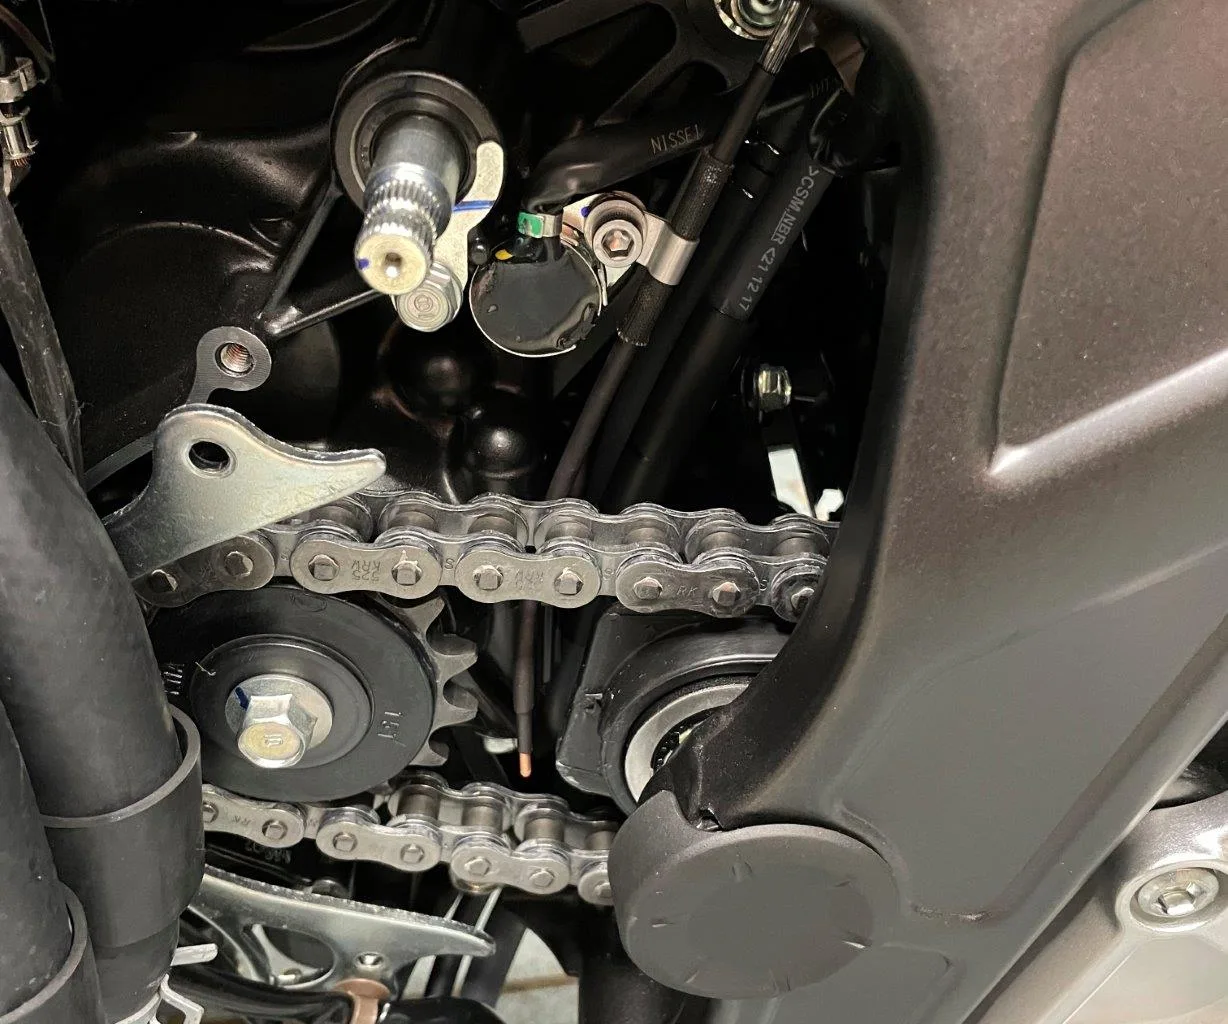
Nozzle
At the front sprocket
Switched 12 V supply
At the accessory connector, with the original terminal

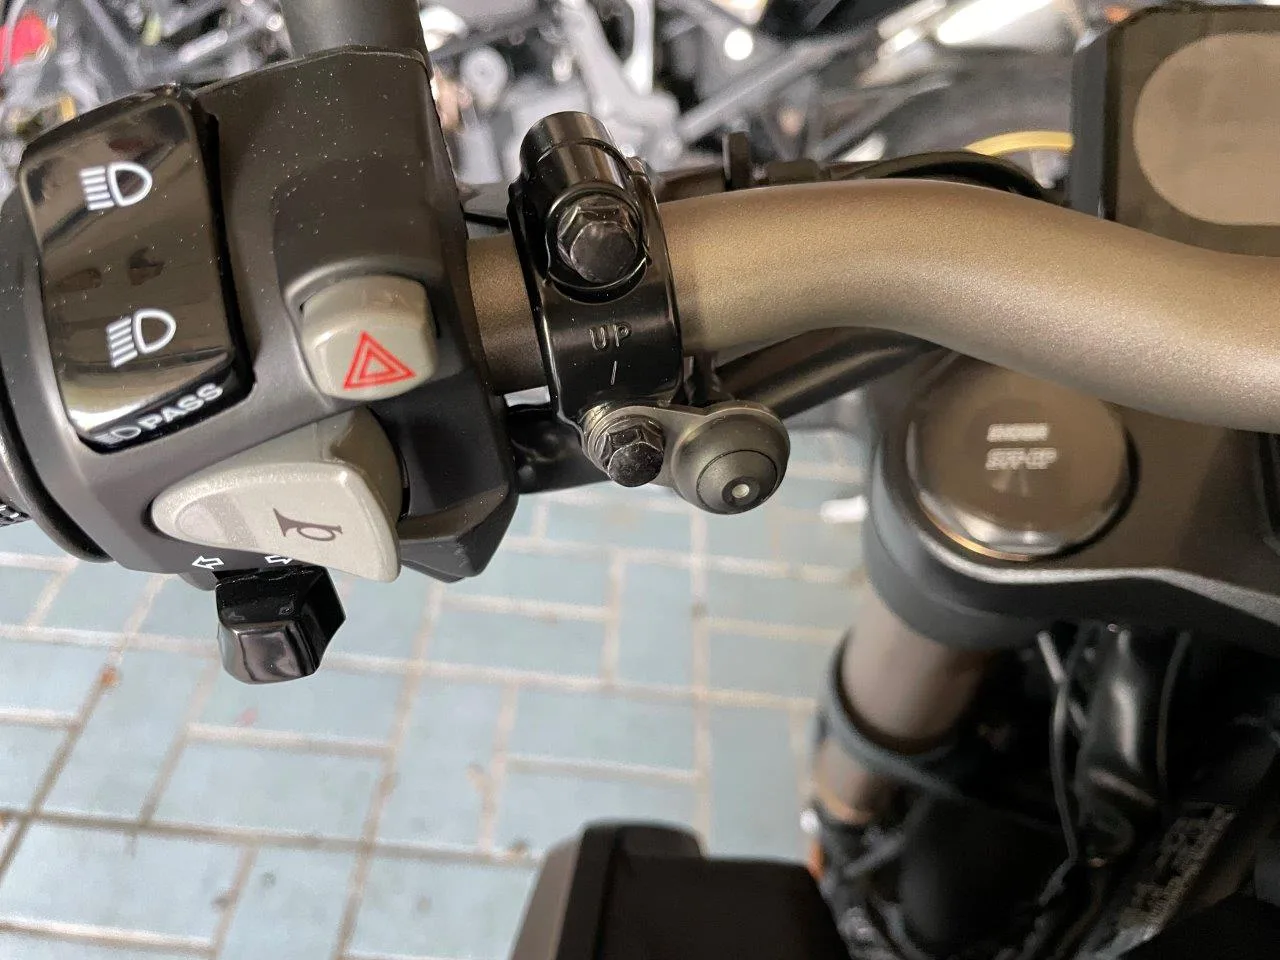
Rain switch
On the left-hand side of the handlebar
Control unit
Under the seat, between the fuse box and the taillight connections

Installation report by apexsurfer
Honda CB650R – year of manufacture 2020
This is how apexsurfer solved the installation – unfortunately we cannot guarantee that it works correctly, as we were not able to check the installation ourselves.
Oil reservoir 60 ml
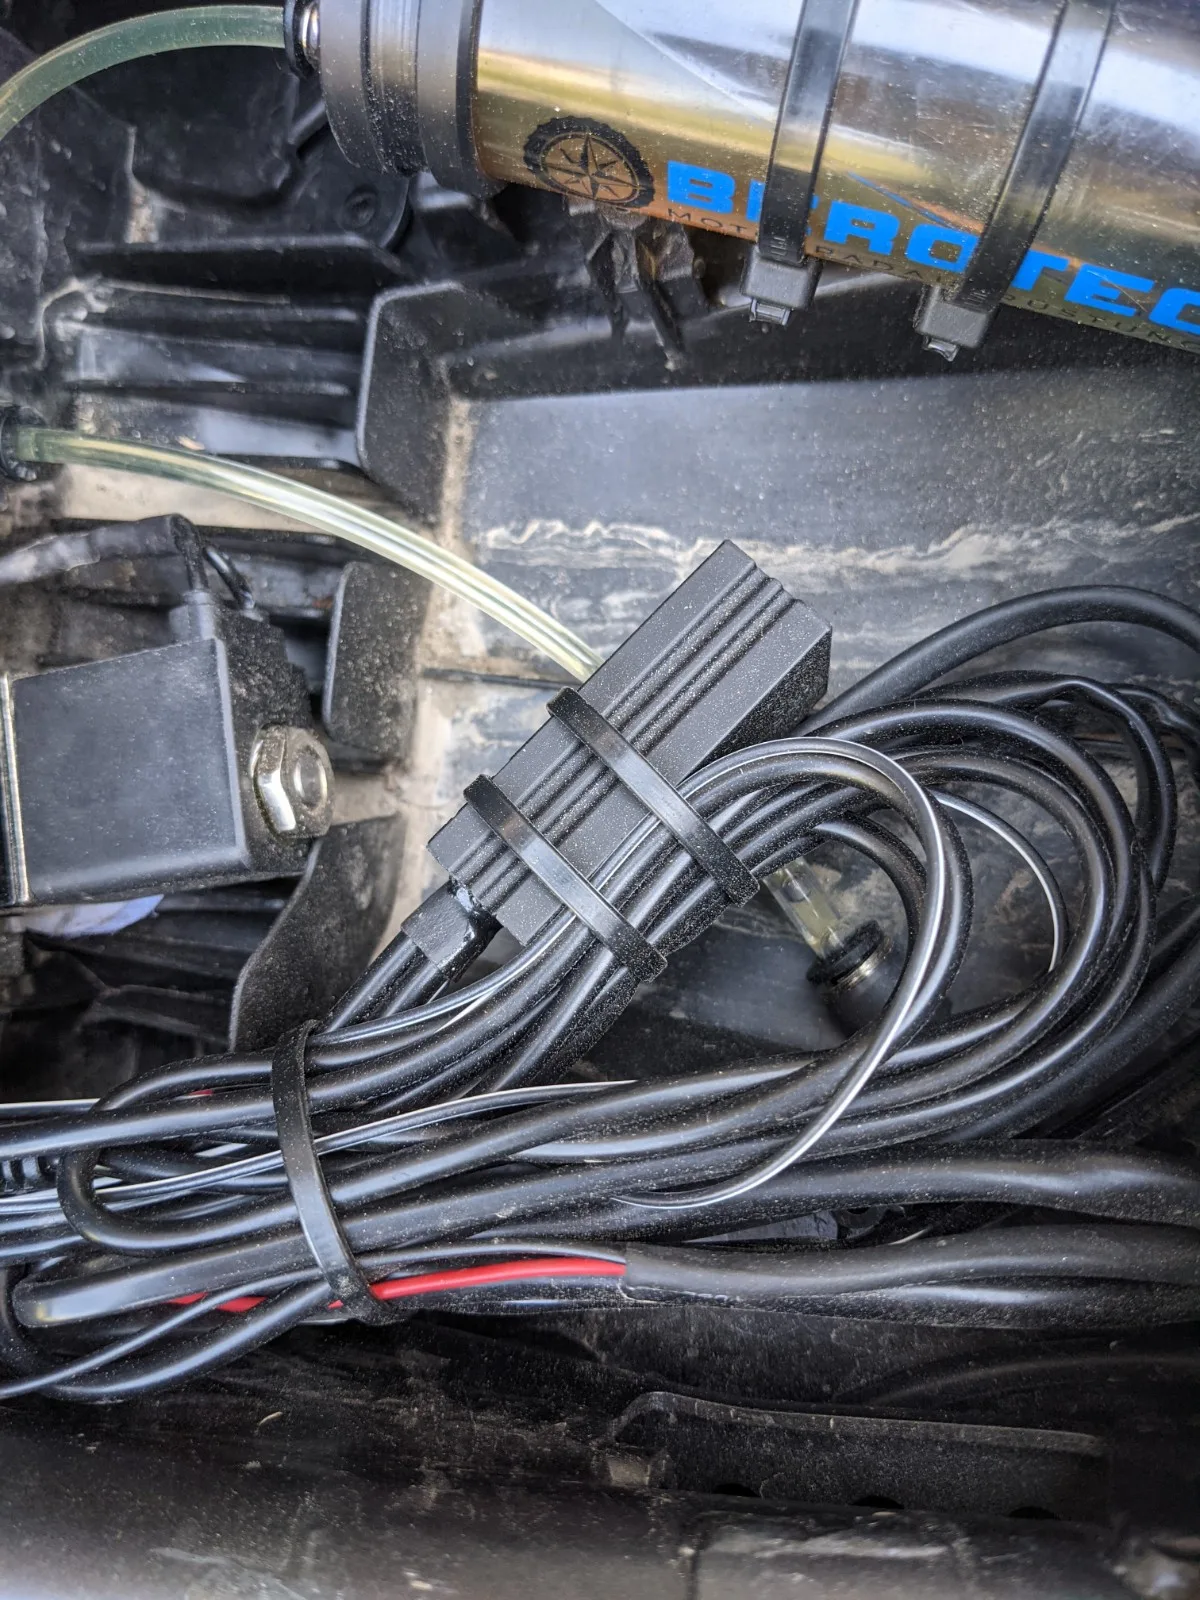
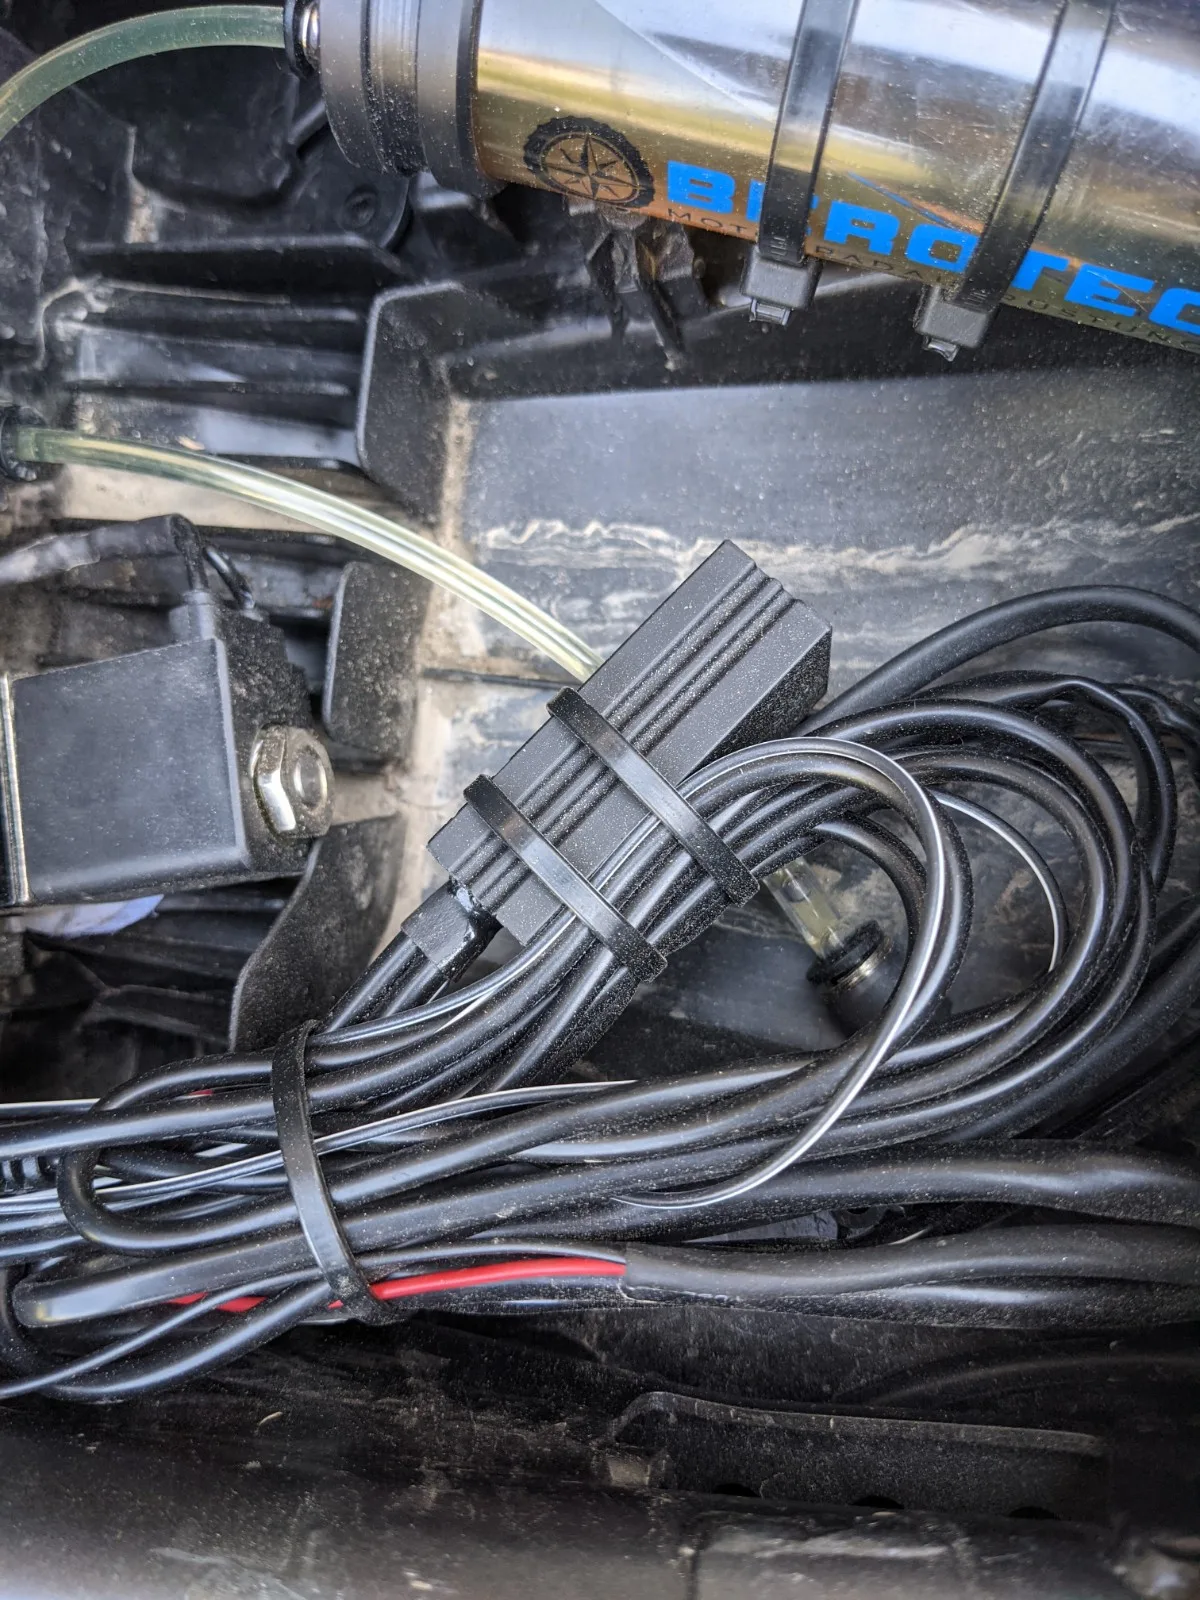
Under the pillion seat, attached to the frame with two cable ties, with a little foam in between

Metering valve
Attached with hook-and-loop pads where the onboard toolkit normally sits
Nozzle
drilled out the supplied clamp a little and attached it to the gear position sensor; the nozzle drips onto the chain from the inside, after the front sprocket

Switched 12 V supply
connected the 3M branch connector to the licence plate light; R&G licence plate holder, hence the red wire
Rain switch
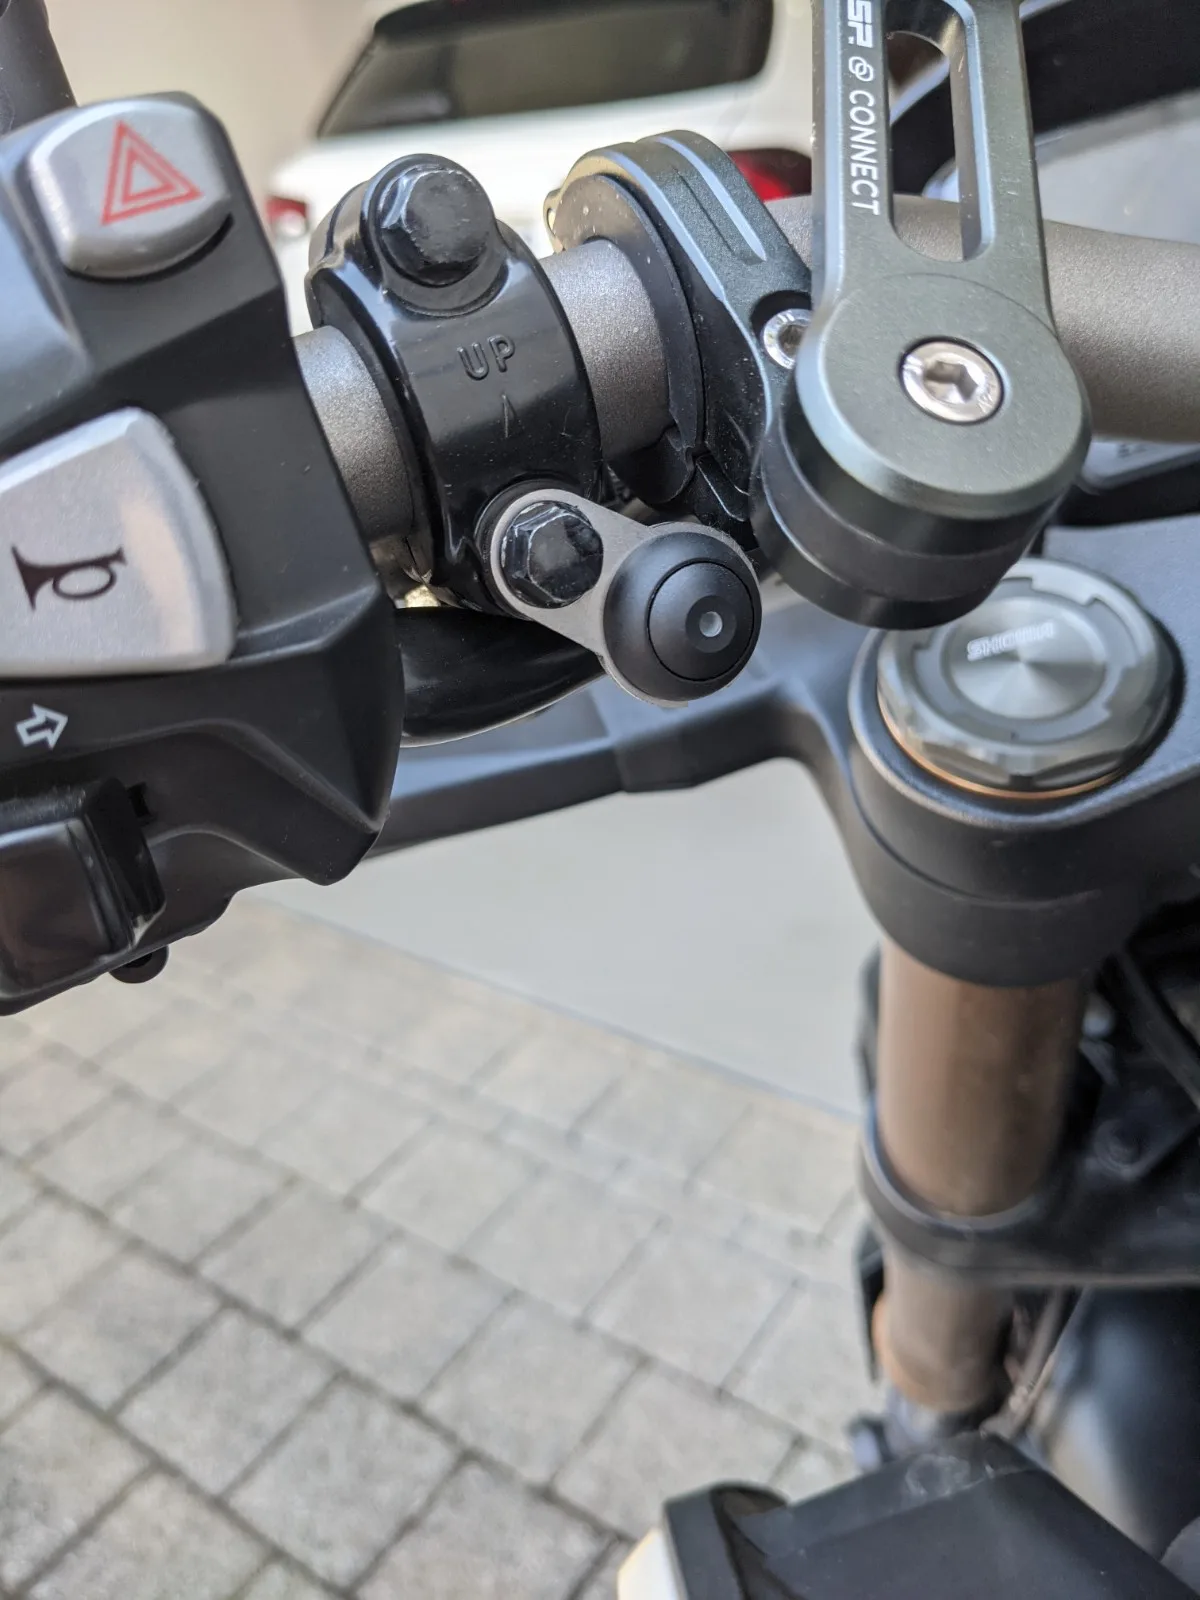
On the left-hand side of the handlebar, cable routed alongside the fuel tank so that it can be removed easily
Control unit
attached to the remaining wiring harness under the pillion seat with cable ties
Have you fitted a MOFESSOR? Contribute your own installation report – directly here, with your photos.


