
Chain oiler for the Honda CRF1100L Africa Twin
2 installation reports for this model

Installation report by Rainer L.
Honda CRF1100L Africa Twin – year of manufacture 2020
This is how Rainer L. solved the installation – unfortunately we cannot guarantee that it works correctly, as we were not able to check the installation ourselves.
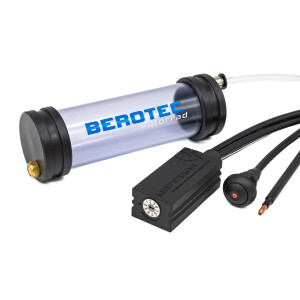
Oil reservoir 60 ml
Under the plastic cover on the left, fixed to the frame with a rubber-lined clamp, 35 mm diameter (DIN 3016, form D1). At the fixing point on the frame, the web of the plastic part has to be milled away (with a Dremel, for example). The optional variable reservoir vent was fitted in addition.
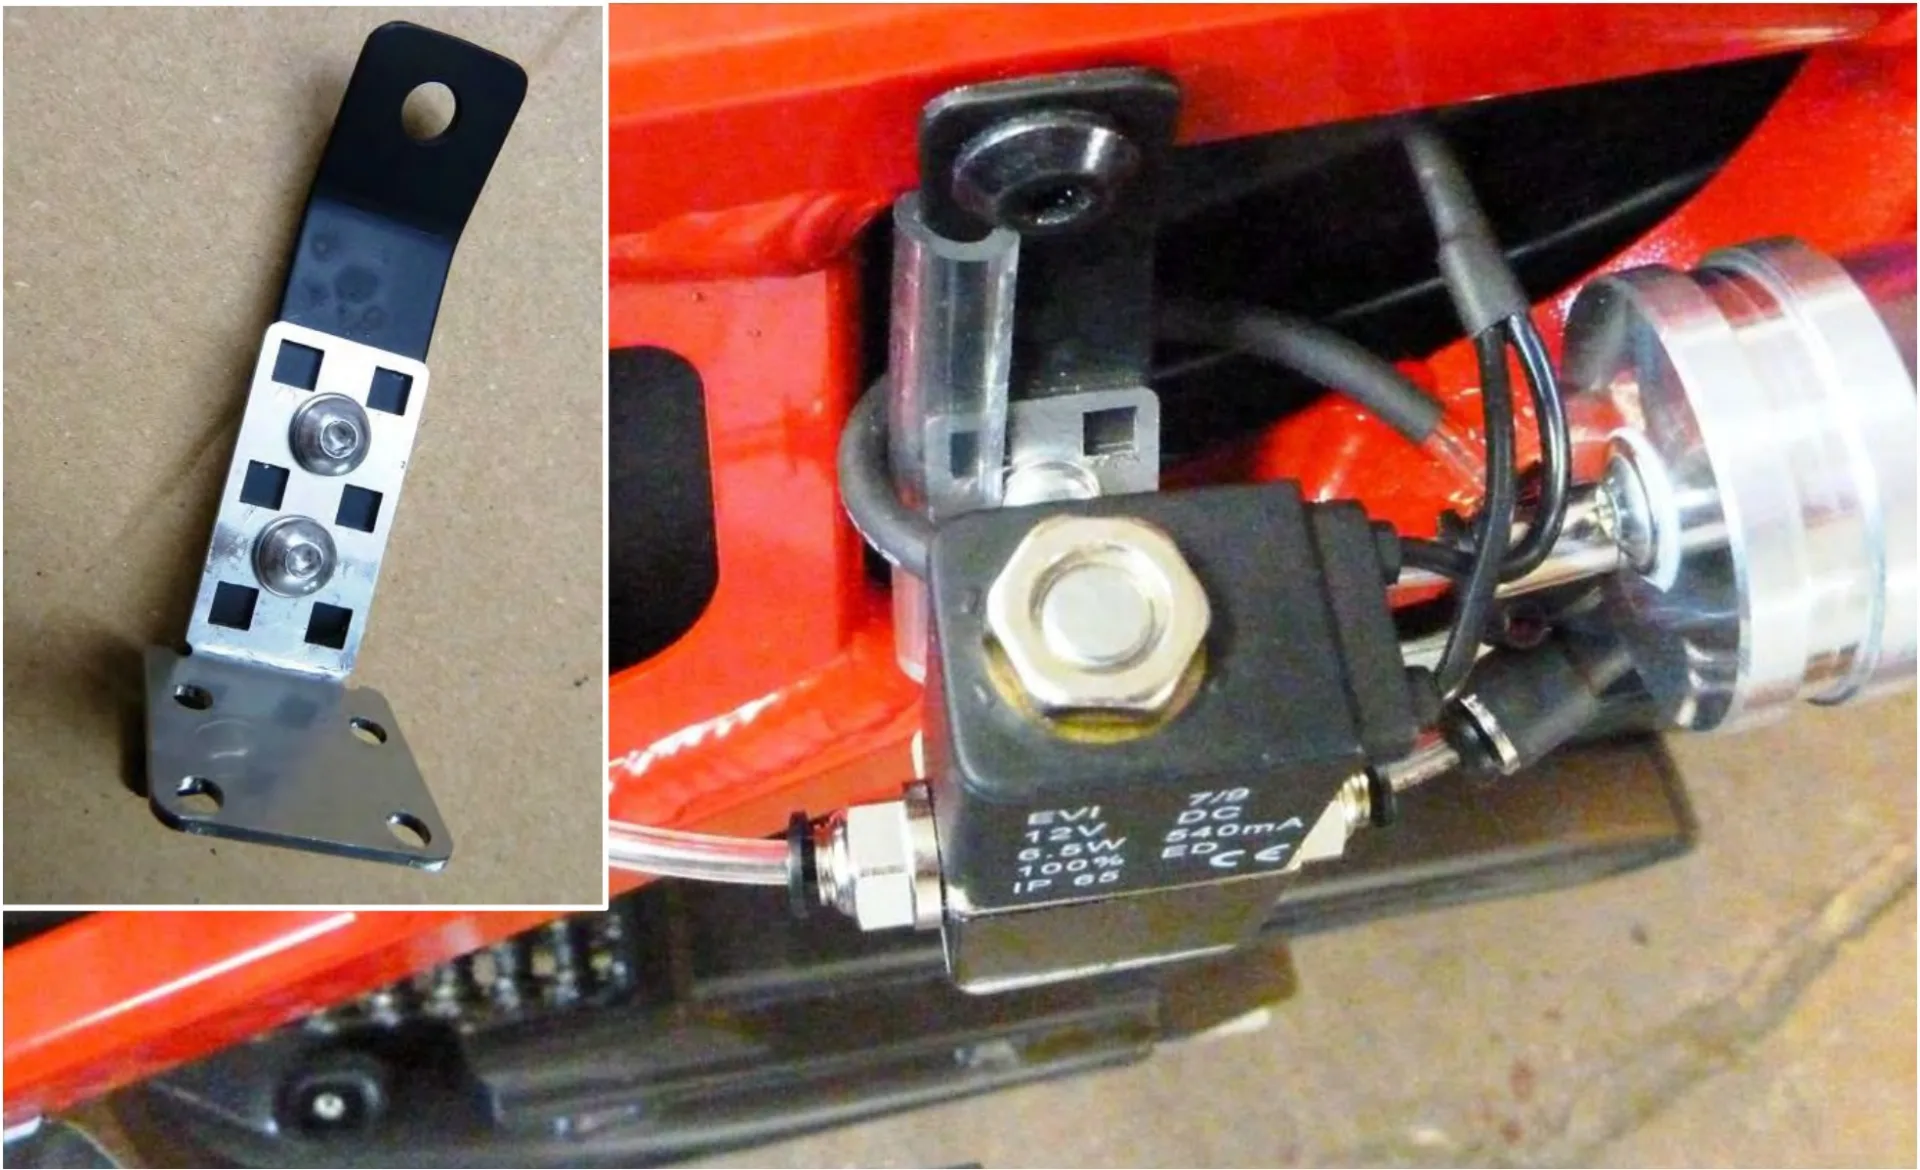
Metering valve
A bracket is made from anodised aluminium profile 20 x 2 mm (available in almost any DIY store) and bolted to the frame. The BEROTEC valve bracket is bent to shape so that the valve stands upright once fitted.
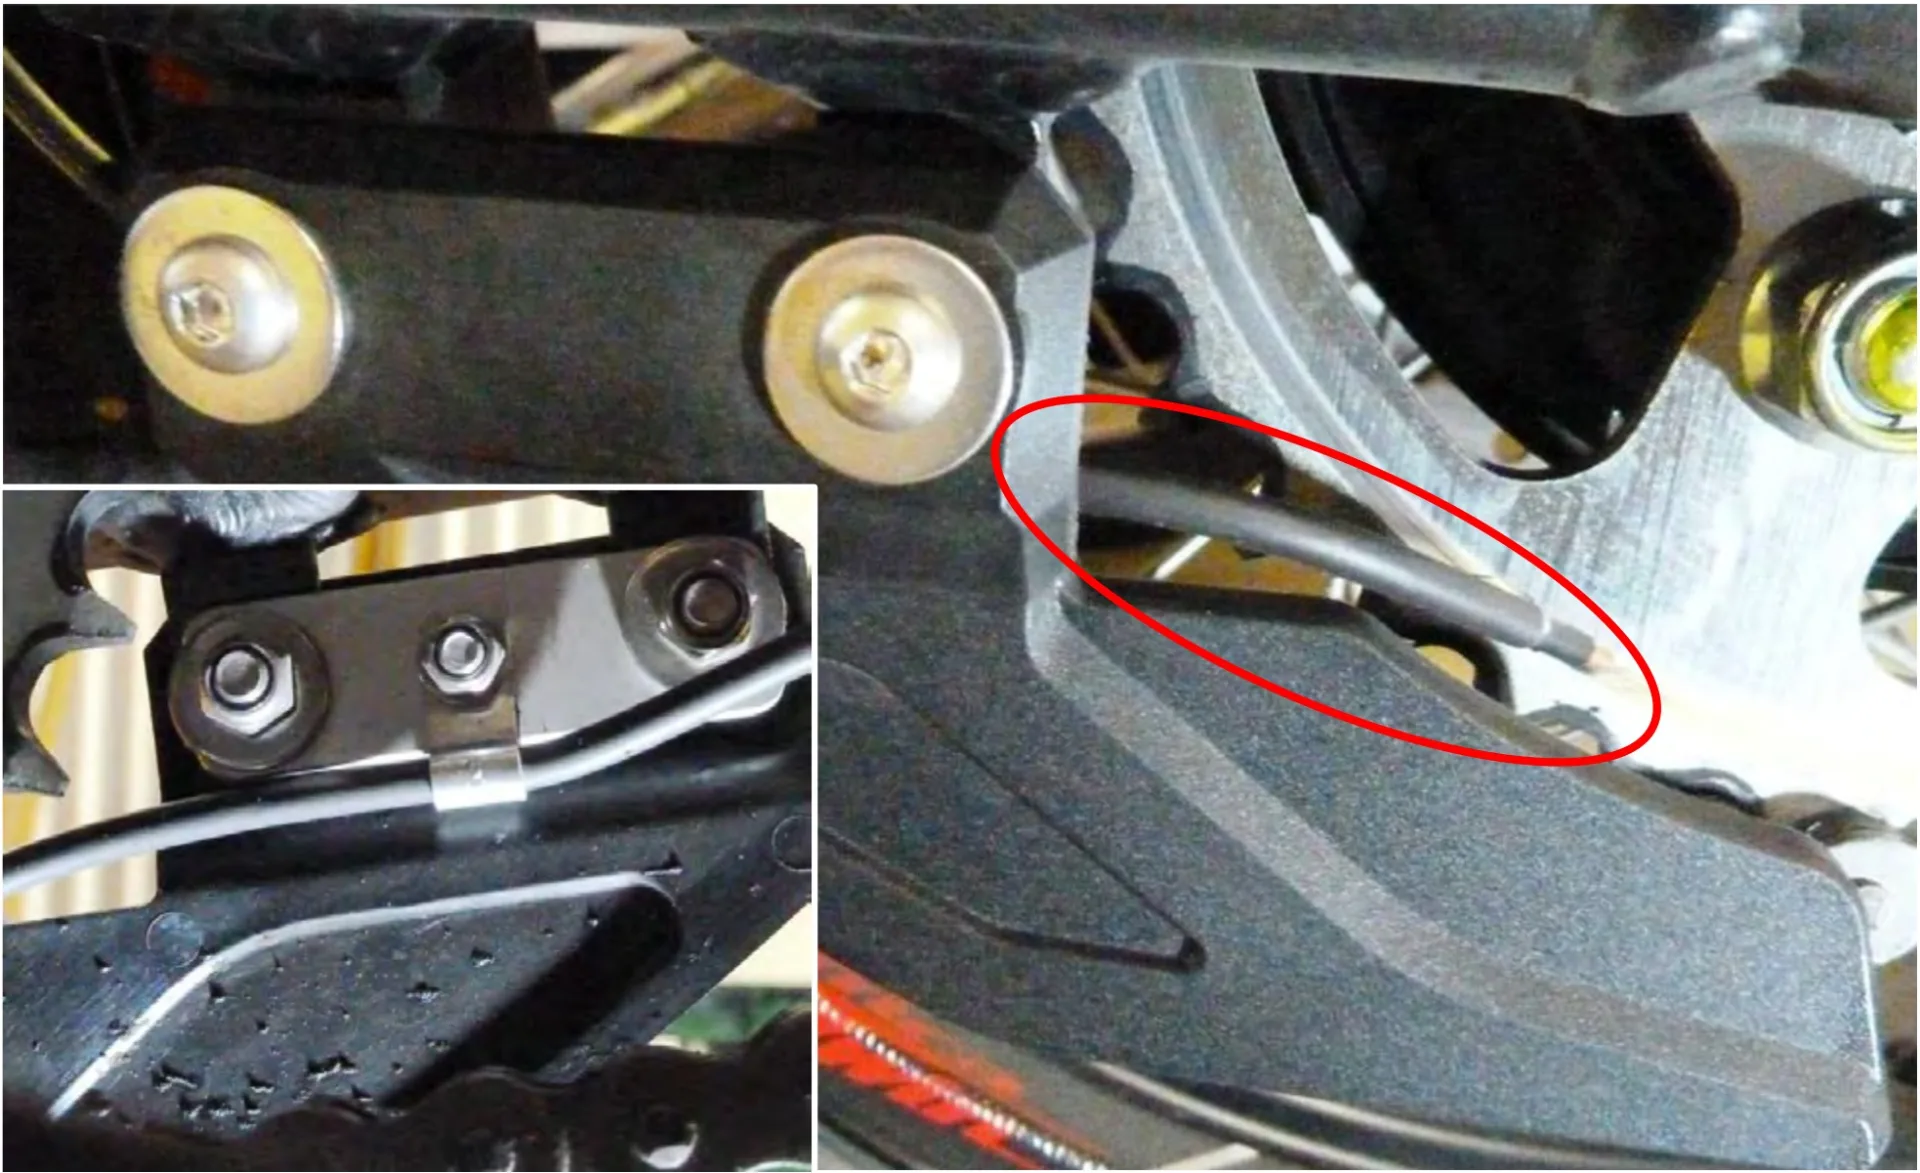
Nozzle
An aluminium profile is fitted behind the rear sprocket guard (using longer bolts with nuts) and the nozzle secured with a clamp.
Switched 12 V supply
Tapped at the accessory connector (to the left of the fuse box). For the pin assignment see Reiner’s installation suggestion.

Rain switch
Attached to the clamp of the clutch lever assembly. Cable routed with a pull wire (I use a bicycle bowden cable outer for this).

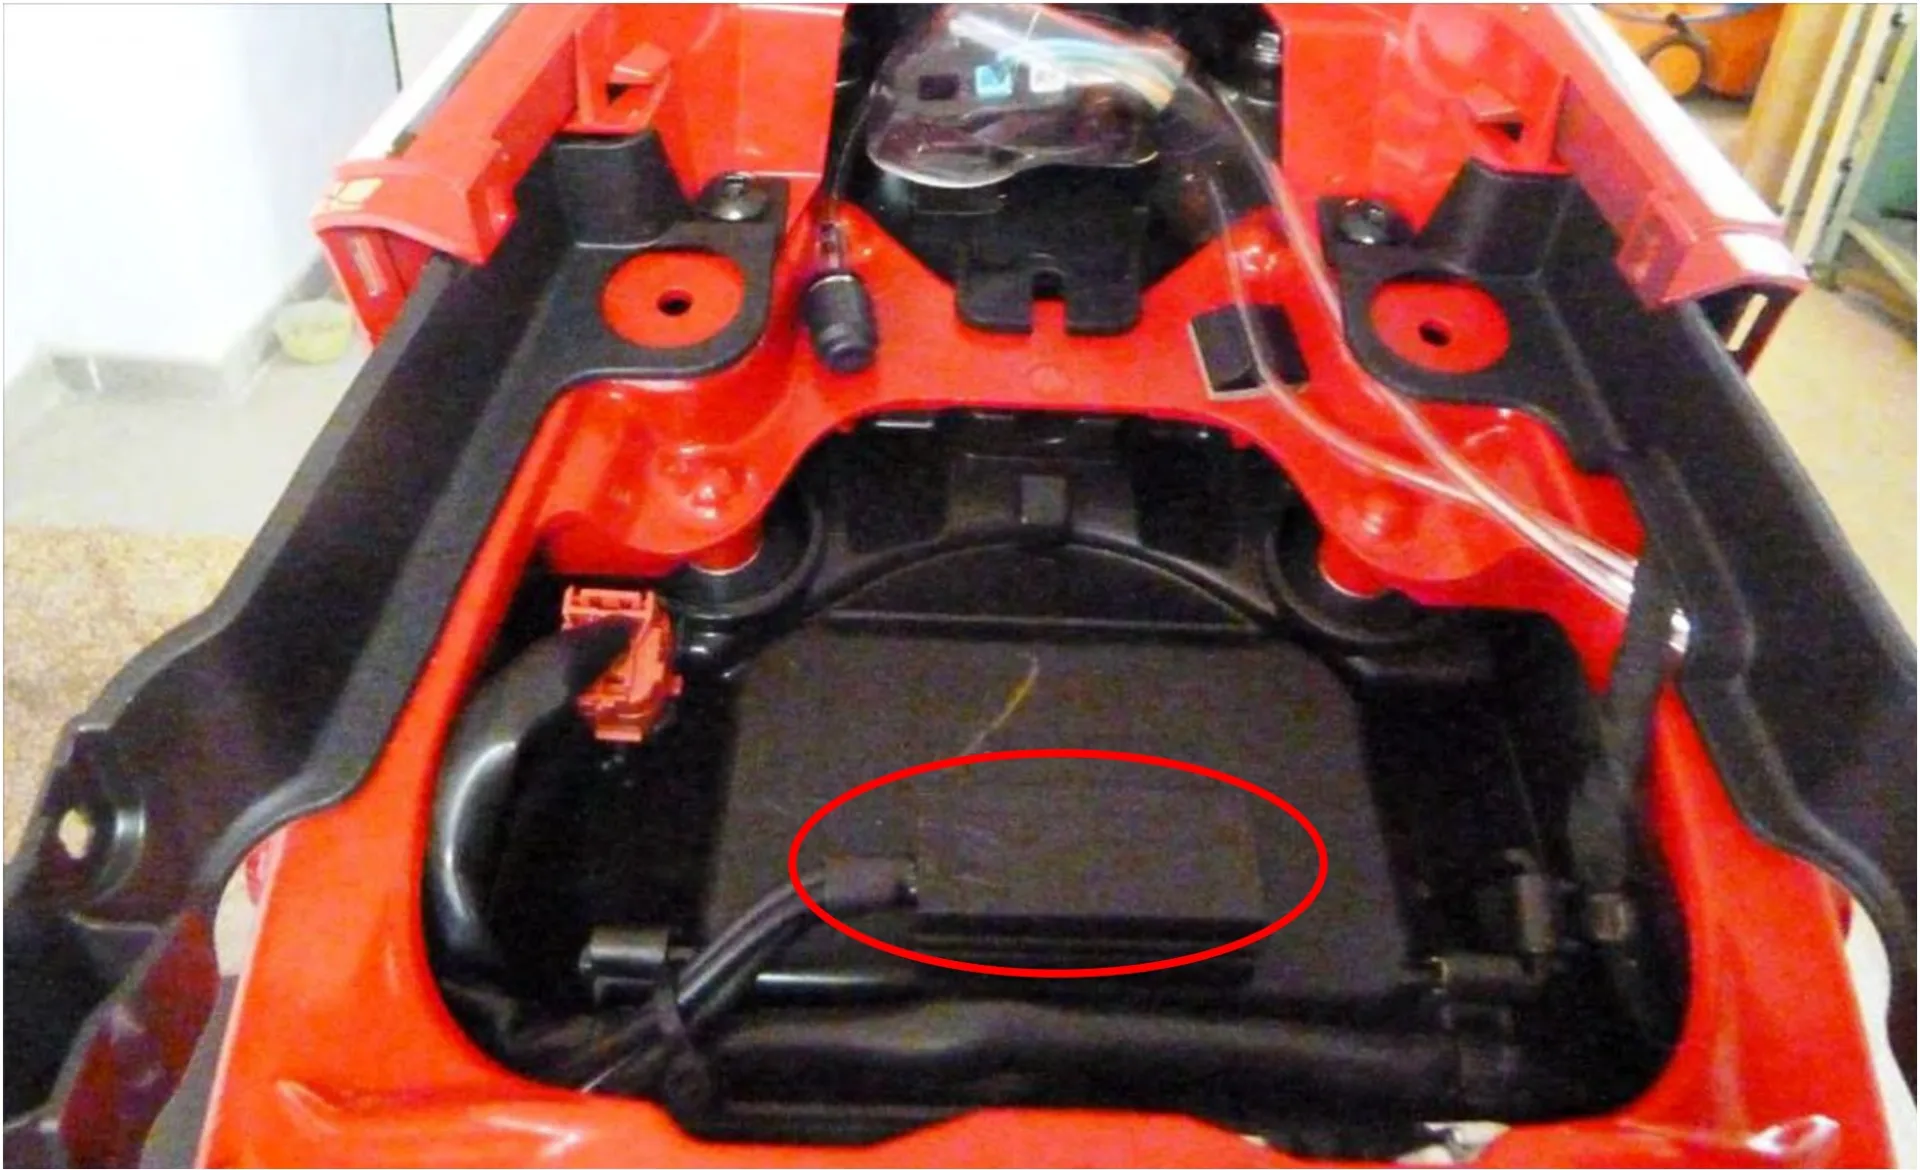
Control unit
Under the seat

Installation report by Honda 2020
Honda CRF1100L Africa Twin – year of manufacture 2020
This is how Honda 2020 solved the installation – unfortunately we cannot guarantee that it works correctly, as we were not able to check the installation ourselves.

Oil reservoir 120 ml
Under the left side panel, without a bracket or bolts: the oil reservoir is merely protected against the frame with foam rubber and secured with a cable tie through an existing unused hole in the frame. The variable reservoir vent was additionally routed into the tail section.

Metering valve
Pushed in under the oil reservoir with the cable to the left, protected against the frame with foam rubber and secured with a cable tie. (With the heat protection sleeve fitted in addition.)

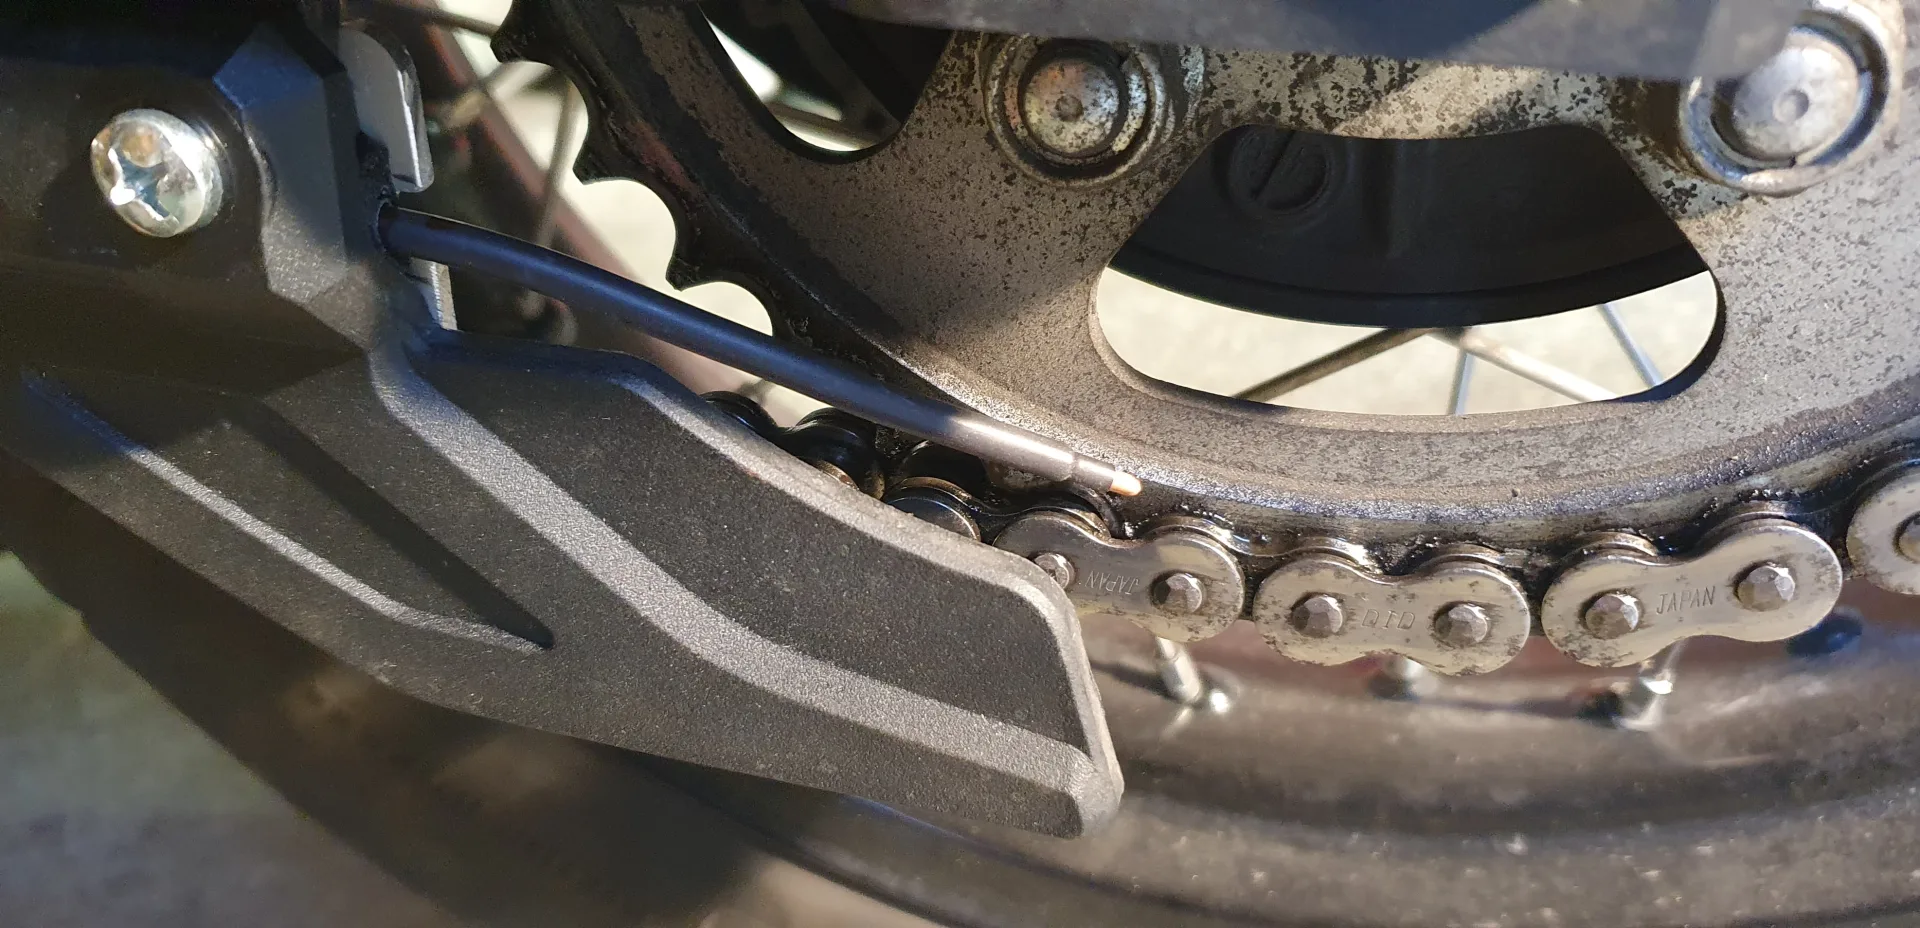
Nozzle
At the rear sprocket, outer side; longer bolts used for the chain guard. The nozzle is pushed into the additional heat protection sleeve, wrapped once with foam rubber and secured with a 3 mm aluminium backing plate. Hose routed along under the swingarm.
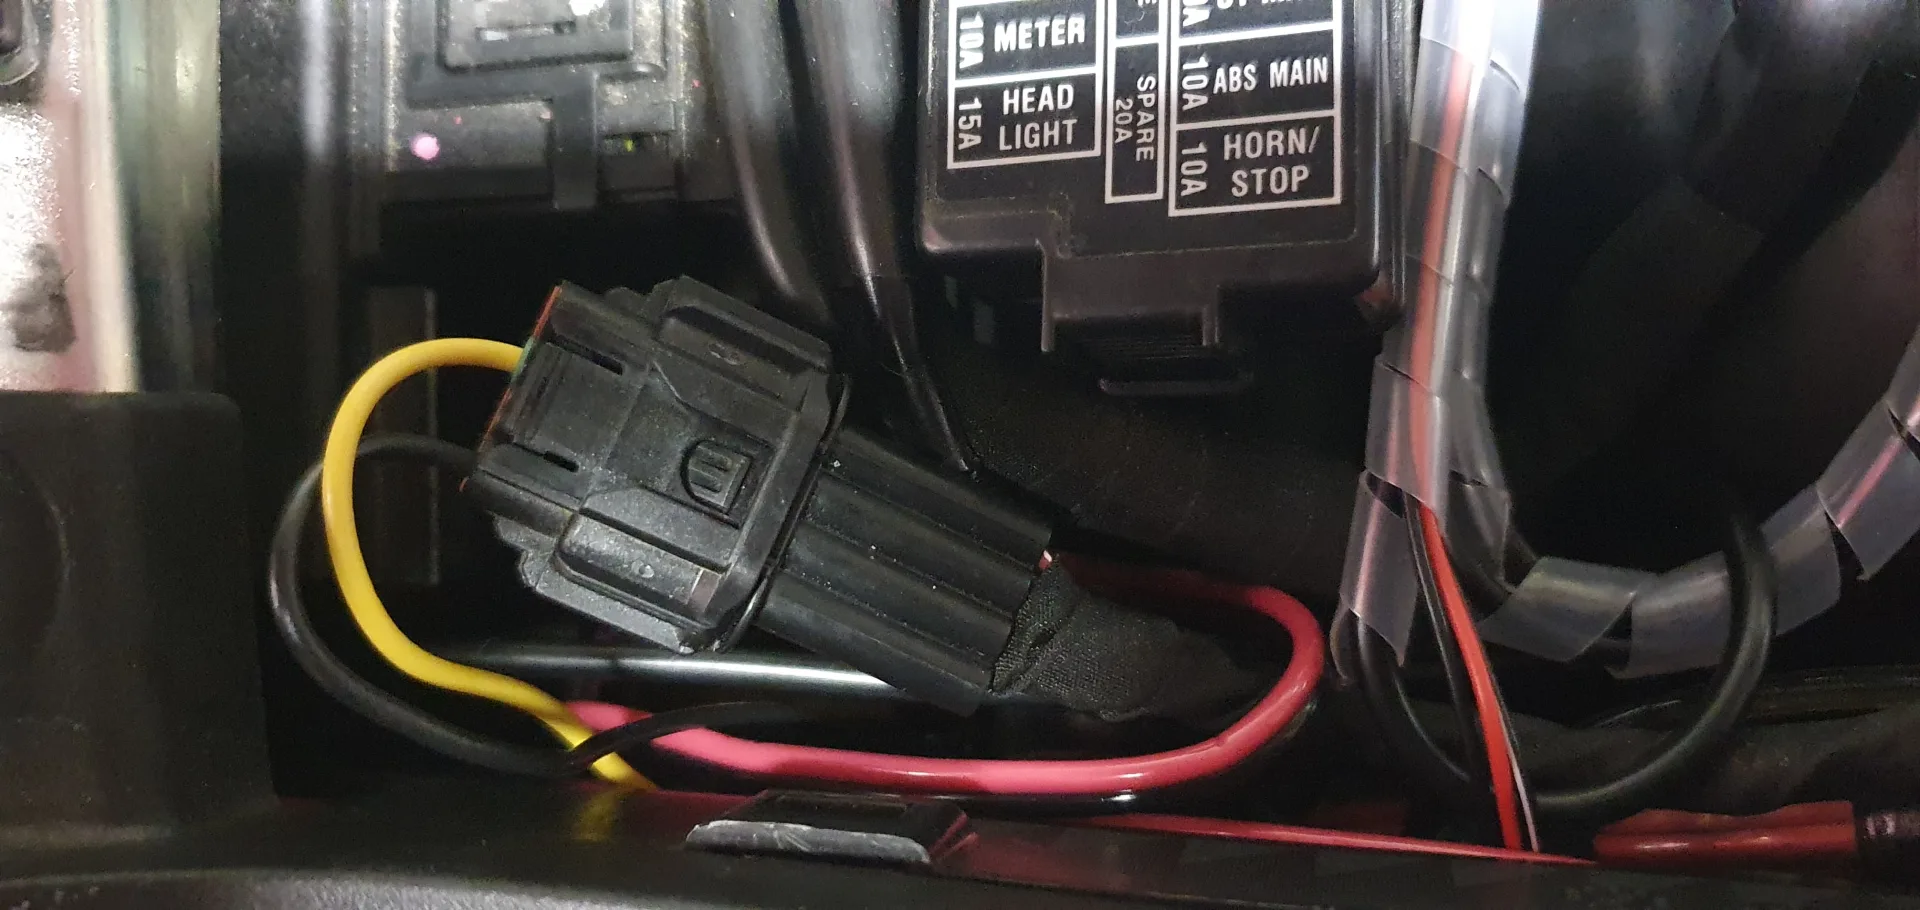
Switched 12 V supply
Switched positive and permanent positive from the accessory connector via the ignition; ground also from that connector.
Rain switch
On the left-hand side of the handlebar

Control unit
Under the pillion seat, easy to reach and to adjust.

Have you fitted a MOFESSOR? Contribute your own installation report – directly here, with your photos.


