
Chain oiler for the Honda CRF1100L Africa Twin AS
3 installation reports for this model
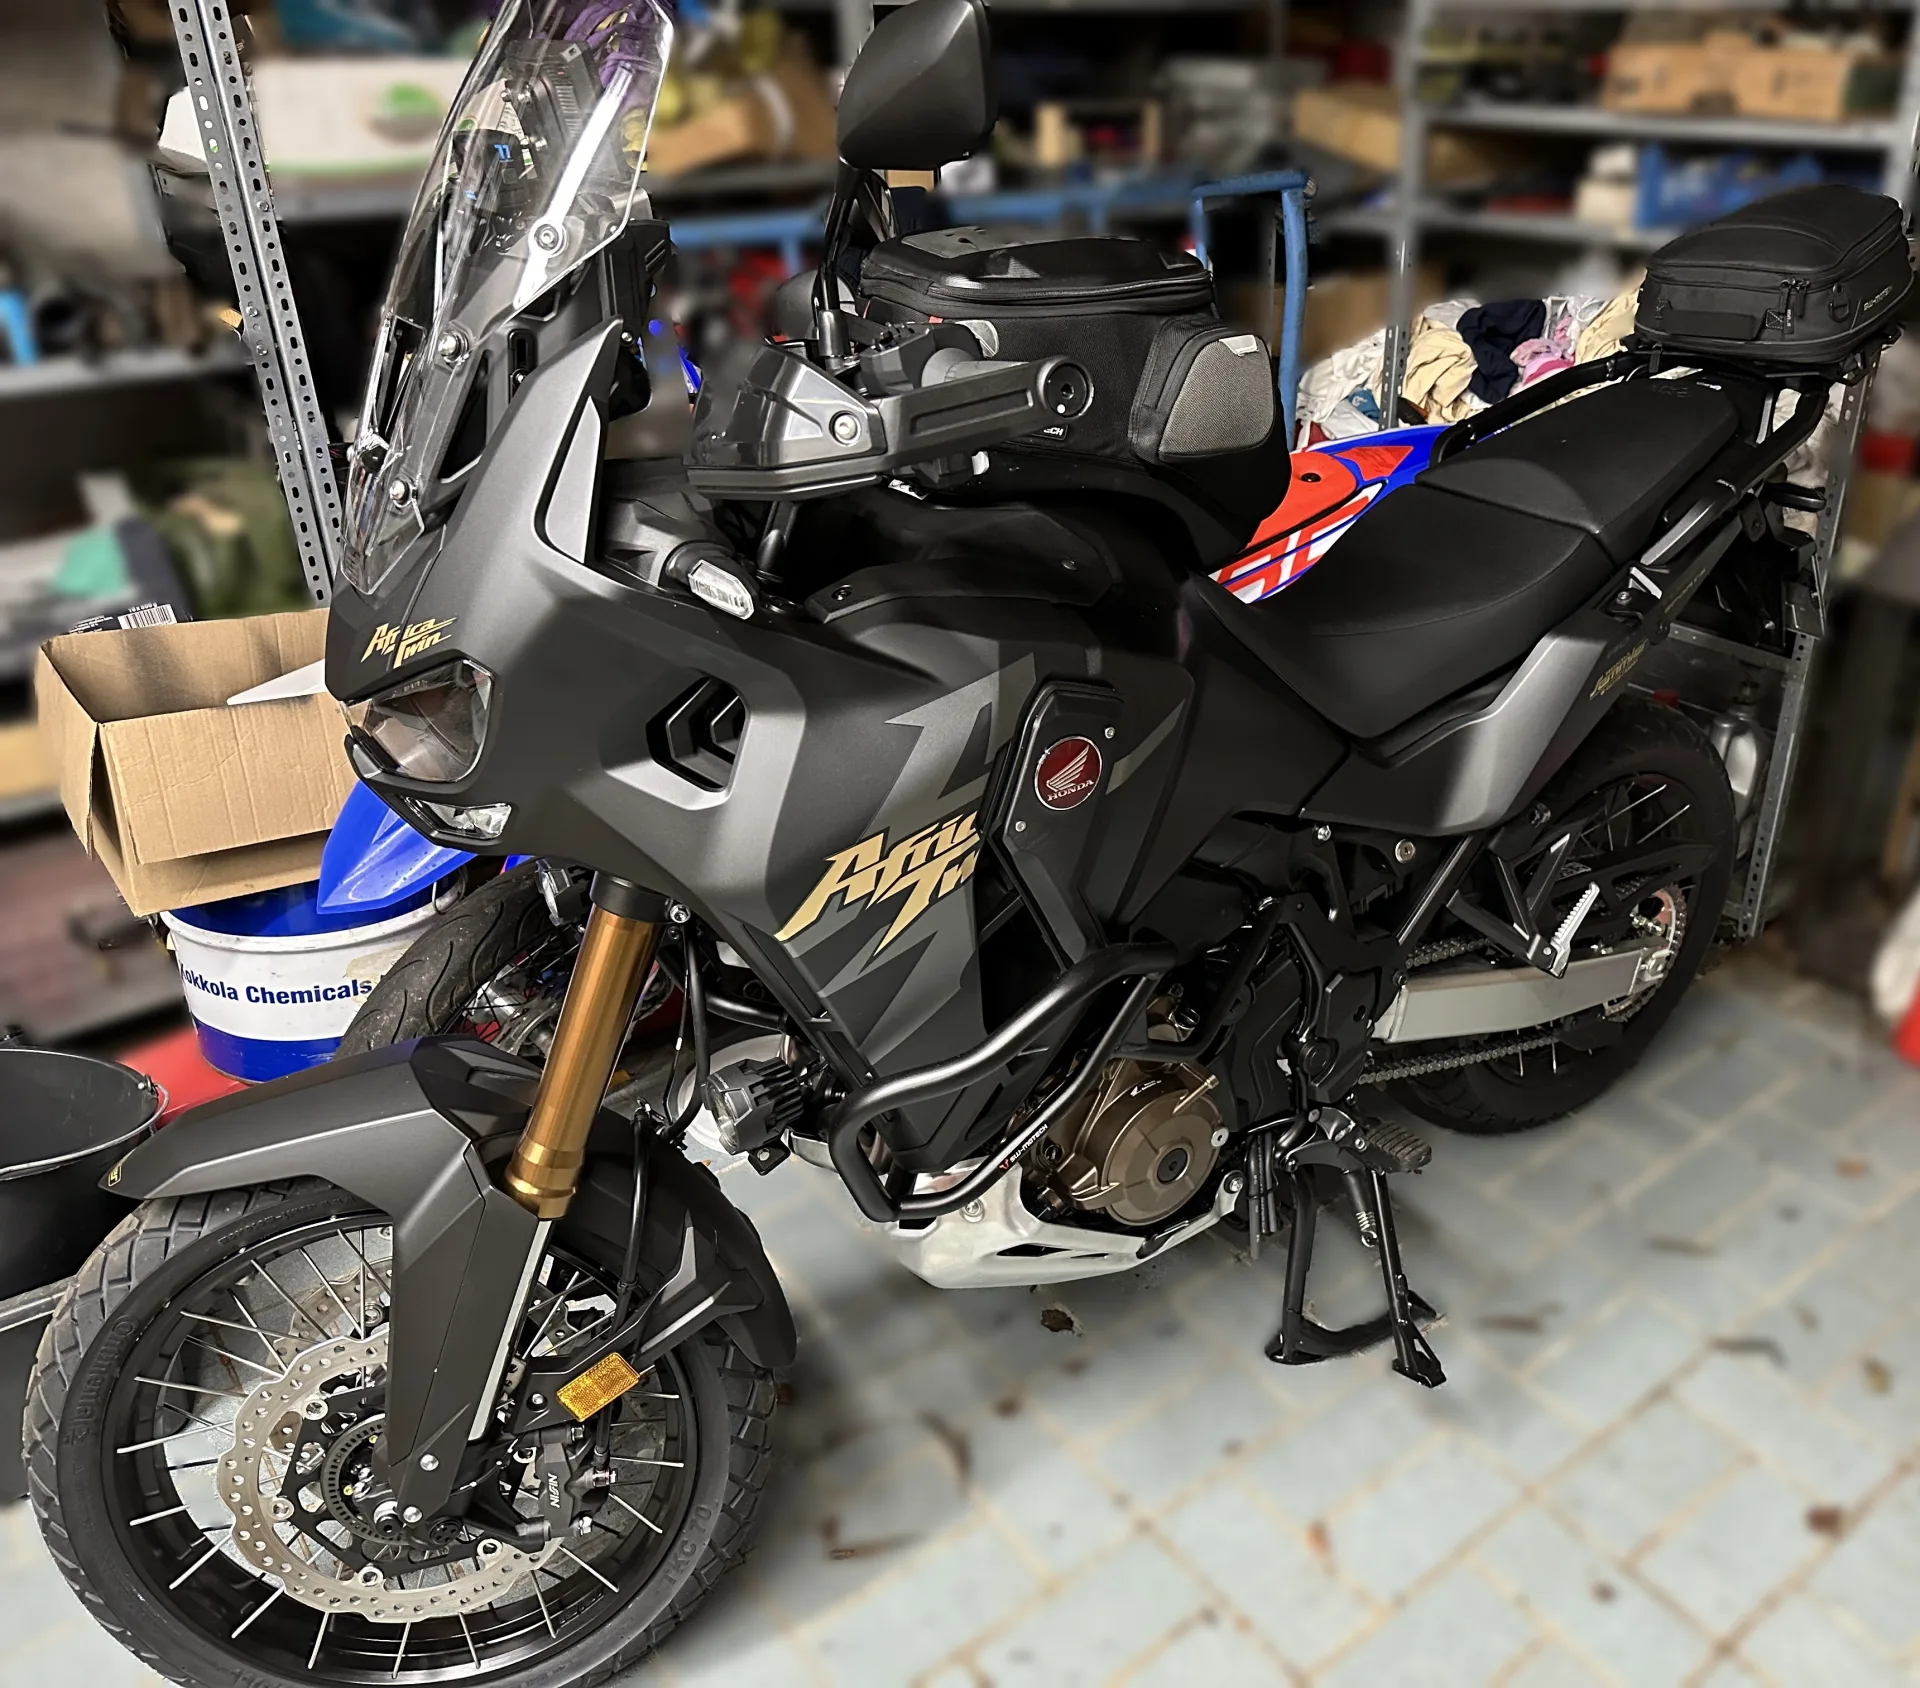
Installation report by F.Tielmann
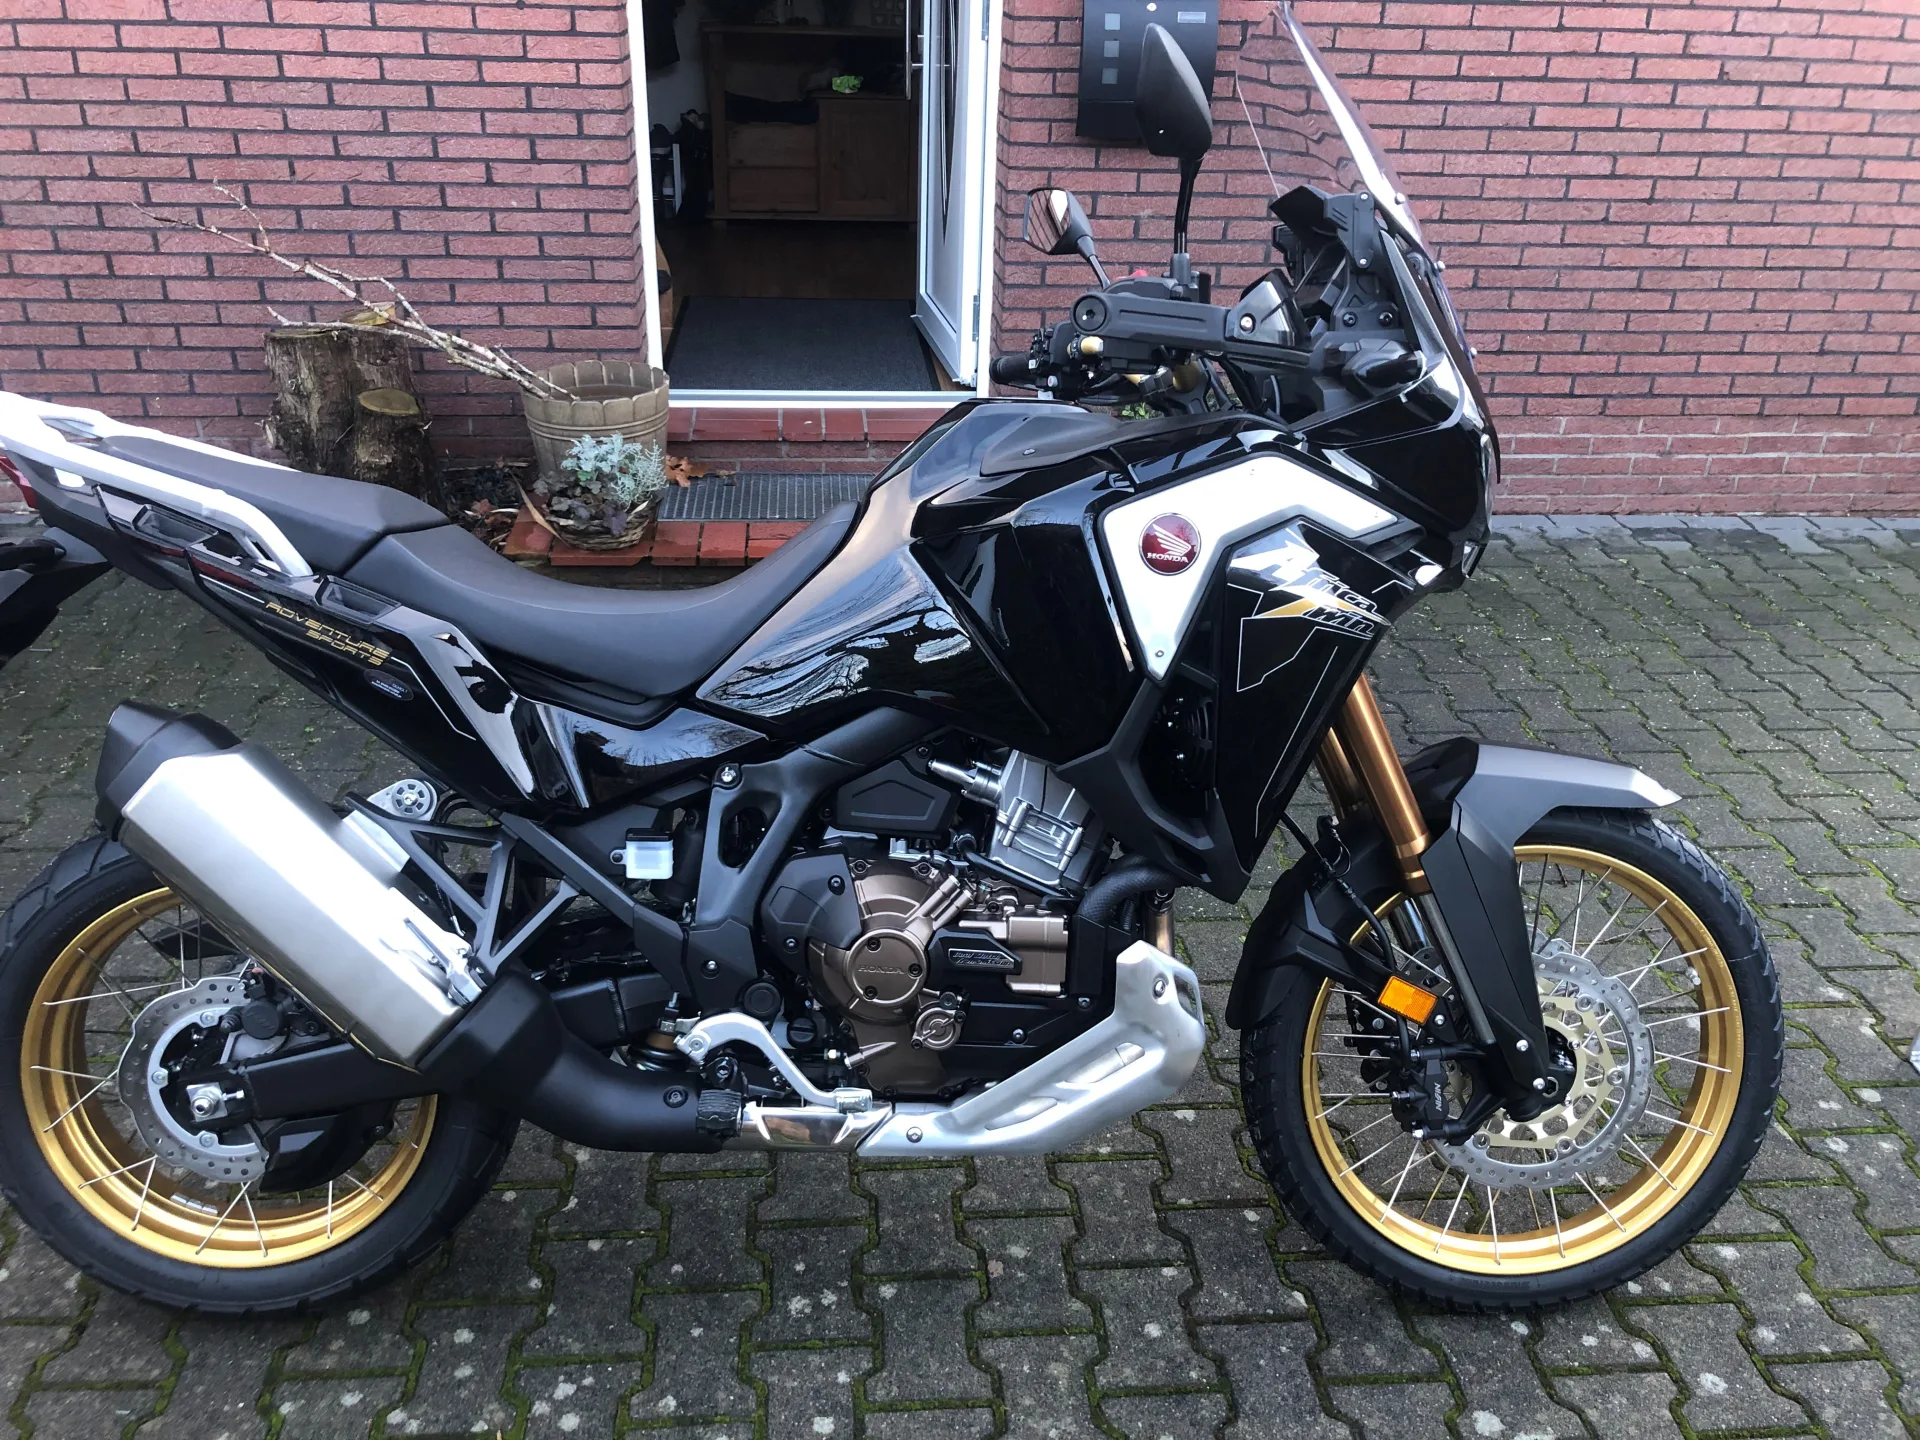
Honda CRF1100L Africa Twin AS – year of manufacture 2024
This is how F.Tielmann solved the installation – unfortunately we cannot guarantee that it works correctly, as we were not able to check the installation ourselves.

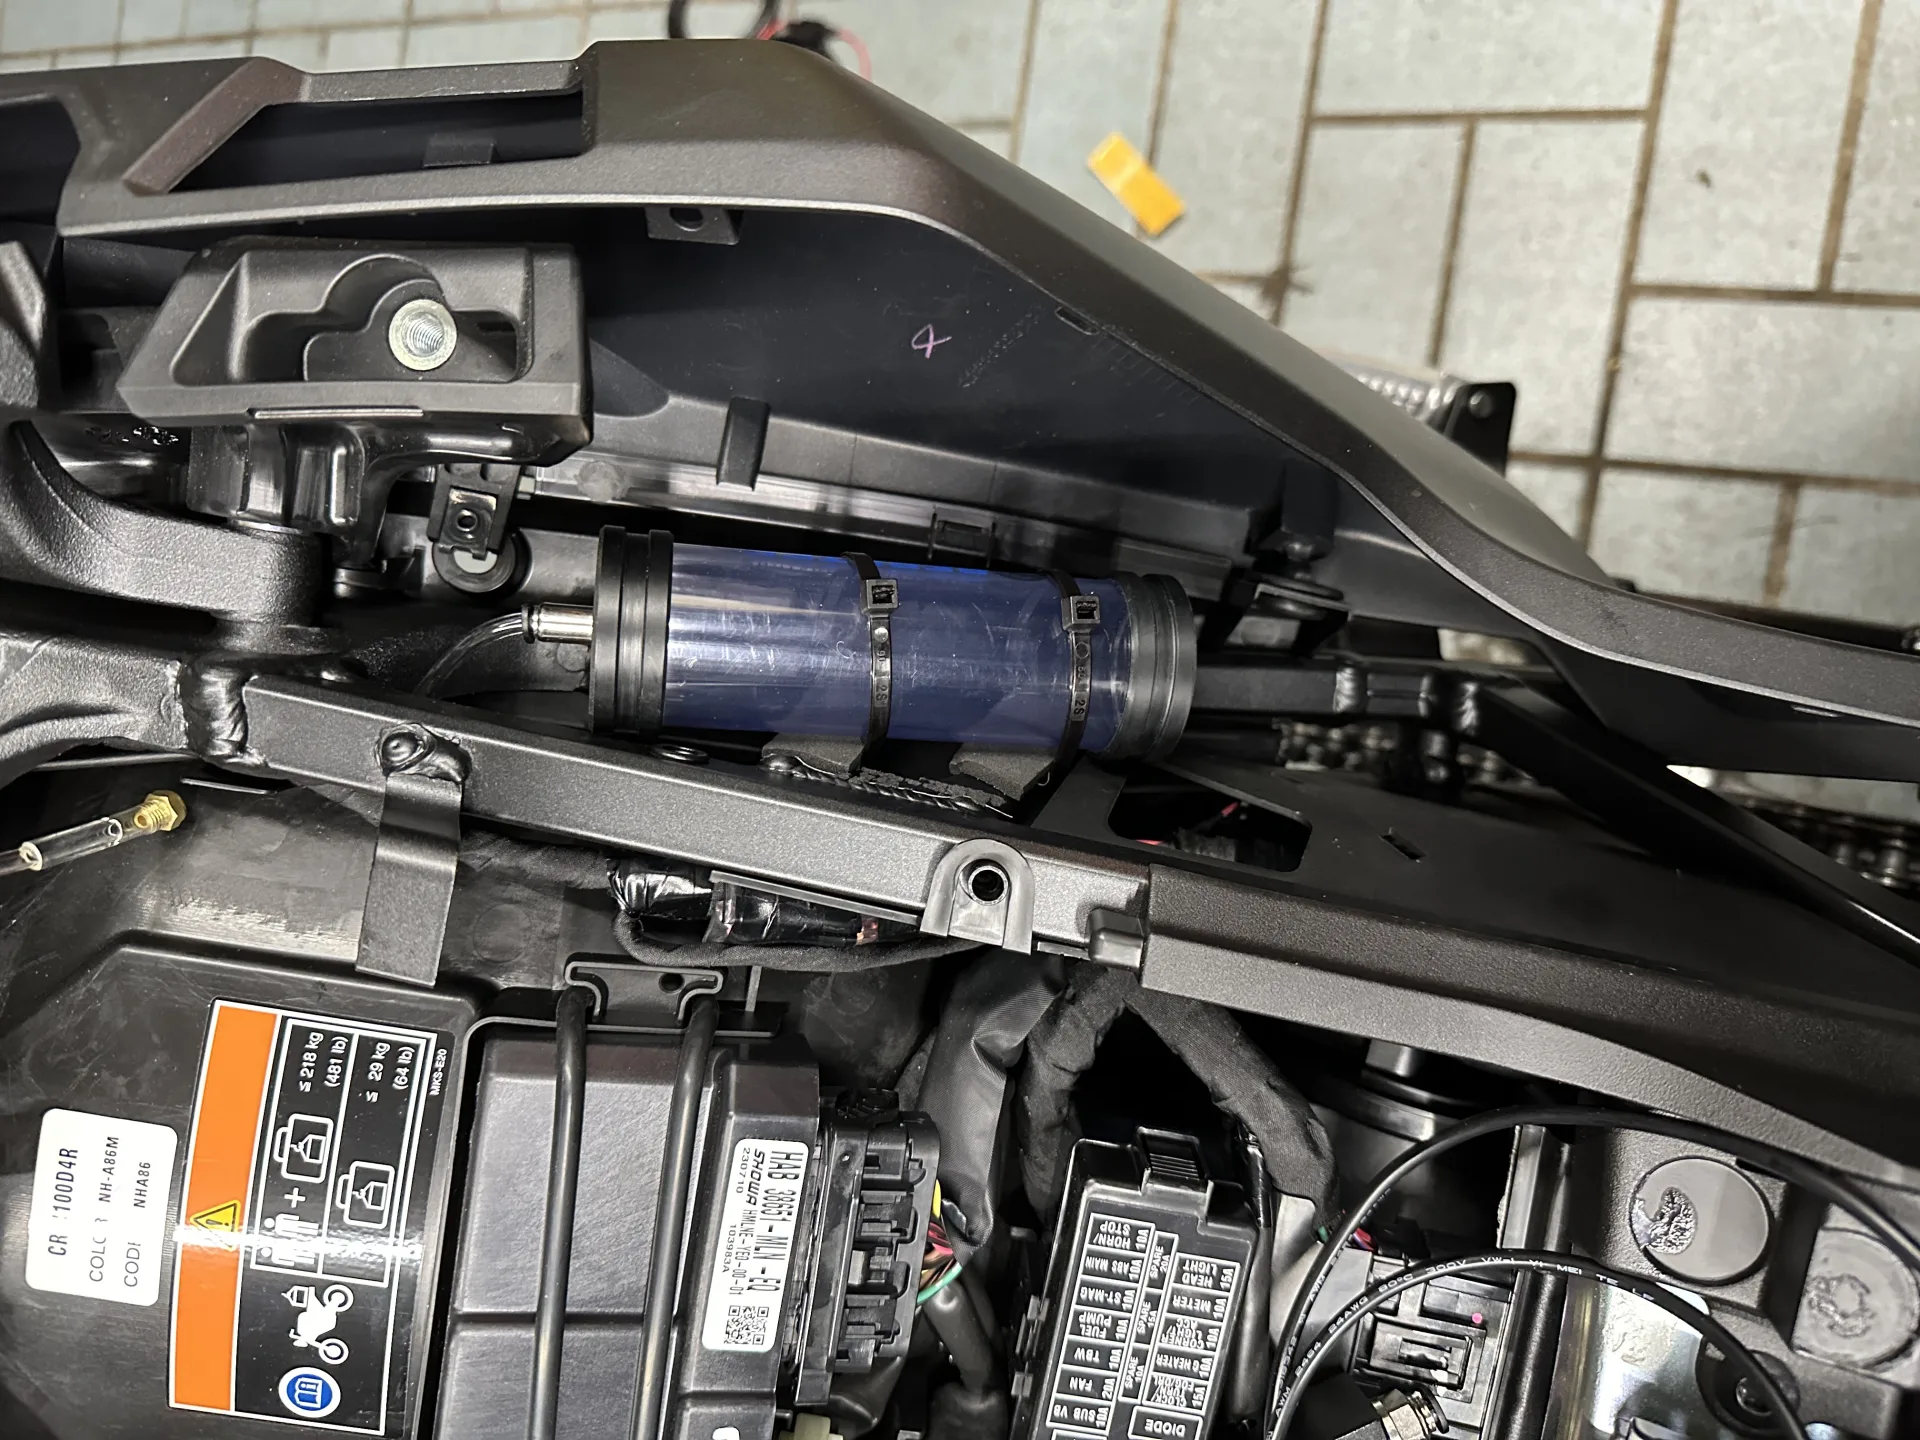
Oil reservoir 120 ml
Under the fairing, on the left-hand side of the frame (with the variable reservoir vent fitted in addition)
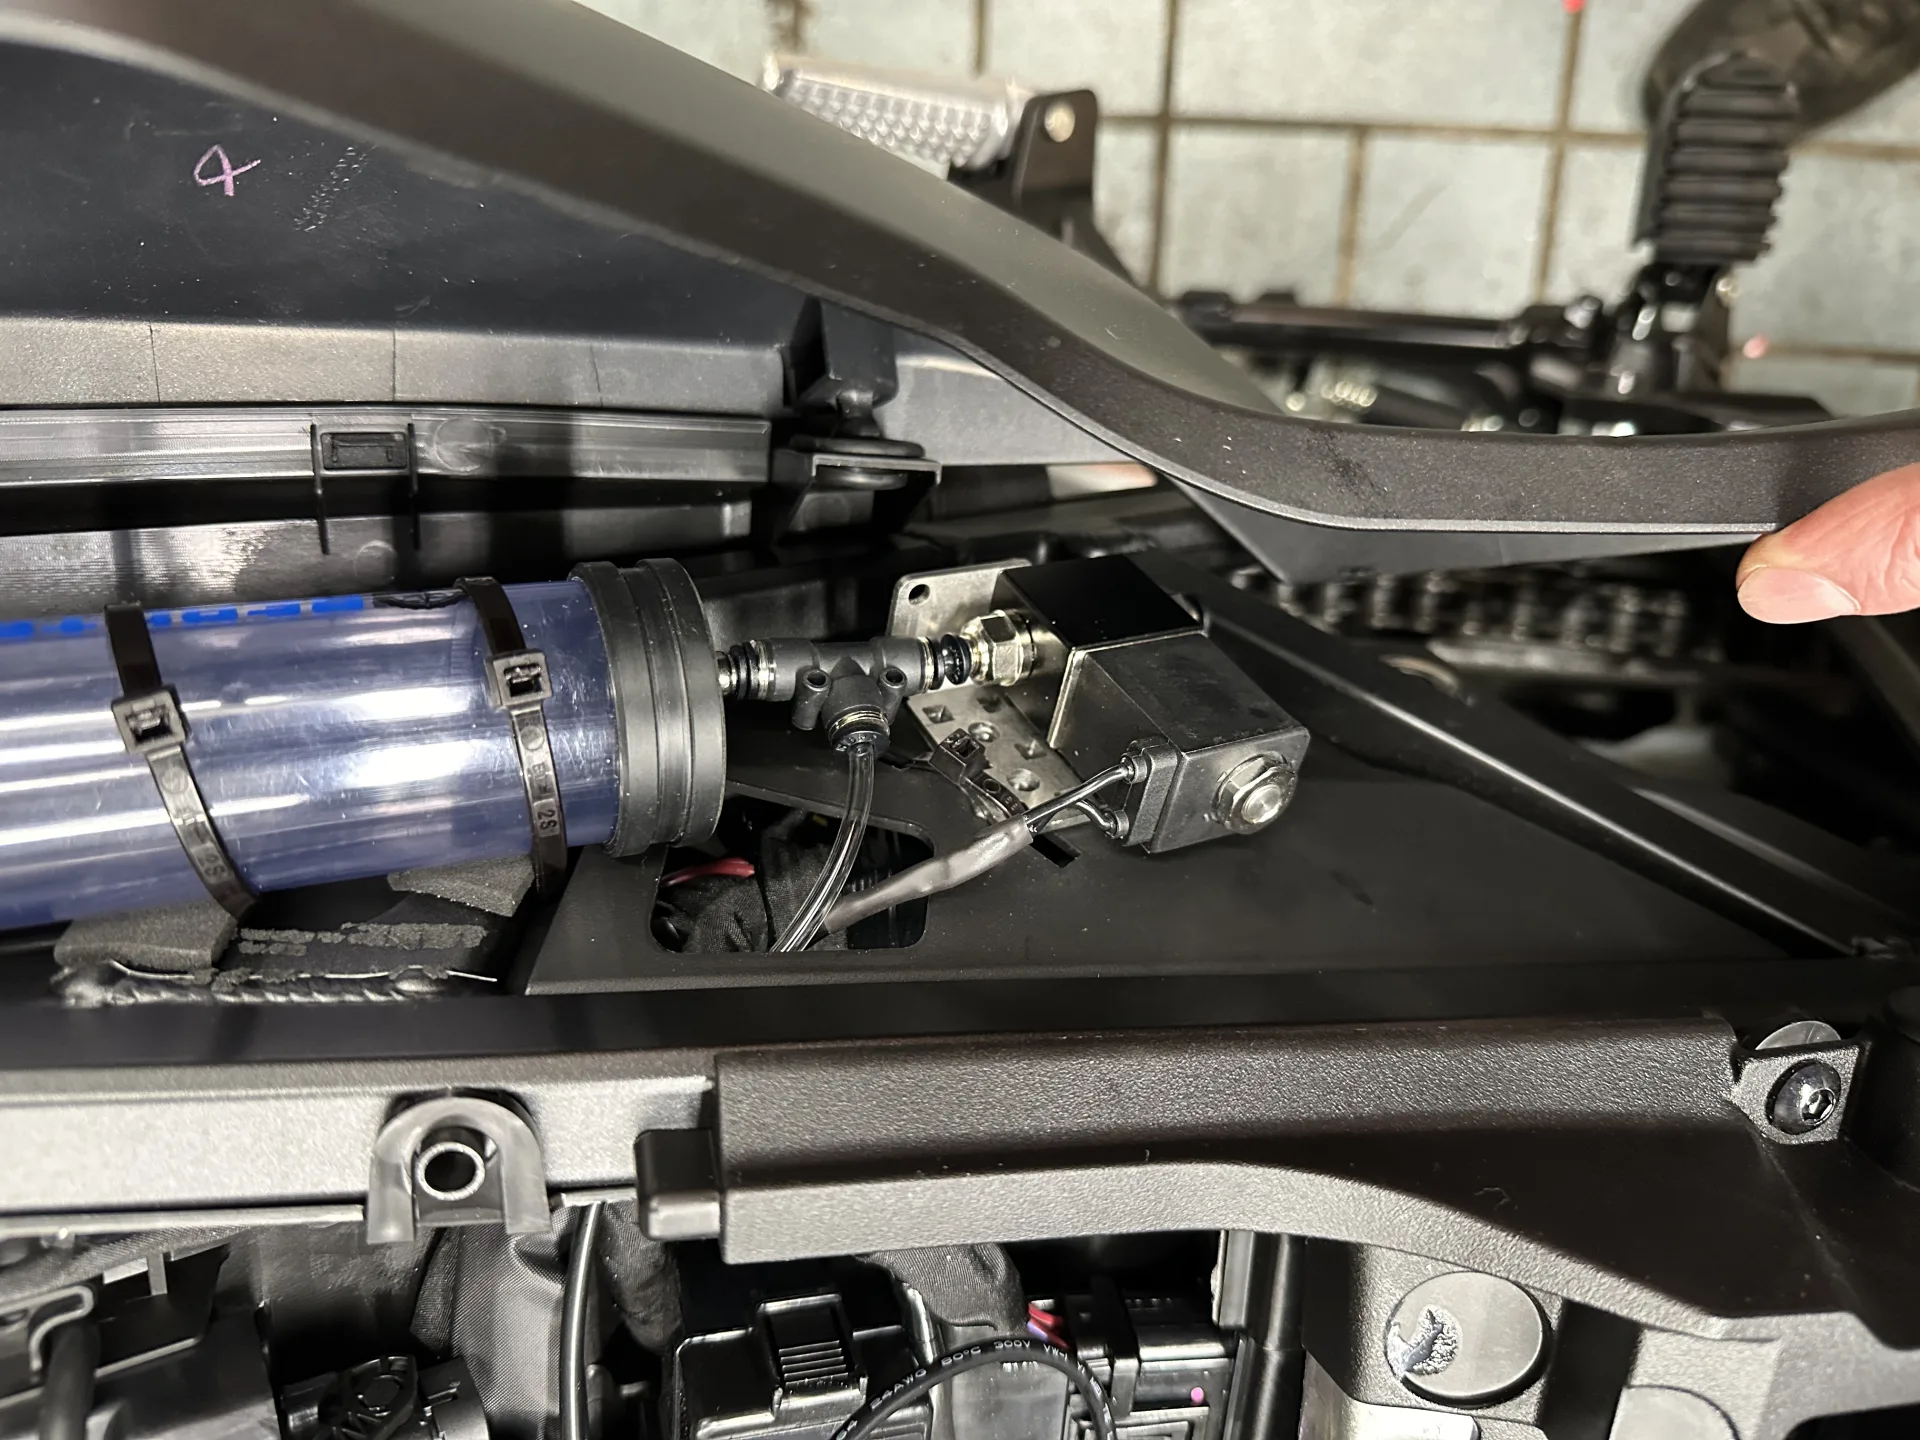
Metering valve
also under the left-hand fairing panel
Nozzle
At the front sprocket

Switched 12 V supply
Via a 10 A fuse tap on the indicator supply

Rain switch
On the left-hand side of the handlebar

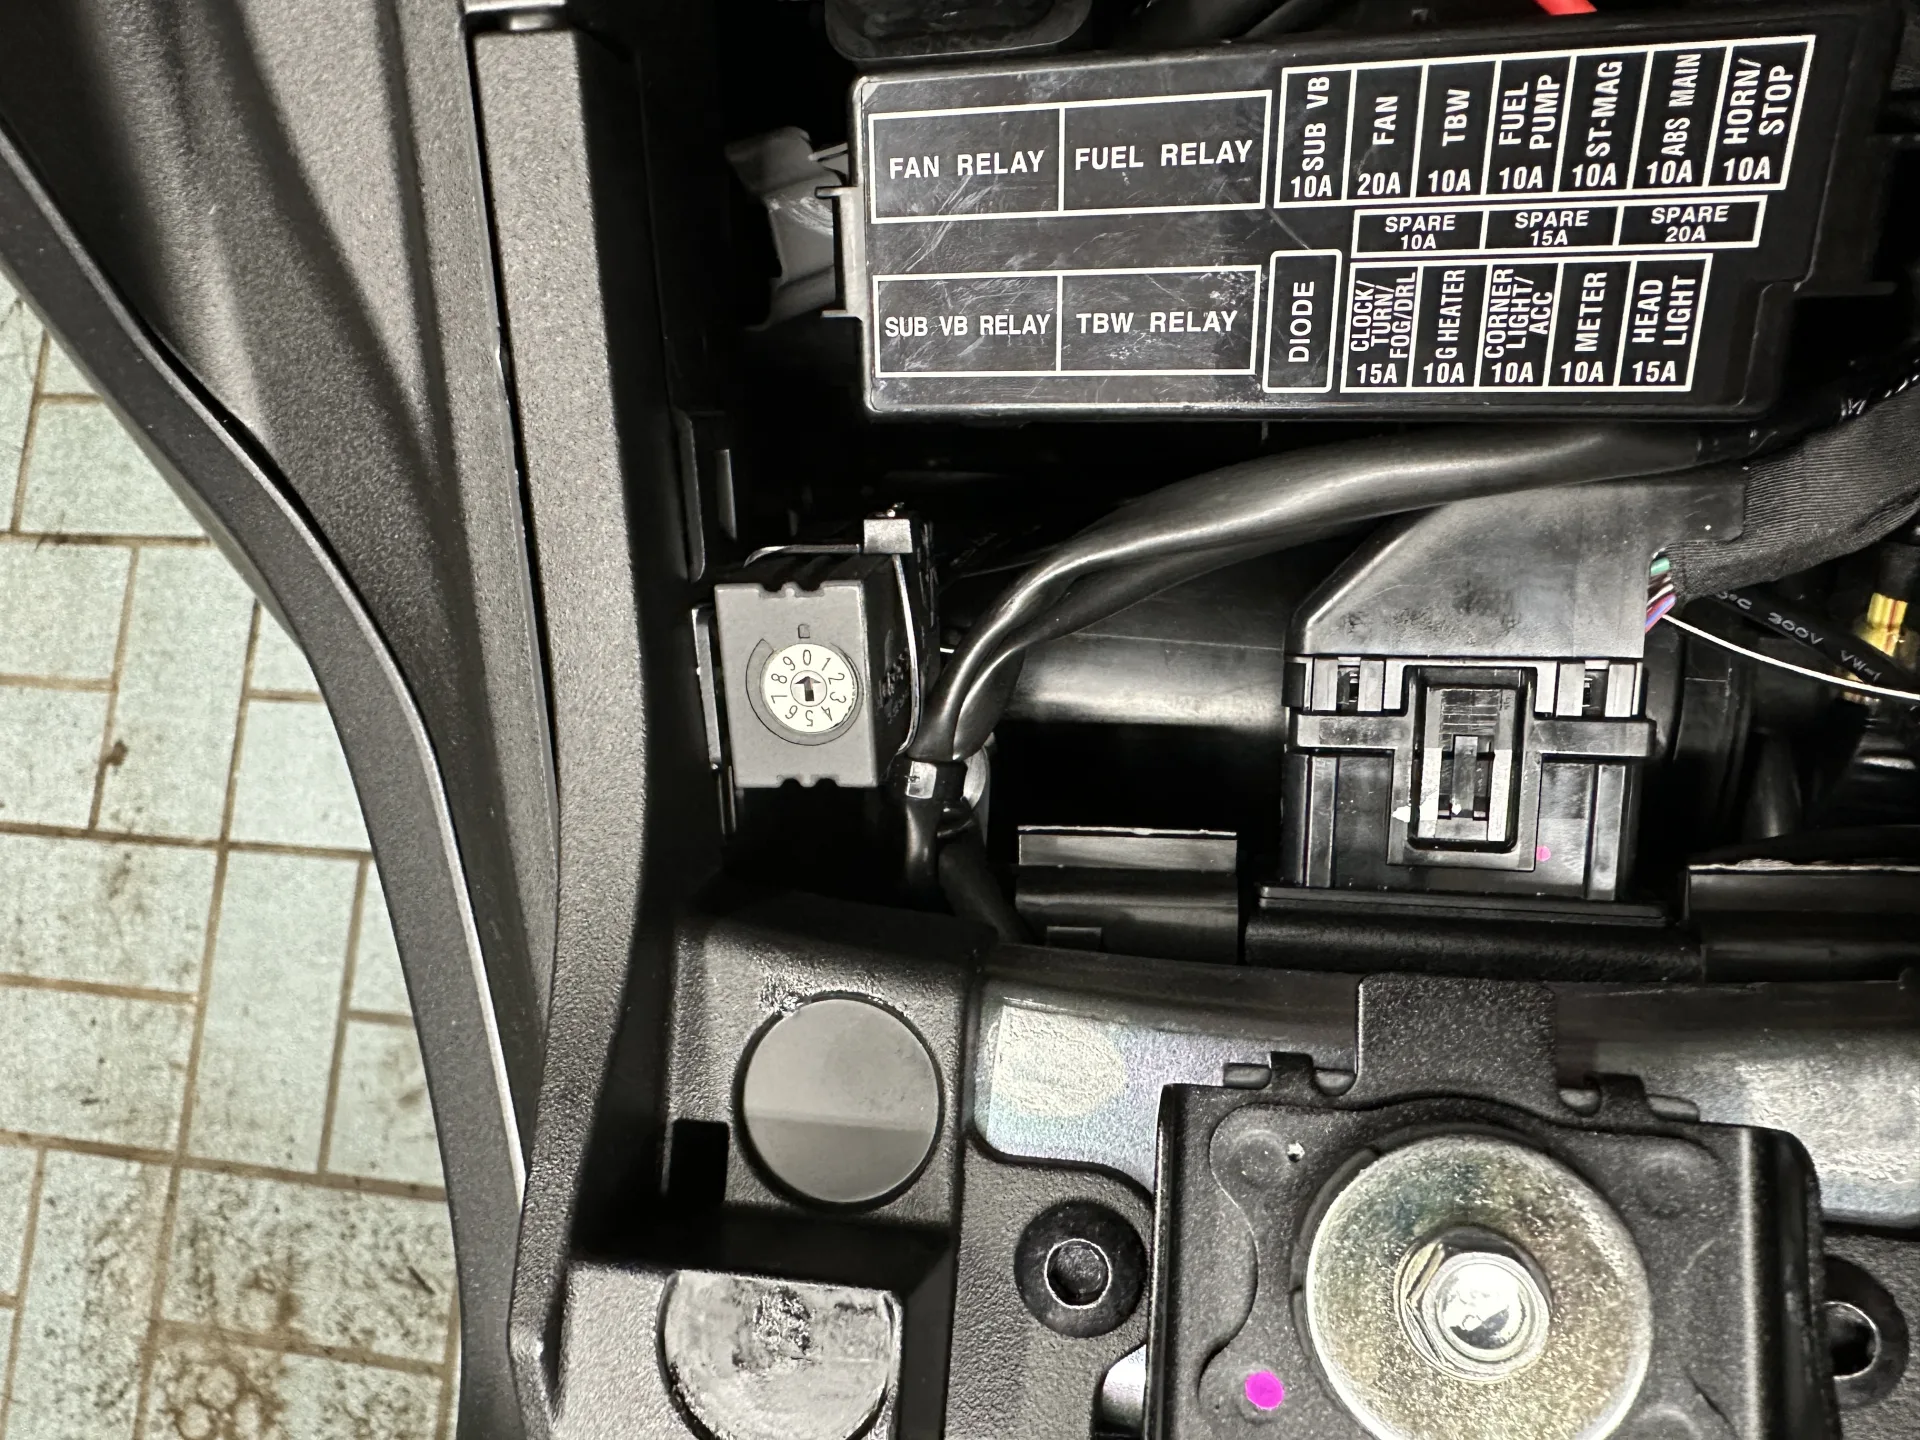
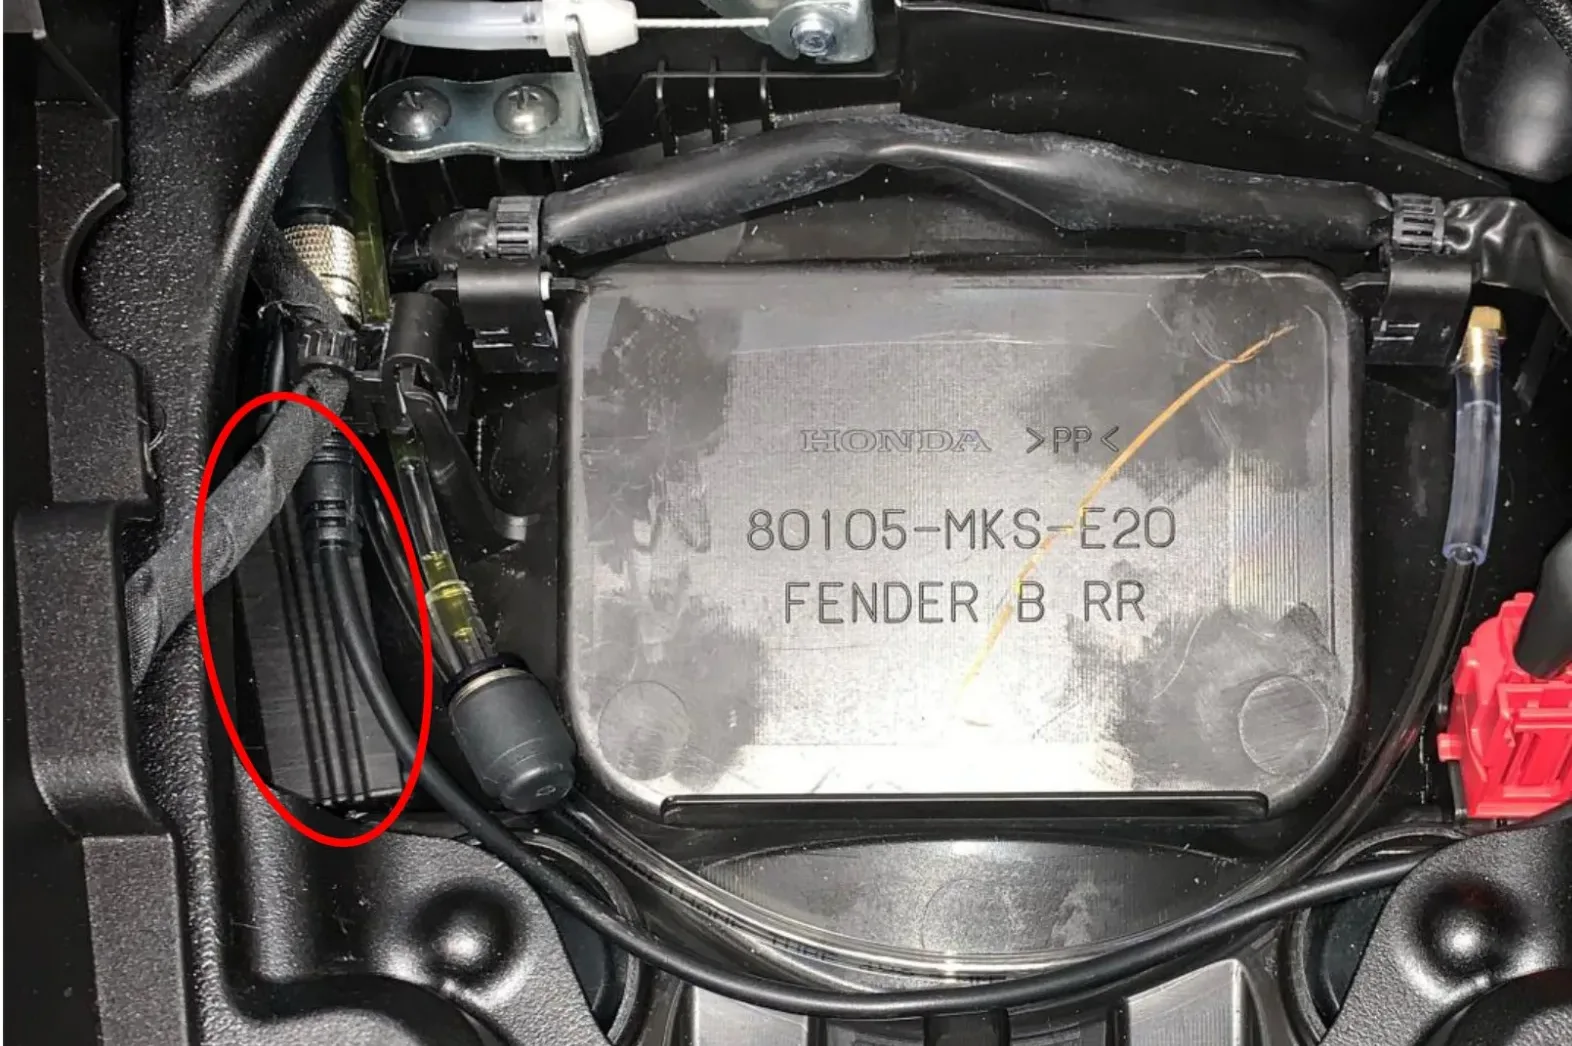
Control unit
Under the seat, attached to the right-hand side of the frame with a cable tie and an adhesive pad

Installation report by Frank T.
Honda CRF1100L Africa Twin AS – year of manufacture 2020
This is how Frank T. solved the installation – unfortunately we cannot guarantee that it works correctly, as we were not able to check the installation ourselves.
Oil reservoir 120 ml
Under the plastic cover on the left. Attached with a home-made bracket and a clamp.

Metering valve
Below the oil reservoir. Secured with a cable tie through two small holes drilled afterwards (an adhesive cable clip and a cable tie work too).

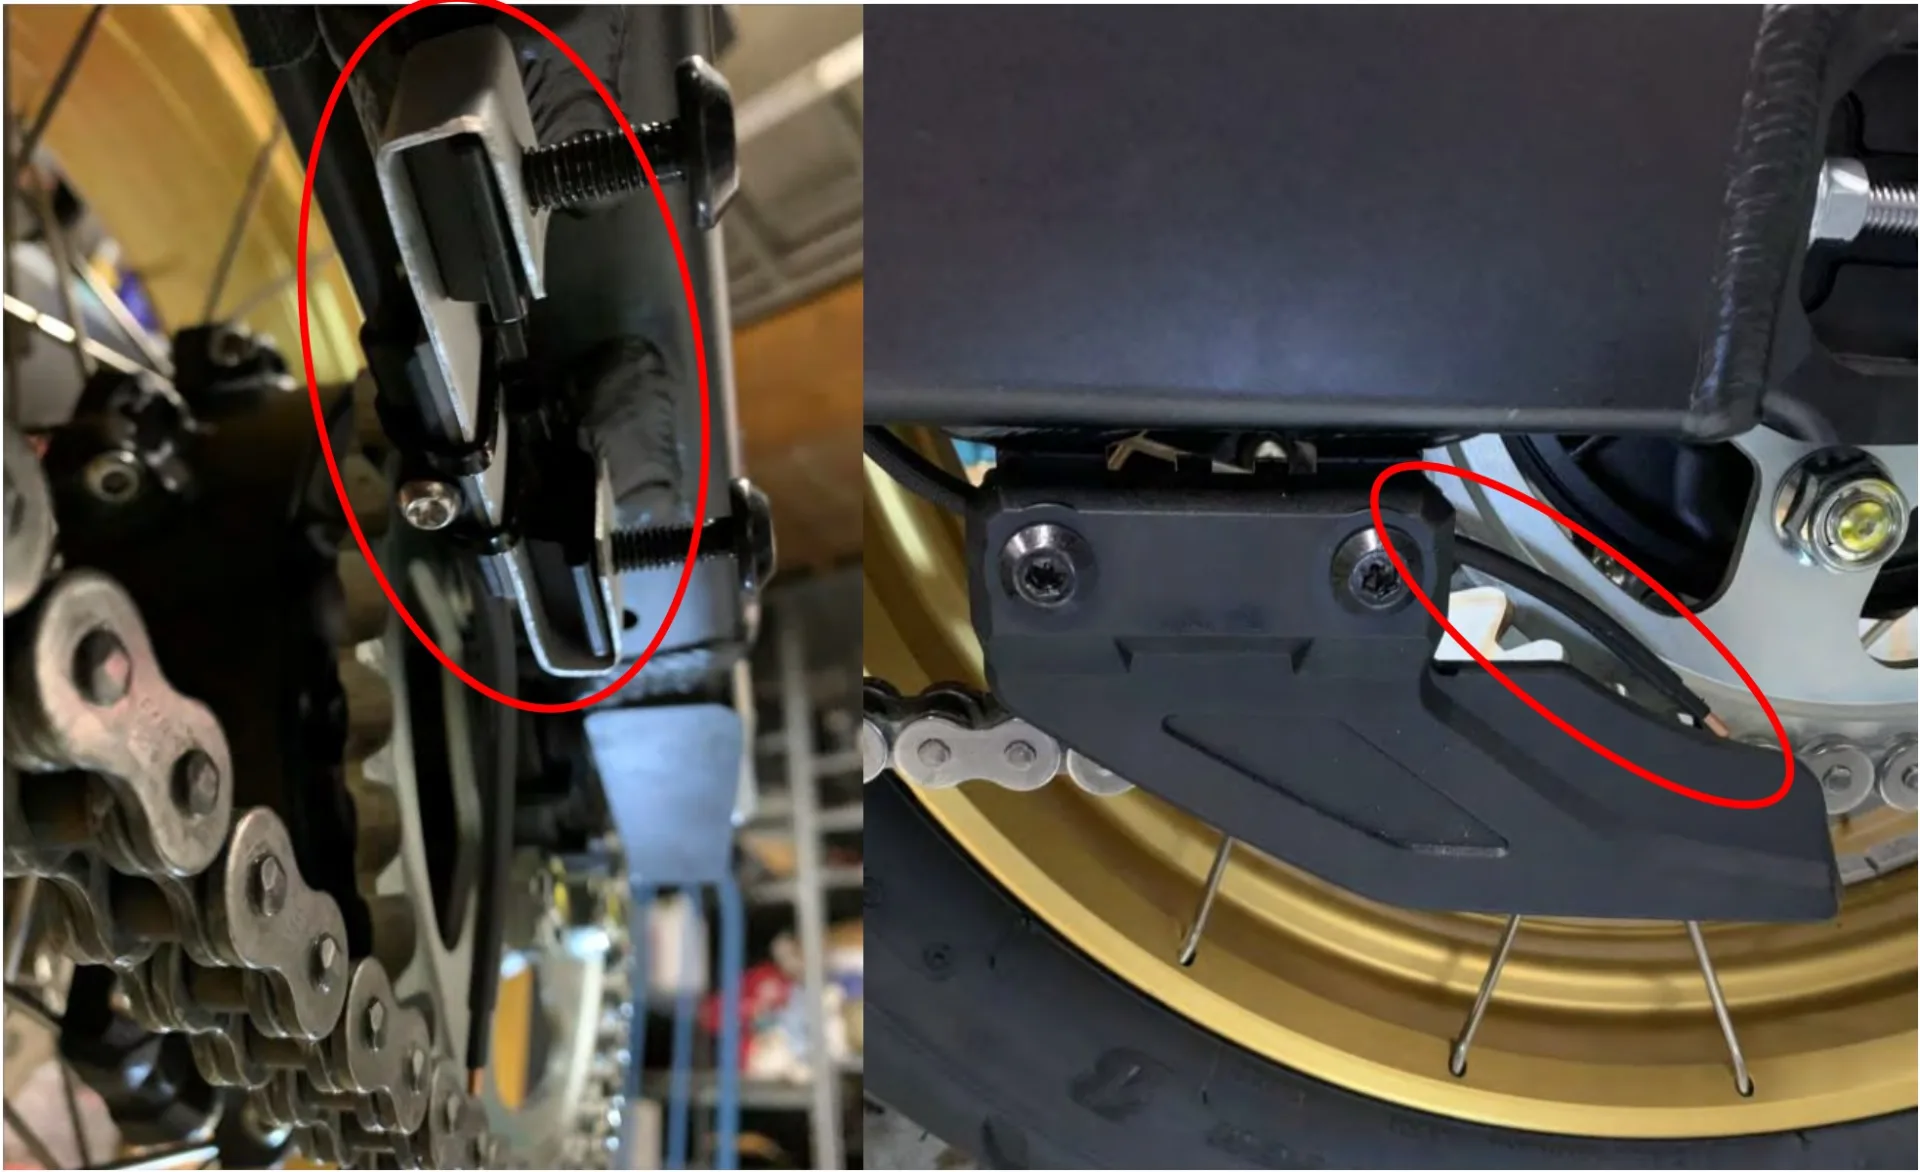
Nozzle
At the rear sprocket at roughly 6 o’clock, attached to a self-bent aluminium bracket with the bracket provided for it (secured with a cable tie)
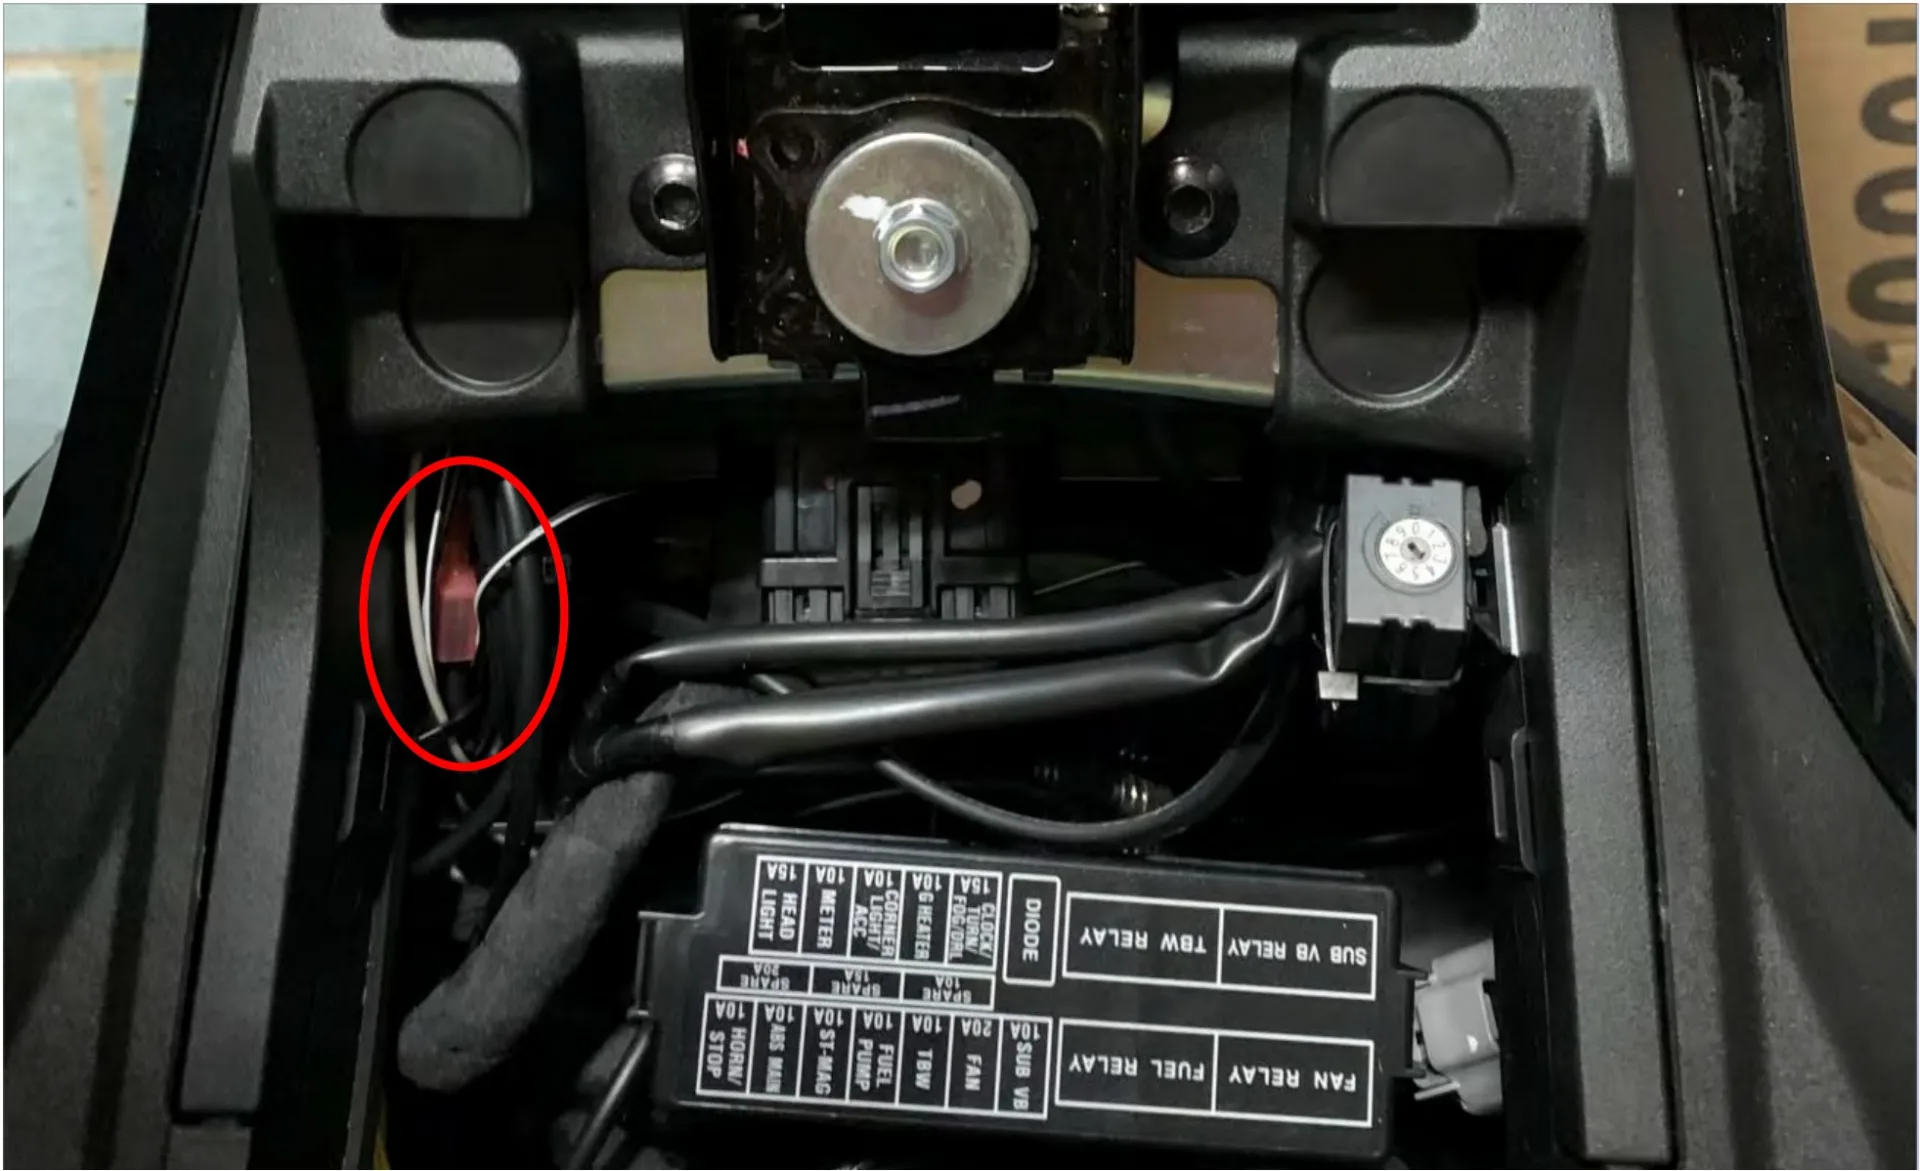
Switched 12 V supply
Tapped at the accessory connector – it sits on the left-hand side of the frame (black/red).
Rain switch
At the front left, bolted to the mirror mount, cable routed along the original supply leads and under the fuel tank.

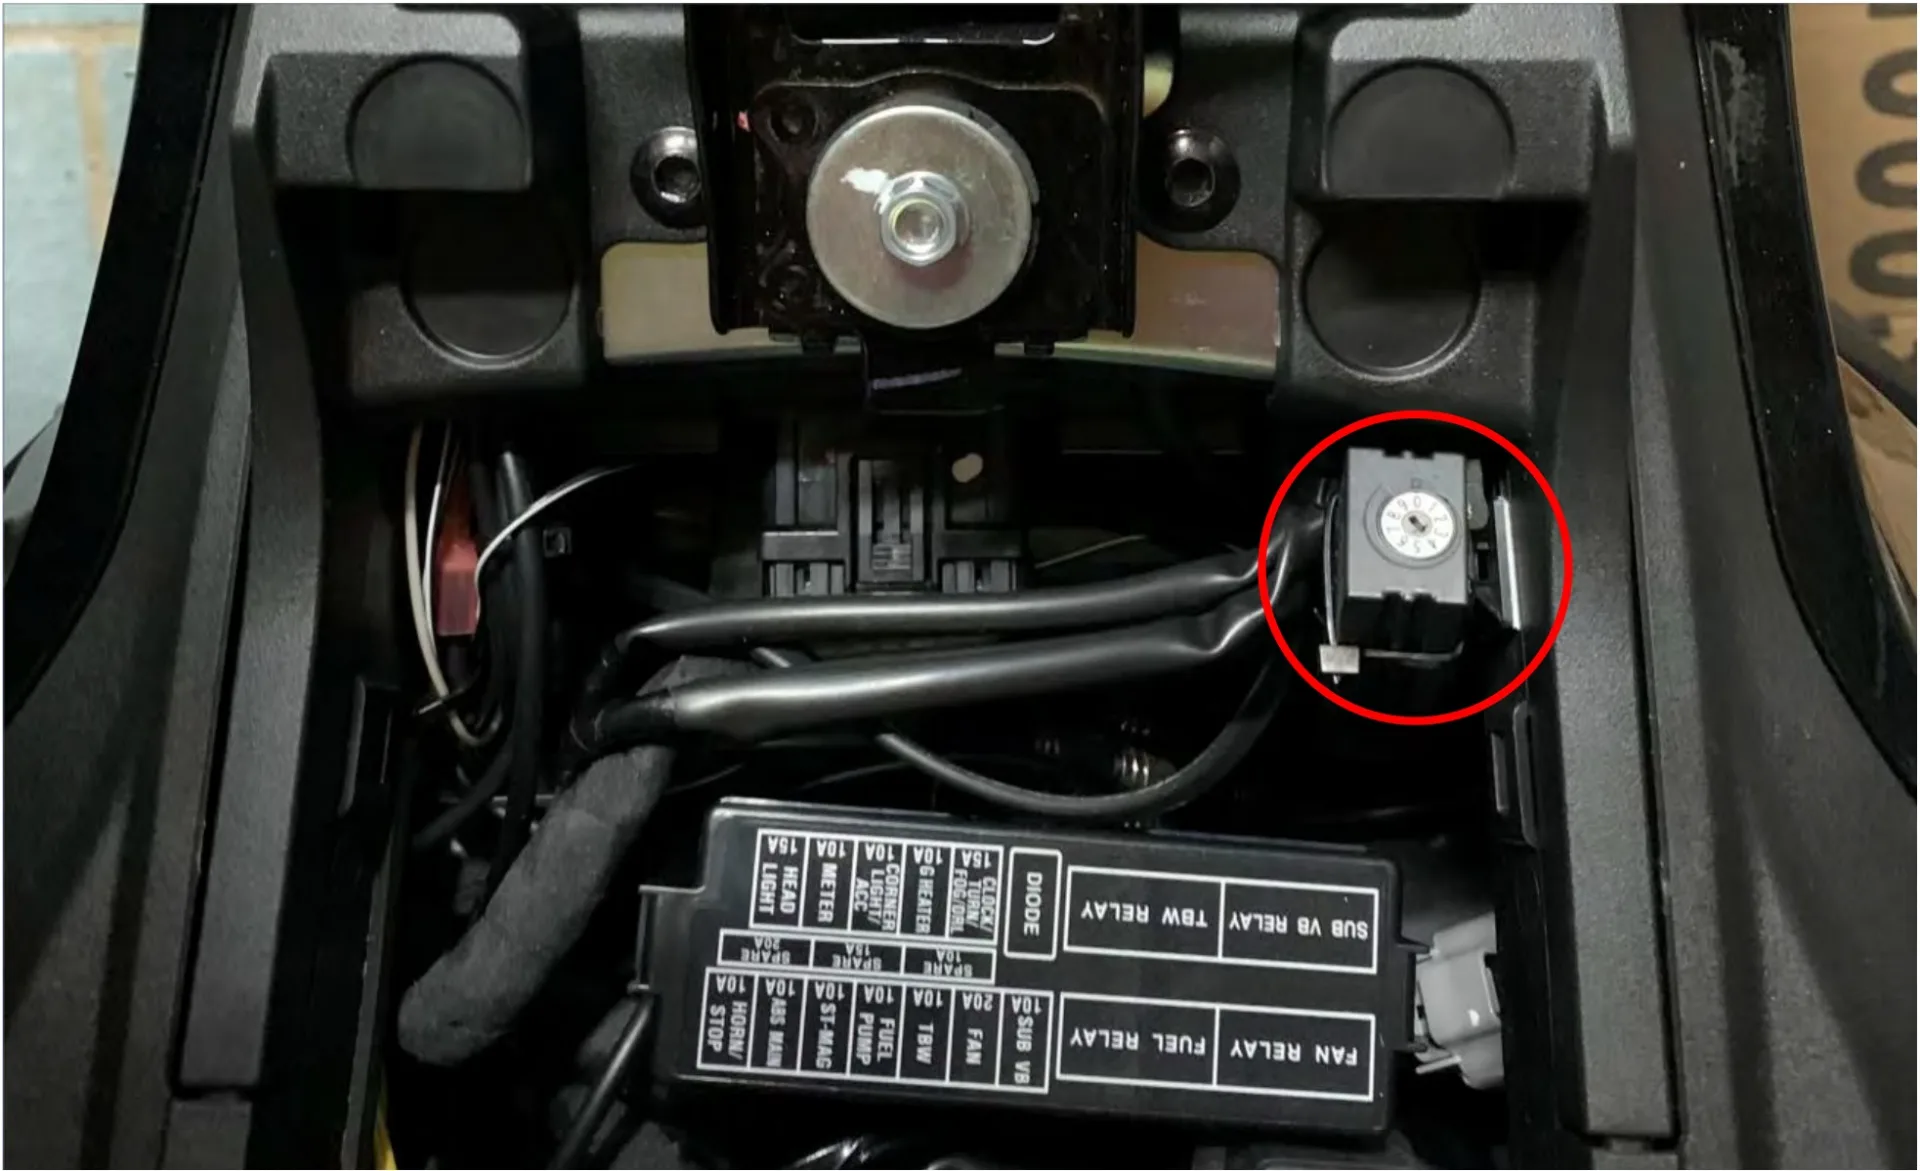
Control unit
Under the front seat on the right-hand side of the frame with a cable clip and a cable tie (adhesive foam stuck on for protection).
Installation report by Reiner
Honda CRF1100L Africa Twin AS – year of manufacture 2020
This is how Reiner solved the installation – unfortunately we cannot guarantee that it works correctly, as we were not able to check the installation ourselves.
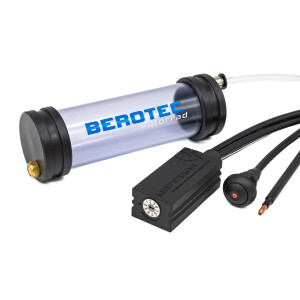
Oil reservoir 60 ml
Under the seat – everything was simply placed into existing “holes”. It fits beautifully without rattling. The optional variable reservoir vent was fitted in addition.

Metering valve
Under the seat – as is the filler T-piece

Nozzle
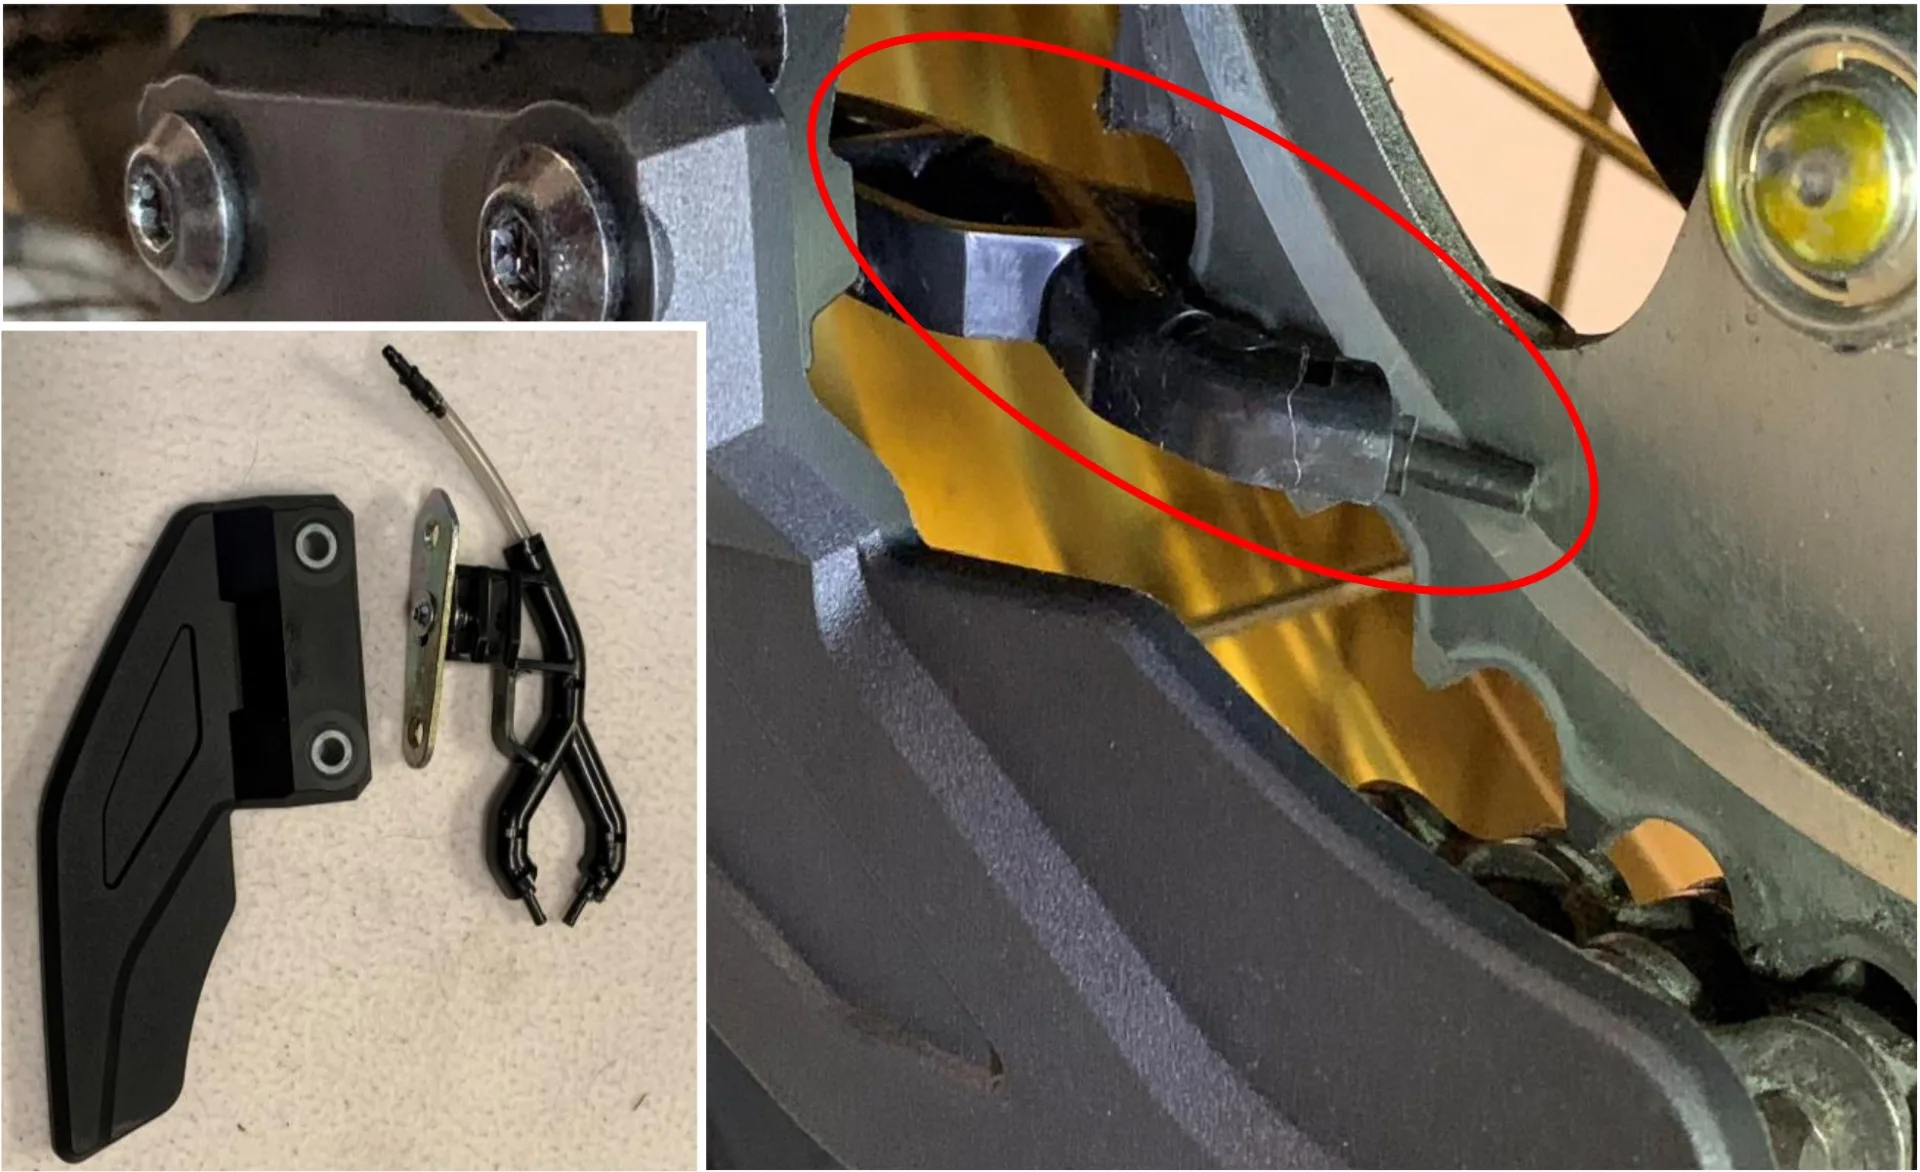
At the rear sprocket – I bought the injector separately as a spare part from Scottoiler, so it is not part of the BEROTEC oiler.
Switched 12 V supply
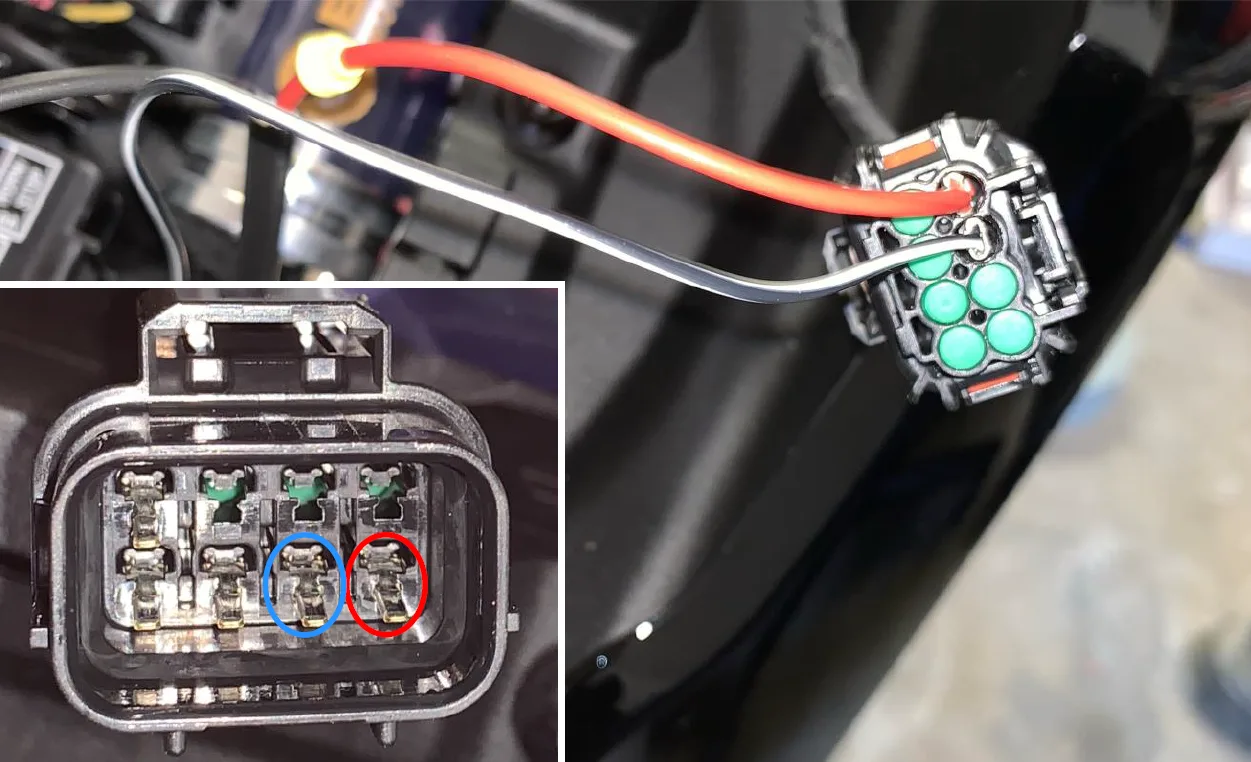
Tapped at the front where the fuel tank begins, to the left of the fuse box, at the existing option connector. Red: the pin at the bottom right carries permanent positive. Blue: next to it on the left is a 12 V pin switched with the ignition.
Rain switch
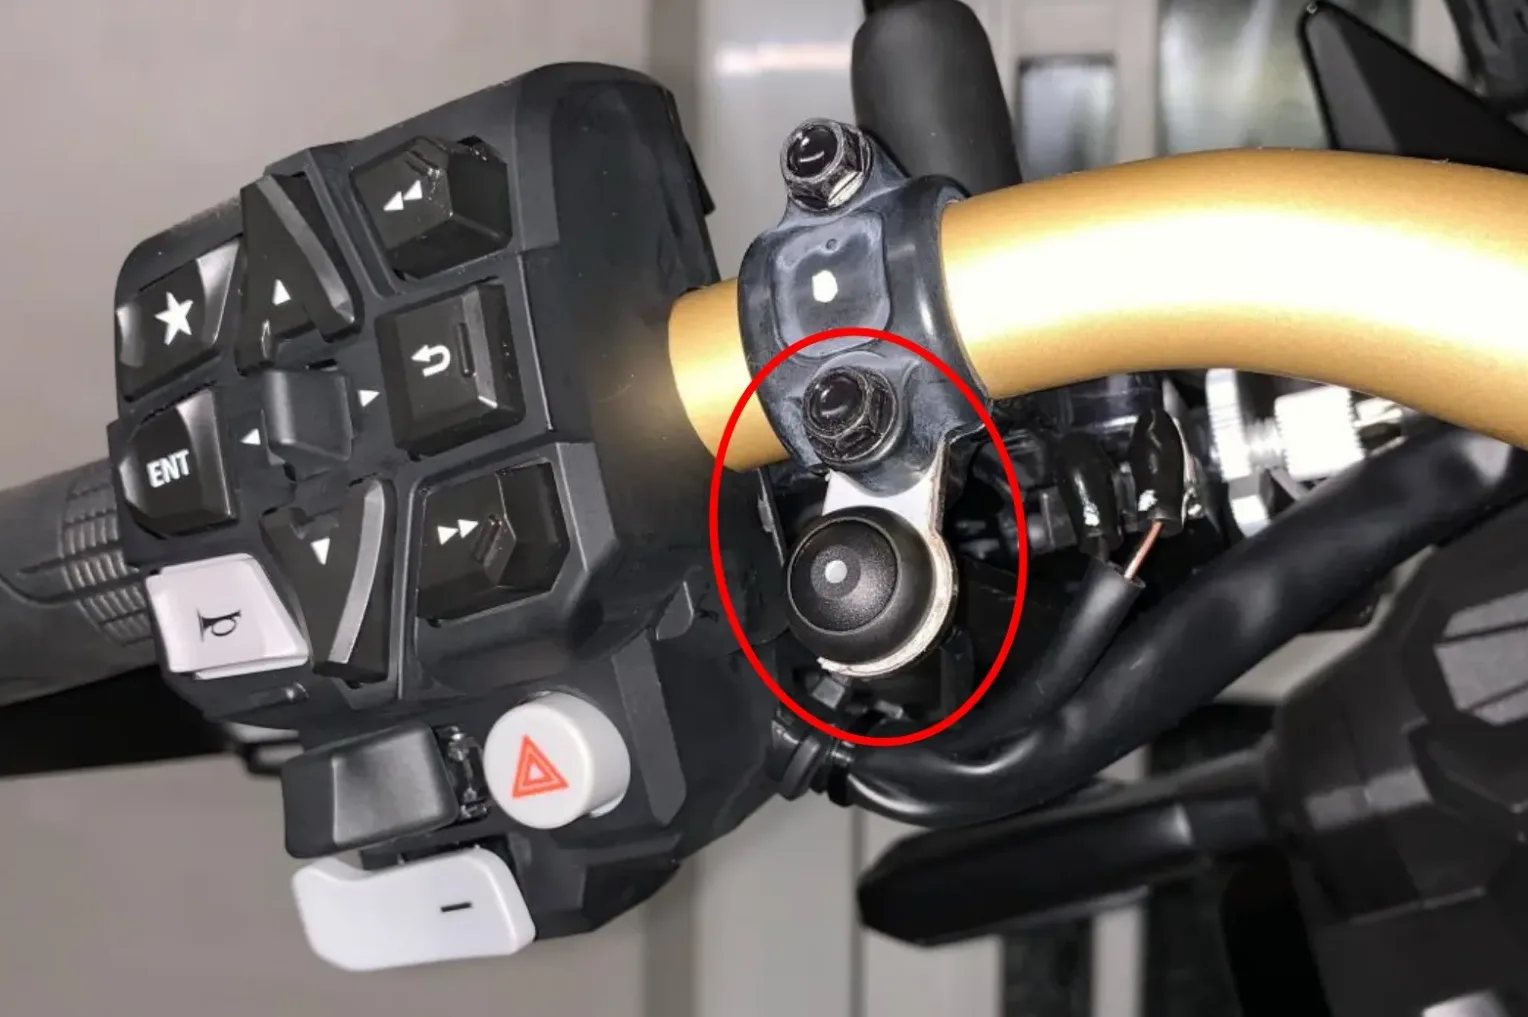
On the left-hand side of the handlebar – routing the cable was surprisingly easy; you can pull it under the fuel tank with a pull wire without having to lift the tank.
Control unit
Under the seat
Have you fitted a MOFESSOR? Contribute your own installation report – directly here, with your photos.


