
Chain oiler for the KTM 690 Enduro R
2 installation reports for this model

Installation report by Jörg
KTM 690 Enduro R – year of manufacture 2021
This is how Jörg solved the installation – unfortunately we cannot guarantee that it works correctly, as we were not able to check the installation ourselves.
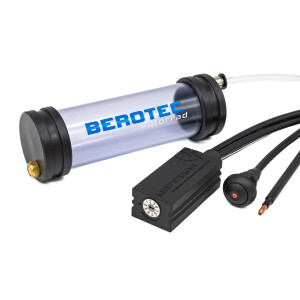
Oil reservoir 60 ml
On the right-hand side of the frame (the variable reservoir vent is fitted as well)
Metering valve
On the right-hand side of the frame with the supplied stainless steel bracket and cable ties. Frame protected from scratches with transparent adhesive tape. (With the protective sleeve fitted in addition.)

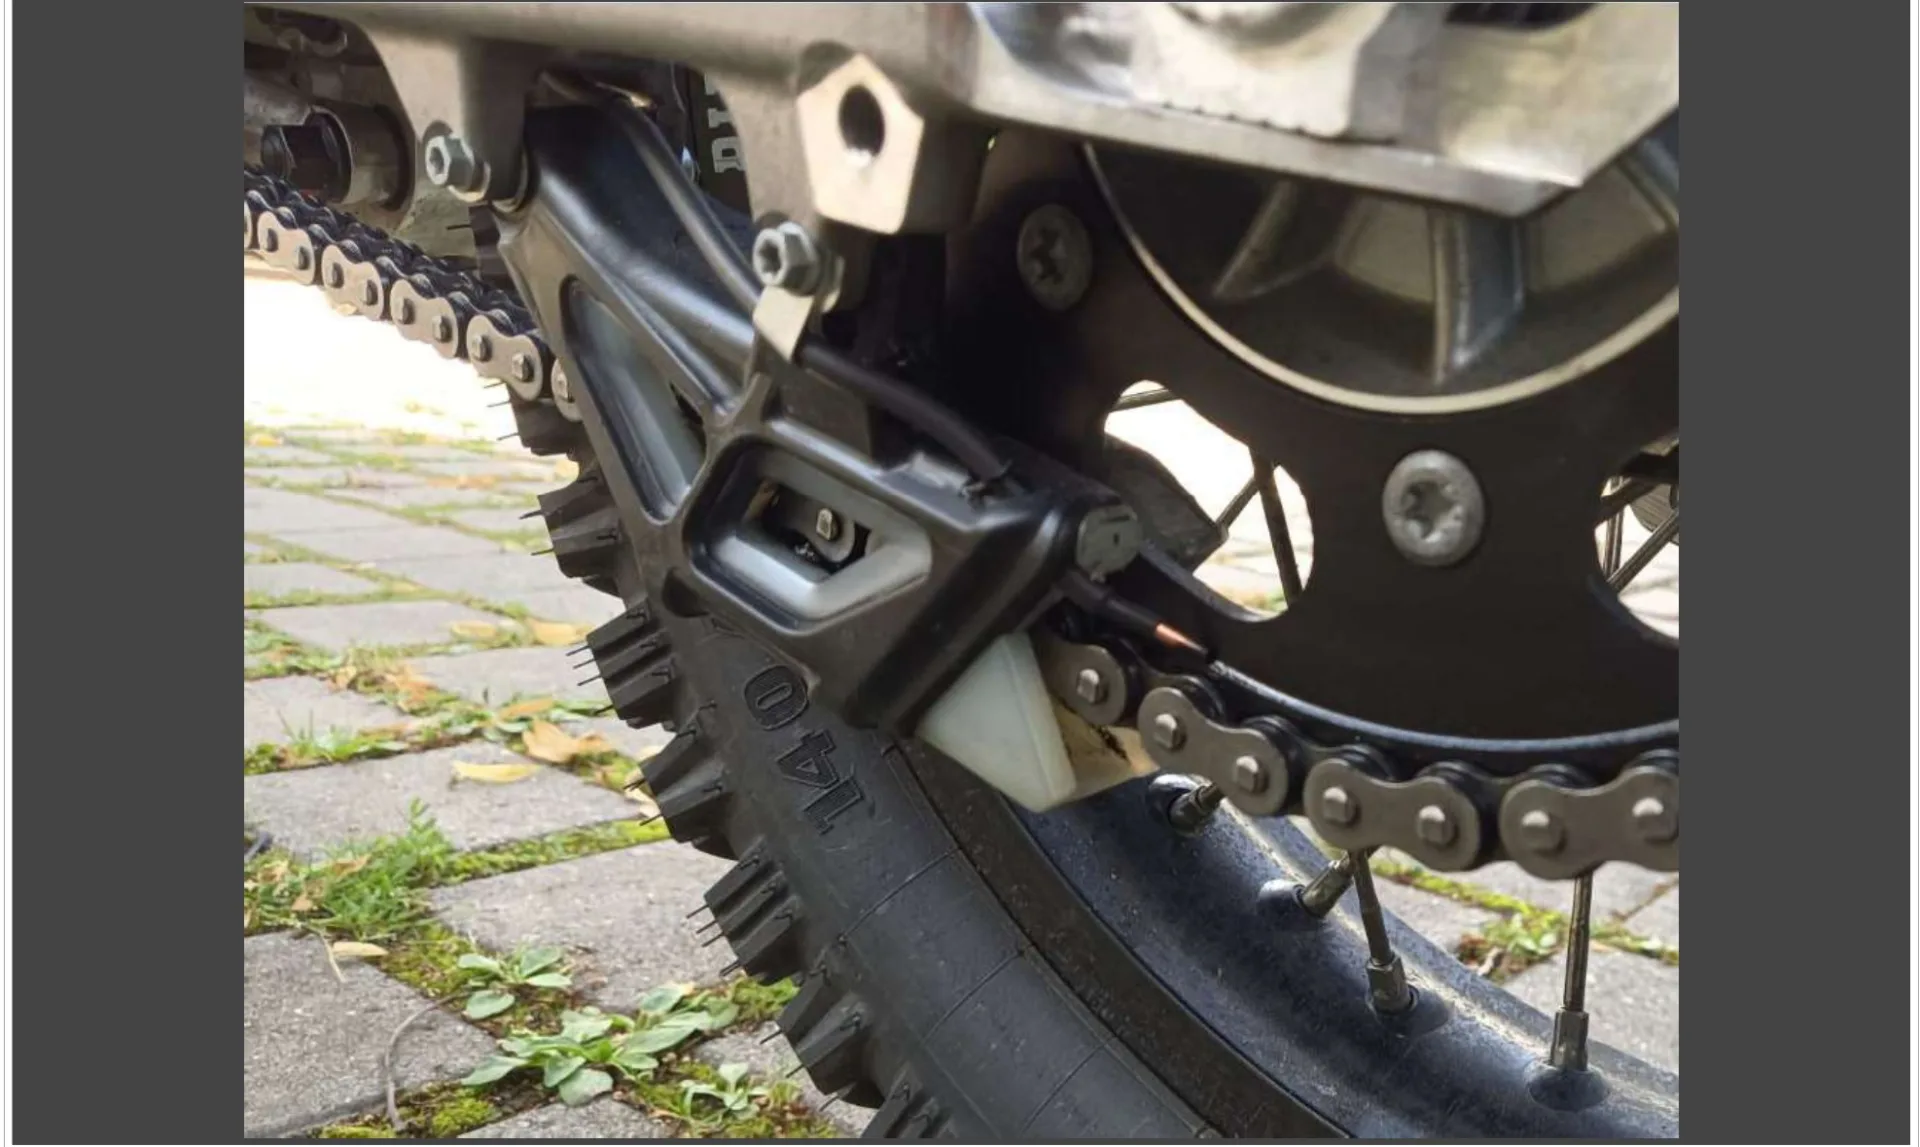
Nozzle
At the rear sprocket, outer side, hose routed / drilled through the chain slider on the inside
Switched 12 V supply
At the taillight, removed the heat-shrink tubing from the yellow wiring harness and soldered it on… Then sealed it again with hot glue and heat-shrink tubing.

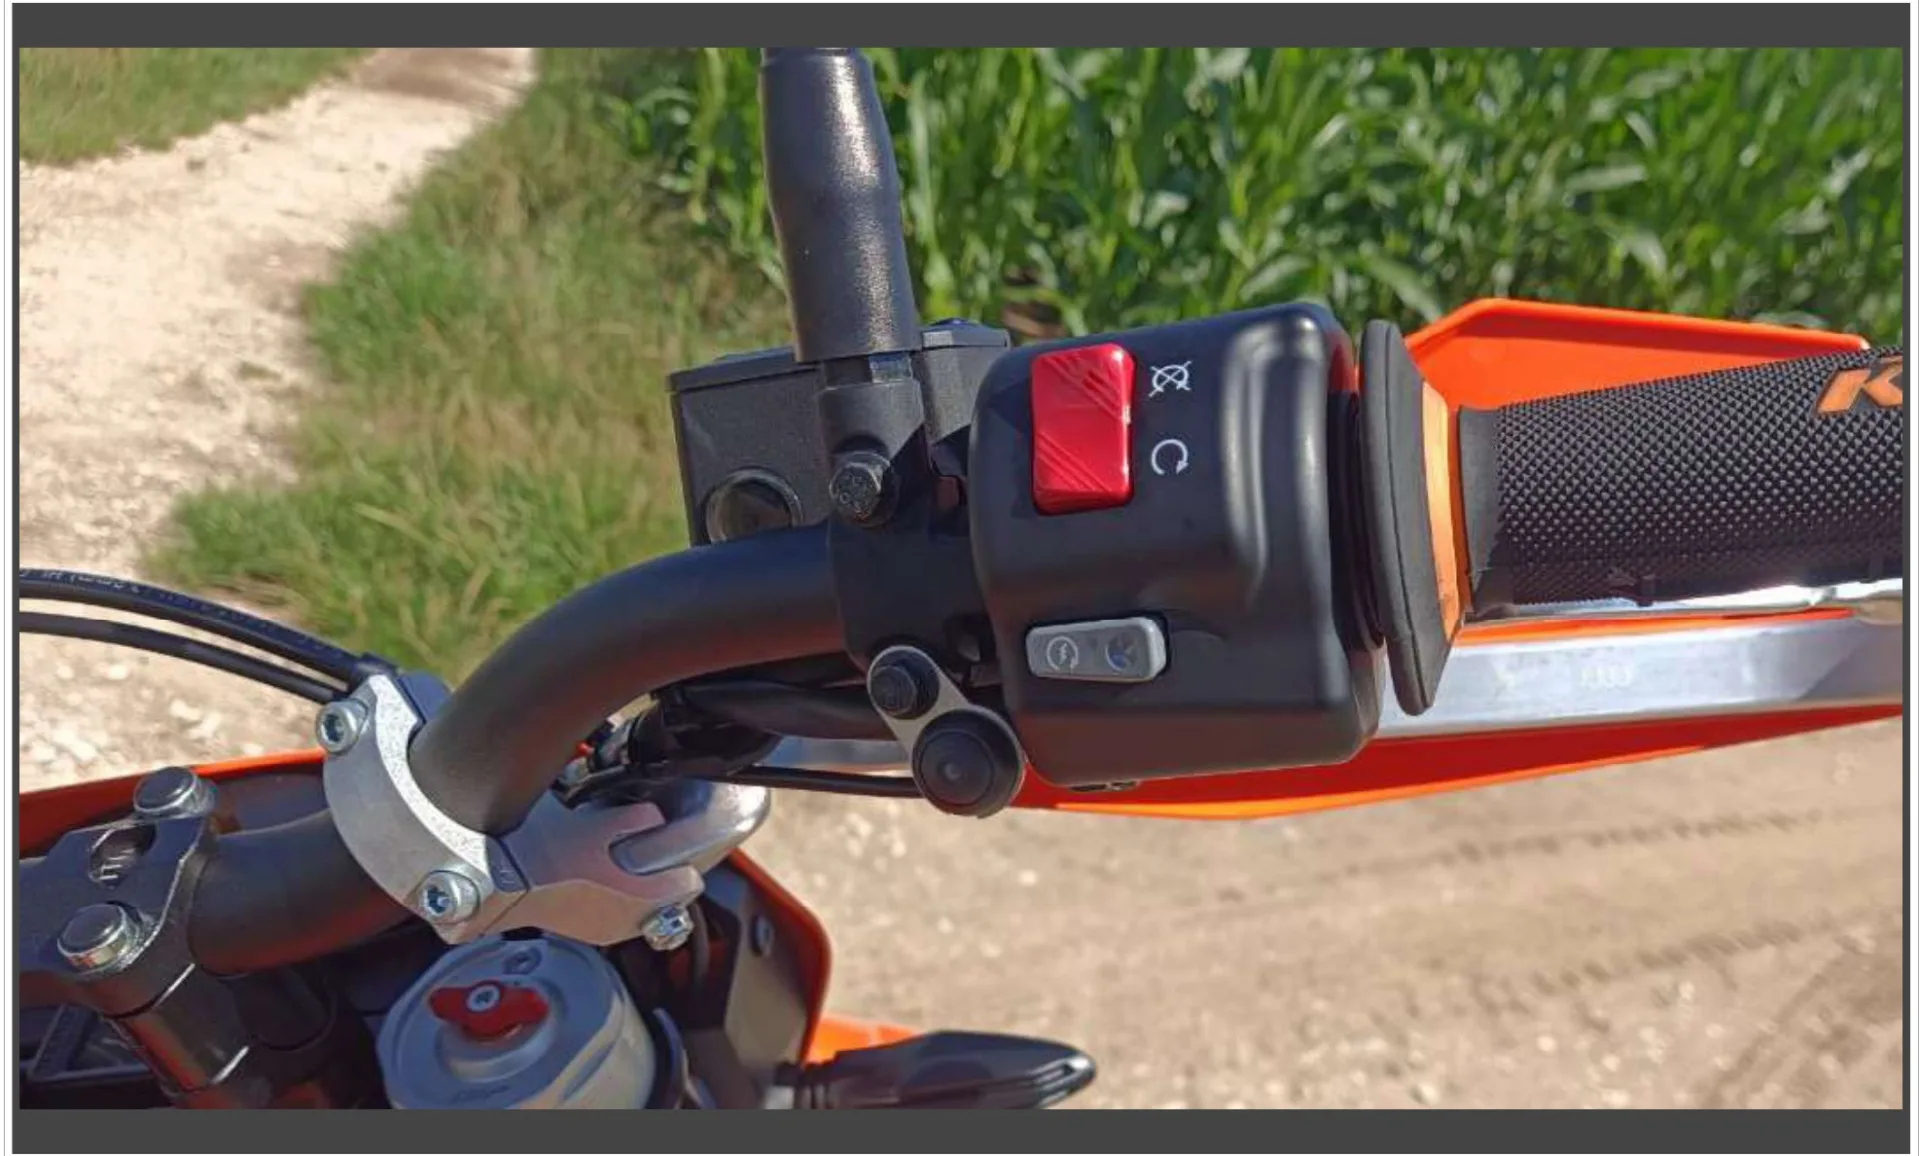
Rain switch
On the right-hand side of the handlebar
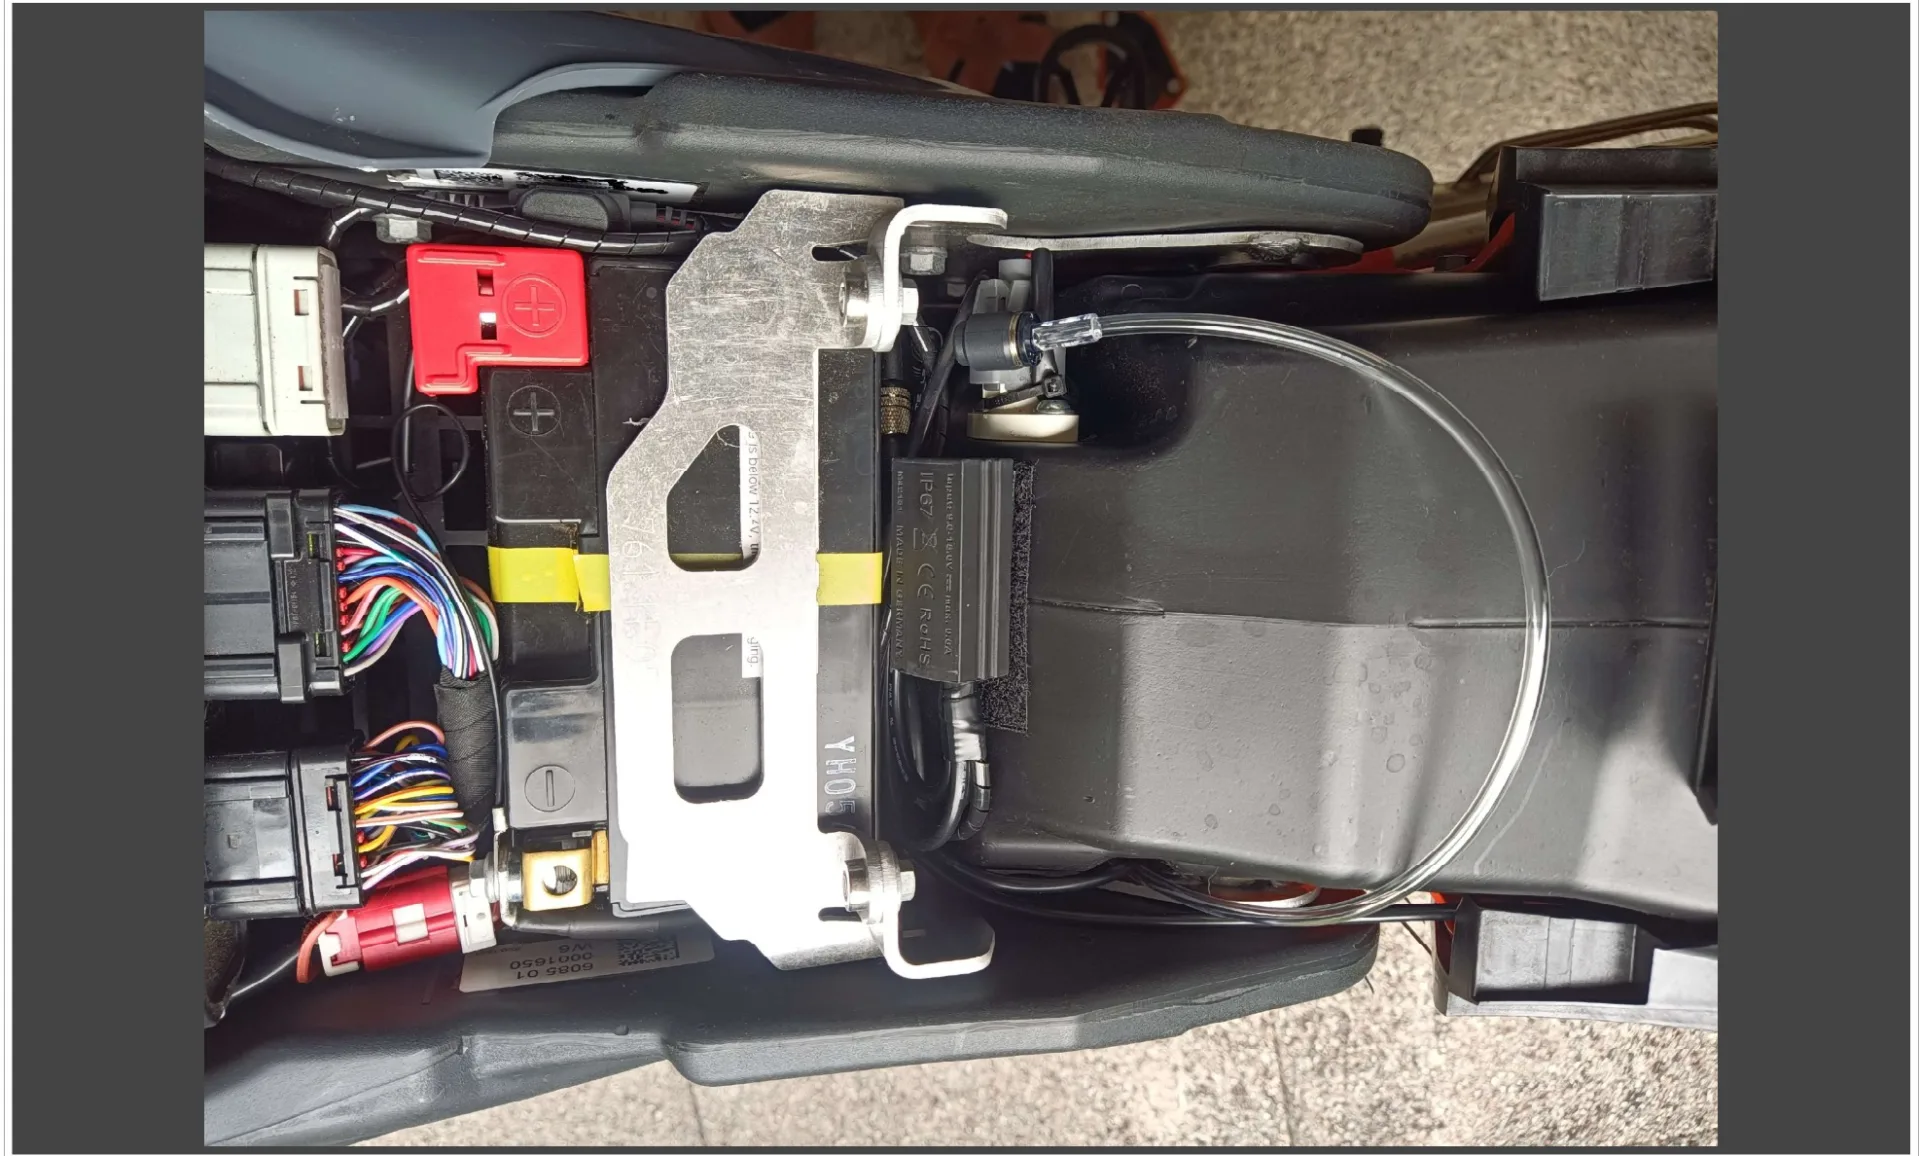
Control unit
Under the seat, attached to the airbox with hook-and-loop tape.

Installation report by Horst
KTM 690 Enduro R – year of manufacture 2019
This is how Horst solved the installation – unfortunately we cannot guarantee that it works correctly, as we were not able to check the installation ourselves.
Oil reservoir 60 ml
Fitted under the left side panel, secured with two cable ties (hole drilled in the panel at the top, resting on a self-bent aluminium angle bracket at the bottom).
Metering valve
The metering valve is secured with two cable ties under the inner frame cover; the T-piece sits right next to it and the filler hose is led out to the rear.

Nozzle
Nozzle at the rear sprocket.

Switched 12 V supply
Behind the headlight fairing at the ACC2 connection; because I also have a GPS device connected here, a branch connector was used on the yellow wire.

Rain switch
Rain switch on the right mirror mount.

Control unit
The control unit sits behind the fuses; the remaining cables are coiled up further forward, left and right.

Have you fitted a MOFESSOR? Contribute your own installation report – directly here, with your photos.


