
Chain oiler for the Honda XL600V
2 installation reports for this model

Installation report by Andreas Hügel
Honda XL600V – year of manufacture 1998
This is how Andreas Hügel solved the installation – unfortunately we cannot guarantee that it works correctly, as we were not able to check the installation ourselves.
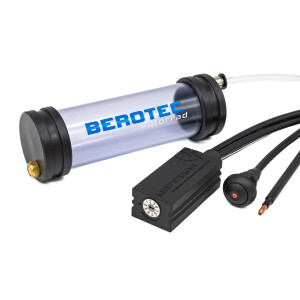
Oil reservoir 60 ml
Under the rear fairing, on the left-hand side of the frame. This makes it easy to check the oil level. To minimise vibration, the foam rubber pad sits at the contact surfaces. There is room at this spot for both the standard and the long-range reservoir.

Metering valve
The metering valve sits in a direct line below the oil reservoir on the left frame brace, directly ahead of the air filter. Additionally protected against spray water, as the metering valve lies directly in the spray area of the rear wheel. Here, too, the foam rubber pad was used to minimise vibration.

Nozzle
At the rear sprocket, outer side, hose routed along the underside of the swingarm. The nozzle was screwed to the chain guard from the inside with self-tapping screws.

Switched 12 V supply
The simplest option is to tap the power from the taillight. In this case directly under the seat at the original Honda terminal (yellow wire, left). The filler neck can be seen next to the green connector.

Rain switch
In the usual place, on the right at the mirror mount. As there is enough room under the fuel tank, the electrical cables can be routed very easily along the frame.

Control unit
Under the seat, in front of the ECU. It is also easy here to tap permanent positive and negative directly from the battery.


Installation report by Friedl
Honda XL600V – year of manufacture 1996
This is how Friedl solved the installation – unfortunately we cannot guarantee that it works correctly, as we were not able to check the installation ourselves.
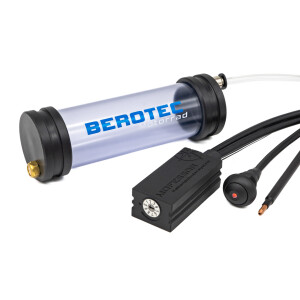
Oil reservoir 120 ml
I fitted the long-range oil reservoir under the left side panel.
Metering valve
The metering valve sits slightly higher than the reservoir outlet, mounted under the seat with double-sided tape.

Nozzle
The nozzle is fitted behind the lower white chain guard with the small clamp. The mounting hole of the clamp was drilled out to 6.5 mm for this.

Switched 12 V supply
I tapped the switched positive at the taillight, since the lights are usually on anyway whenever the machine is running. During maintenance work this has the advantage that I can switch the oiler off while the engine is running on the stand. Brown wire of the connector under the seat. I removed the connector and soldered the wires together.

Rain switch
The rain switch sits on the right-hand side of the handlebar.

Control unit
The control unit is also under the seat, attached to the right frame tube with a cable tie.

Have you fitted a MOFESSOR? Contribute your own installation report – directly here, with your photos.


