
Chain oiler for the Kawasaki Ninja 1000SX
2 installation reports for this model
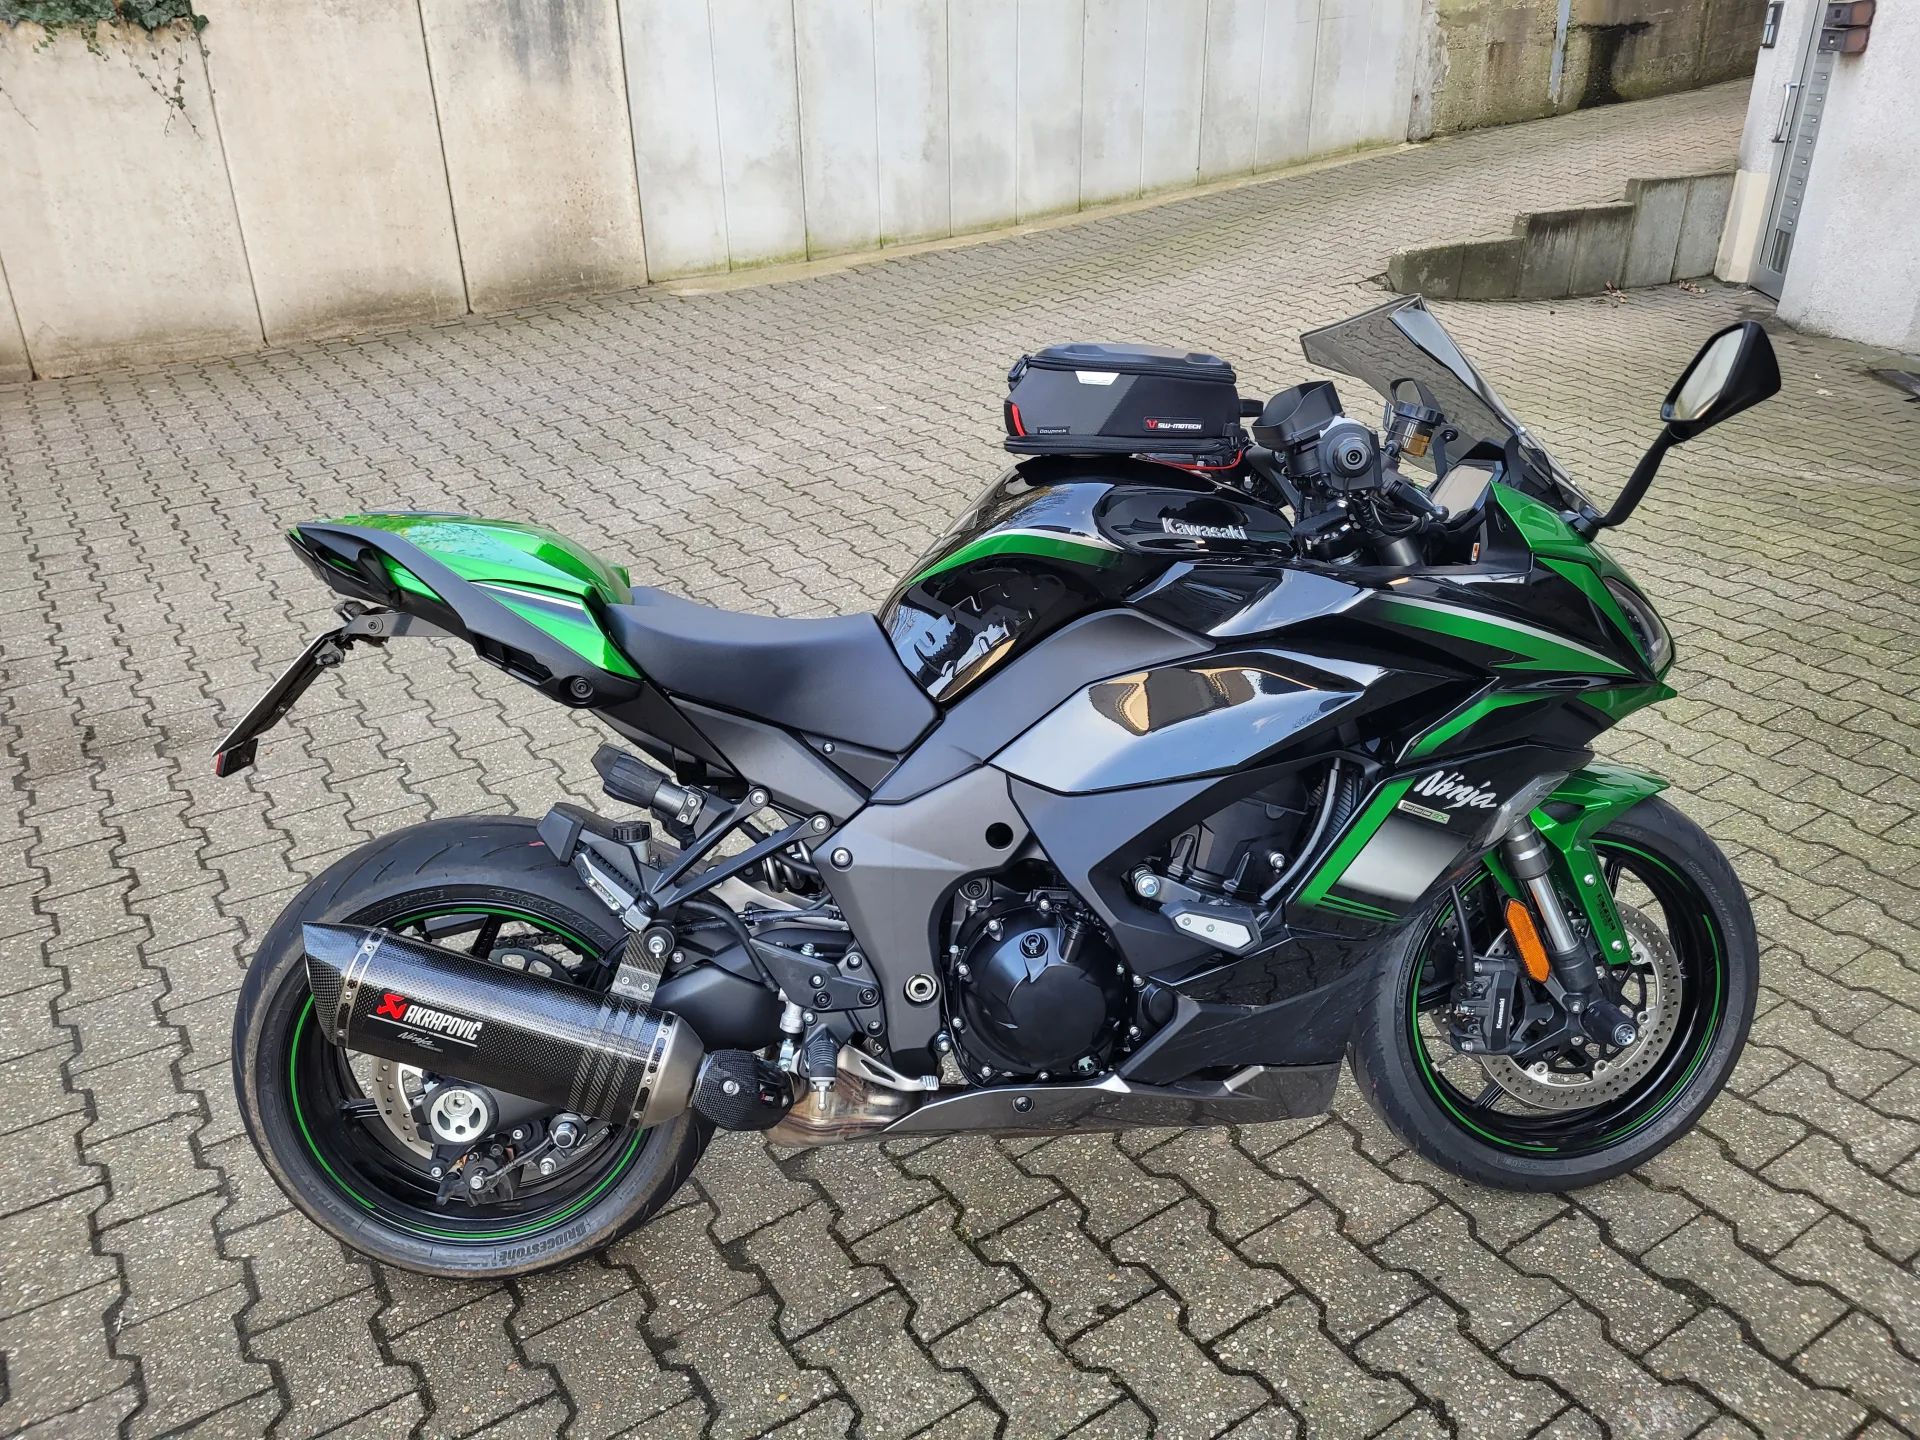
Installation report by RvK
Kawasaki Ninja 1000SX – year of manufacture 2021
This is how RvK solved the installation – unfortunately we cannot guarantee that it works correctly, as we were not able to check the installation ourselves.
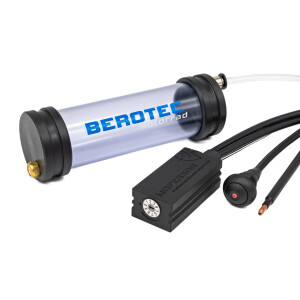
Oil reservoir 60 ml
Under the pillion seat, vent on the right in the direction of travel. The variable reservoir vent (detail 2) was fitted in addition (it runs upwards into the tail section and is secured at the highest point with a cable tie). This installation works with the seat and the original seat cover from Kawasaki (!!! they have different contact points at the rear).

Metering valve
Under the rider’s seat (1) on the metal brace with the supplied metal bracket. Two layers of the supplied foam are glued under the bracket. Oil flow direction: see arrow. On the left, the filler neck with the T-piece (2) is placed as well. The detail (3) shows the oil line arriving from the right side of the swingarm.

Nozzle
At the rear sprocket, outer side. The nozzle bracket and the hose (with three holders) are routed on the inside of the left swingarm side as far as the swingarm pivot. Then it crosses over to the right swingarm pivot (here the hose is secured once more with a hose bracket). After that the hose is led up along the frame (with heat protection, for appearance) and routed to the metering valve.

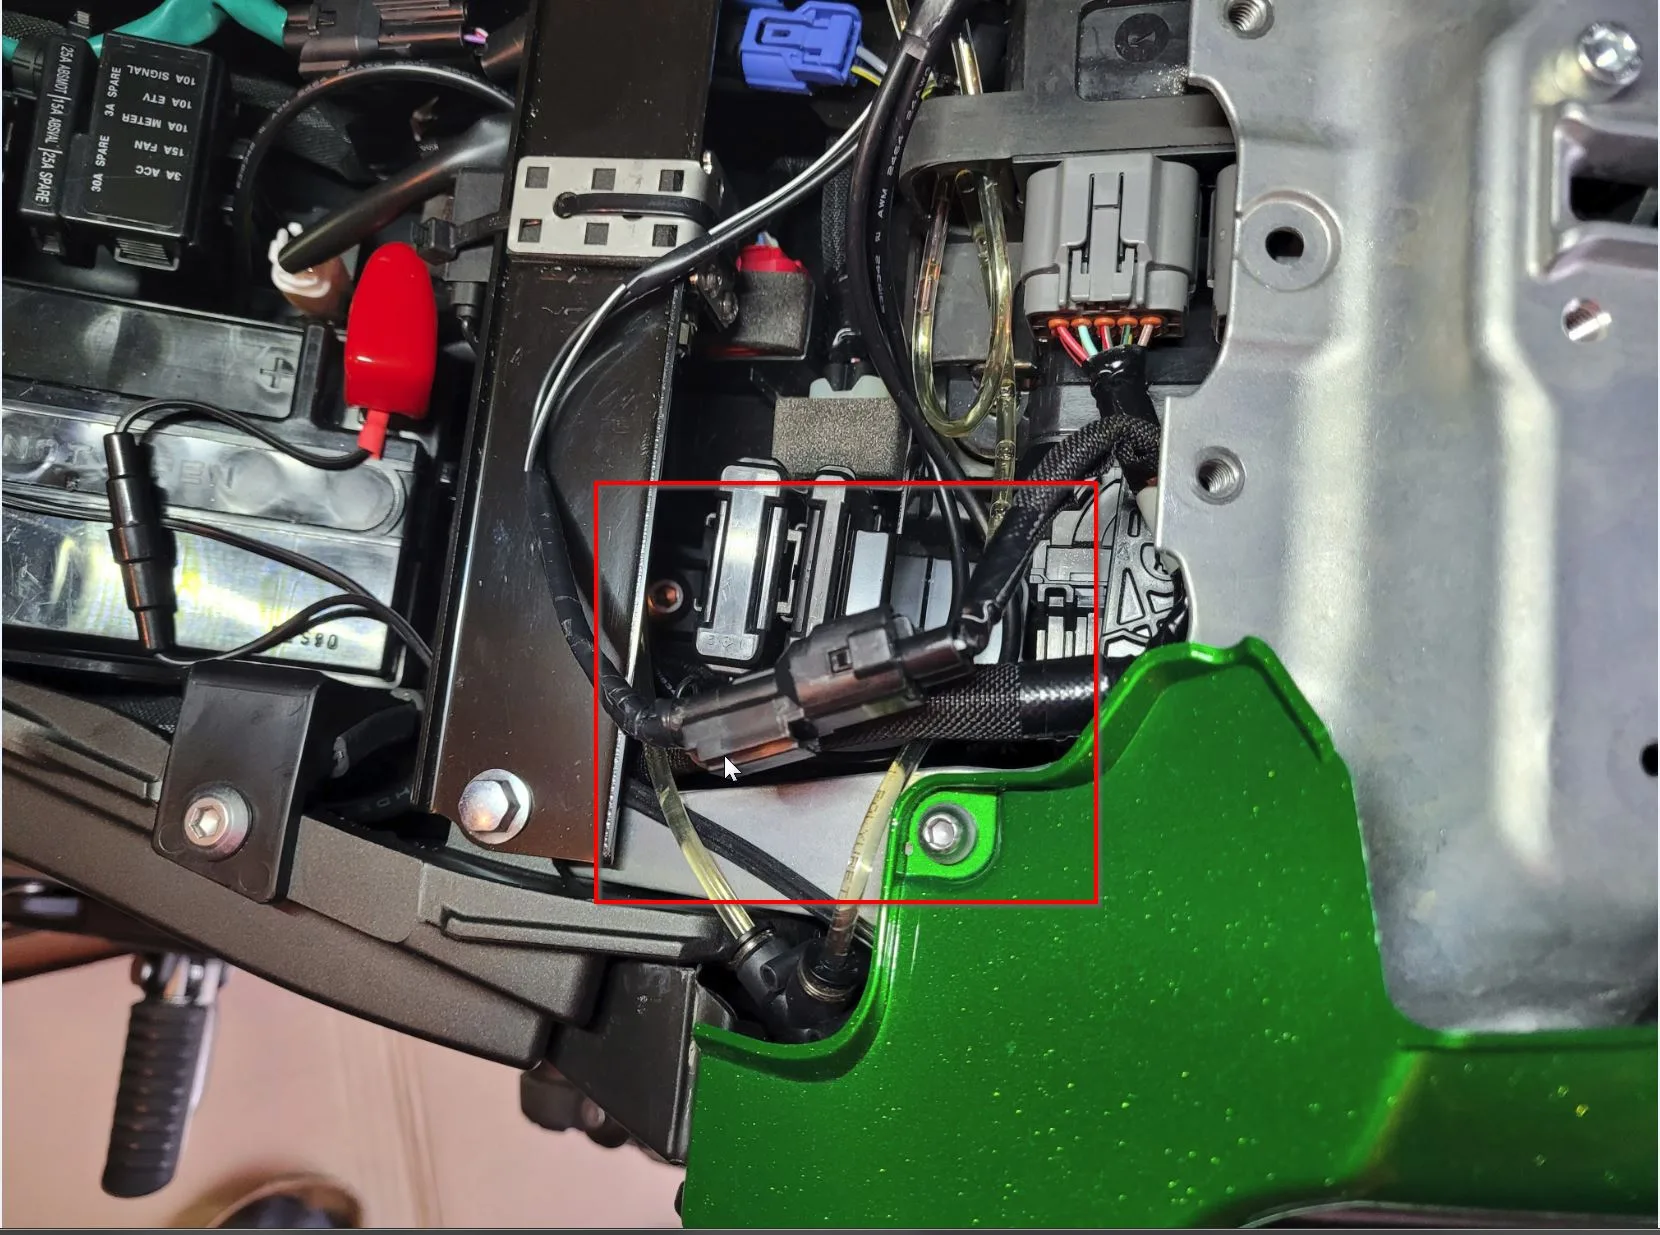
Switched 12 V supply
The switched positive is available in the form of a connector that still has to be assembled. It is located under the rider’s seat and fixed to the wiring harness with insulating tape (see also the owner’s manual, page 126 of the German edition). Otherwise I refer you to Bruce’s installation help for the Ninja 1000SX 2020 (many thanks).
Rain switch
On the left in the upper panel. My Kawasaki dealer in Witten fitted it along with the installation of the Performance Tourer package. I had supplied it to him beforehand, and he had to remove the panel anyway to fit the heated grips and the GPS device.

Control unit
Under the pillion seat. There it is tucked under the oil reservoir together with the excess cables, saving space, and it holds very well without any fixing. The screwdriver for adjusting the control unit finds its place in the onboard toolkit, which can keep its usual spot.


Installation report by Bruce
Kawasaki Ninja 1000SX – year of manufacture 2020
This is how Bruce solved the installation – unfortunately we cannot guarantee that it works correctly, as we were not able to check the installation ourselves.
Oil reservoir 60 ml
The 60 ml reservoir is fitted directly under the pillion seat.
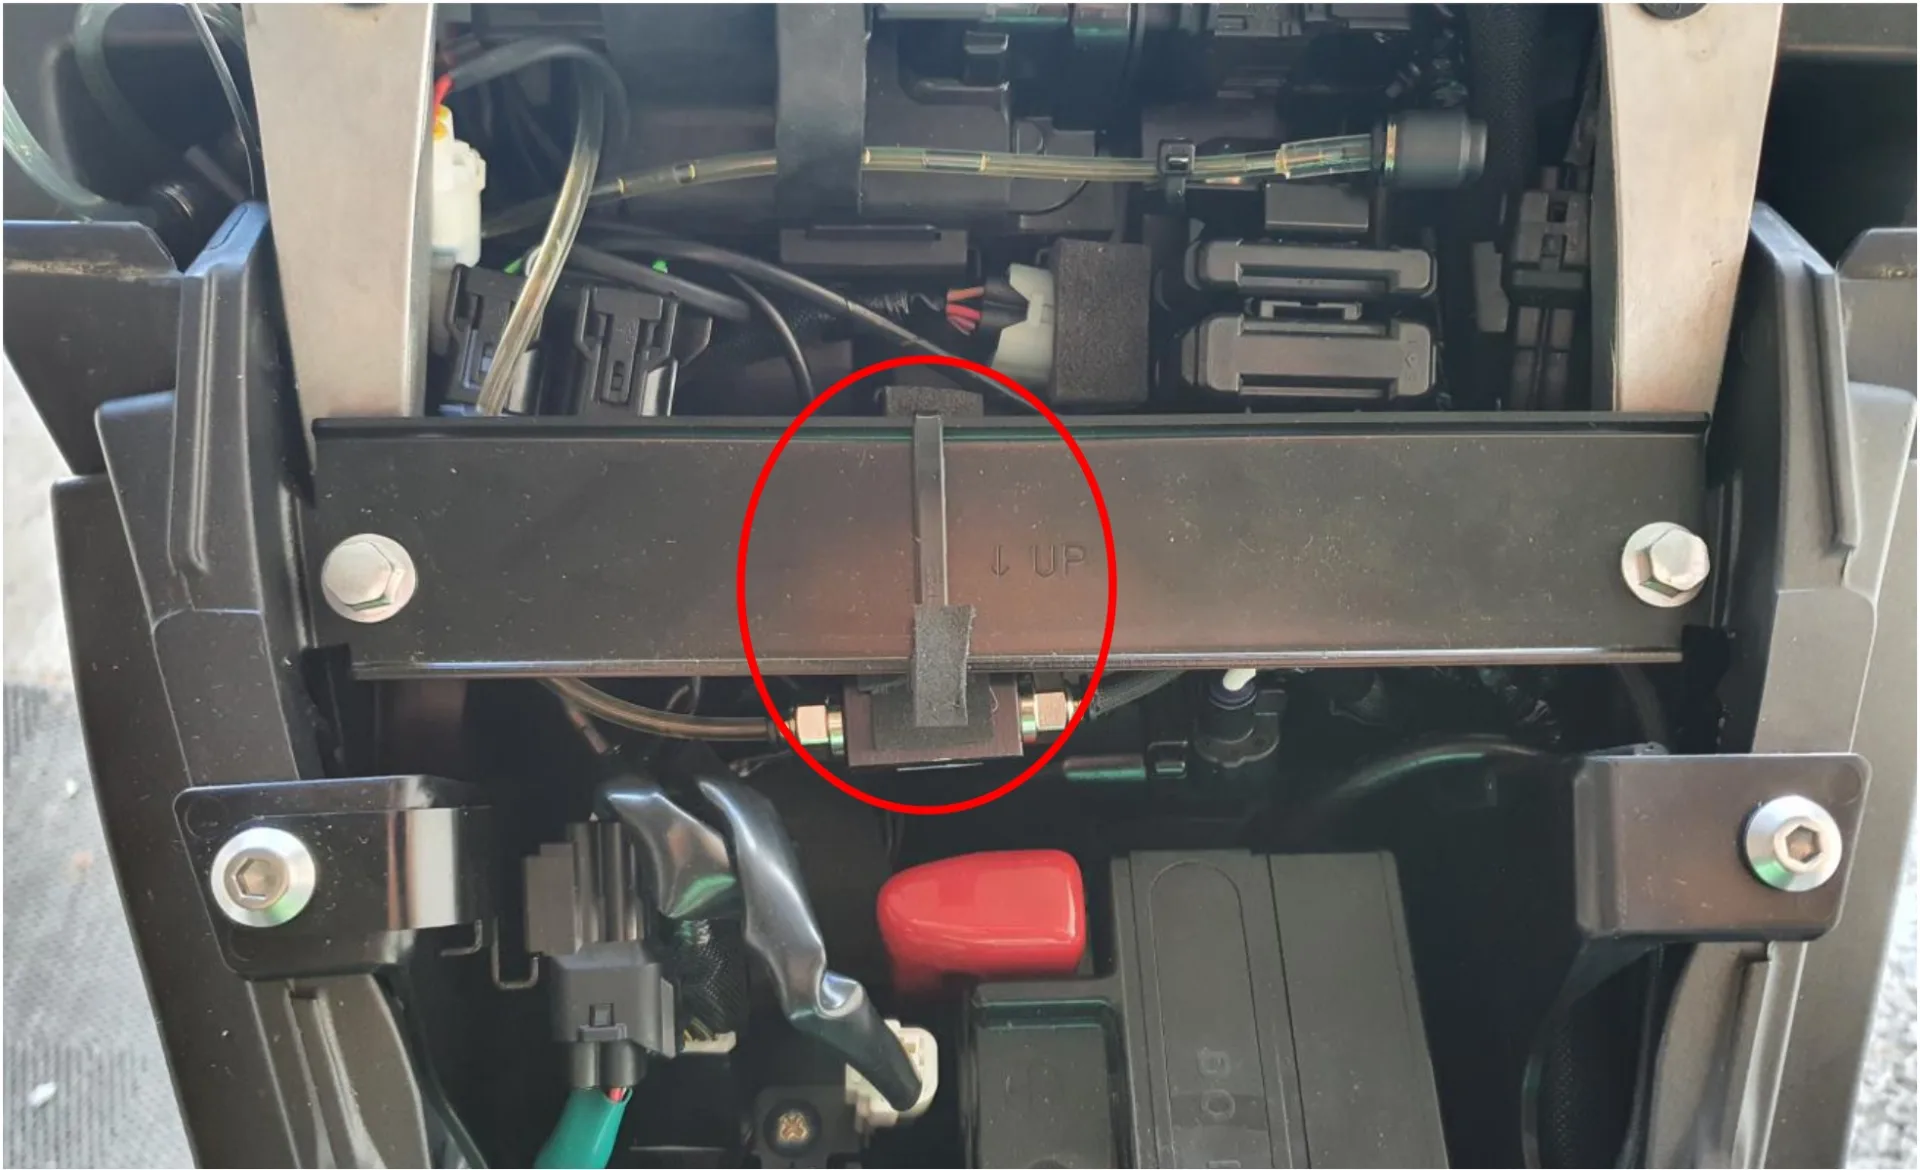
Metering valve
The metering valve is secured under the rider’s seat with cable ties. In the photo the flow direction is from left to right.
Nozzle
The nozzle is fitted at the front sprocket, about 1 mm away from the sprocket teeth. As soon as a drop forms at the nozzle, the sprocket picks it up perfectly and carries it into the chain. The oil is picked up by the sprocket on its “upward travel”.

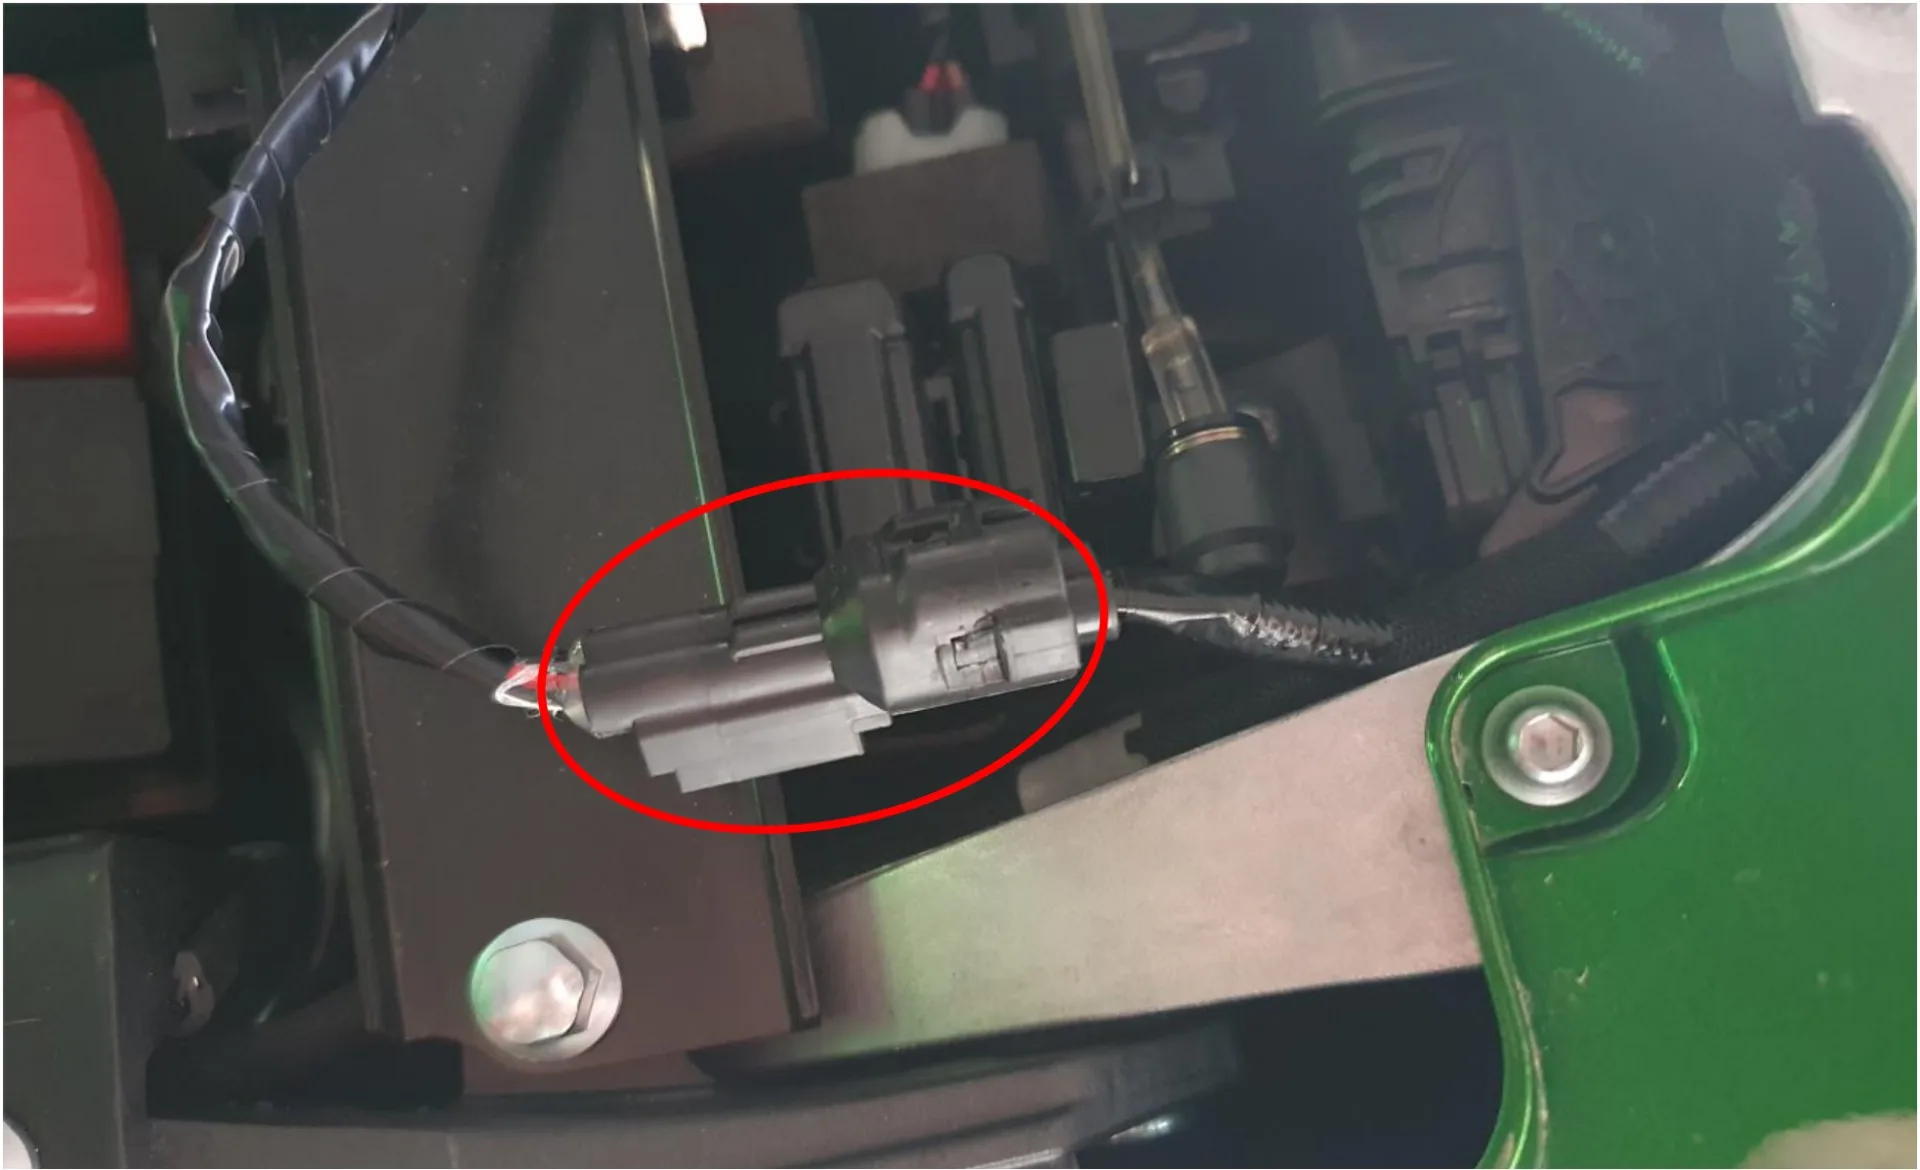
Switched 12 V supply
The power supply and the switched positive are conveniently available in the form of an ACC2 connector under the rider’s seat, behind the left panel. Protected by a 3 A fuse, rated for 20 W power consumption. A blanking connector is fitted, which only has to be equipped with two Econoseal terminals (size 0.5–1.25 mm²) and can then be used. Black = negative, white/blue = positive.
Rain switch
As I am a fair-weather rider and do not need the rain switch (if rain threatens, I stay at home), I left it under the pillion seat. Should I unexpectedly get caught in a shower after all, I simply have to take the pillion seat off briefly and press the switch.
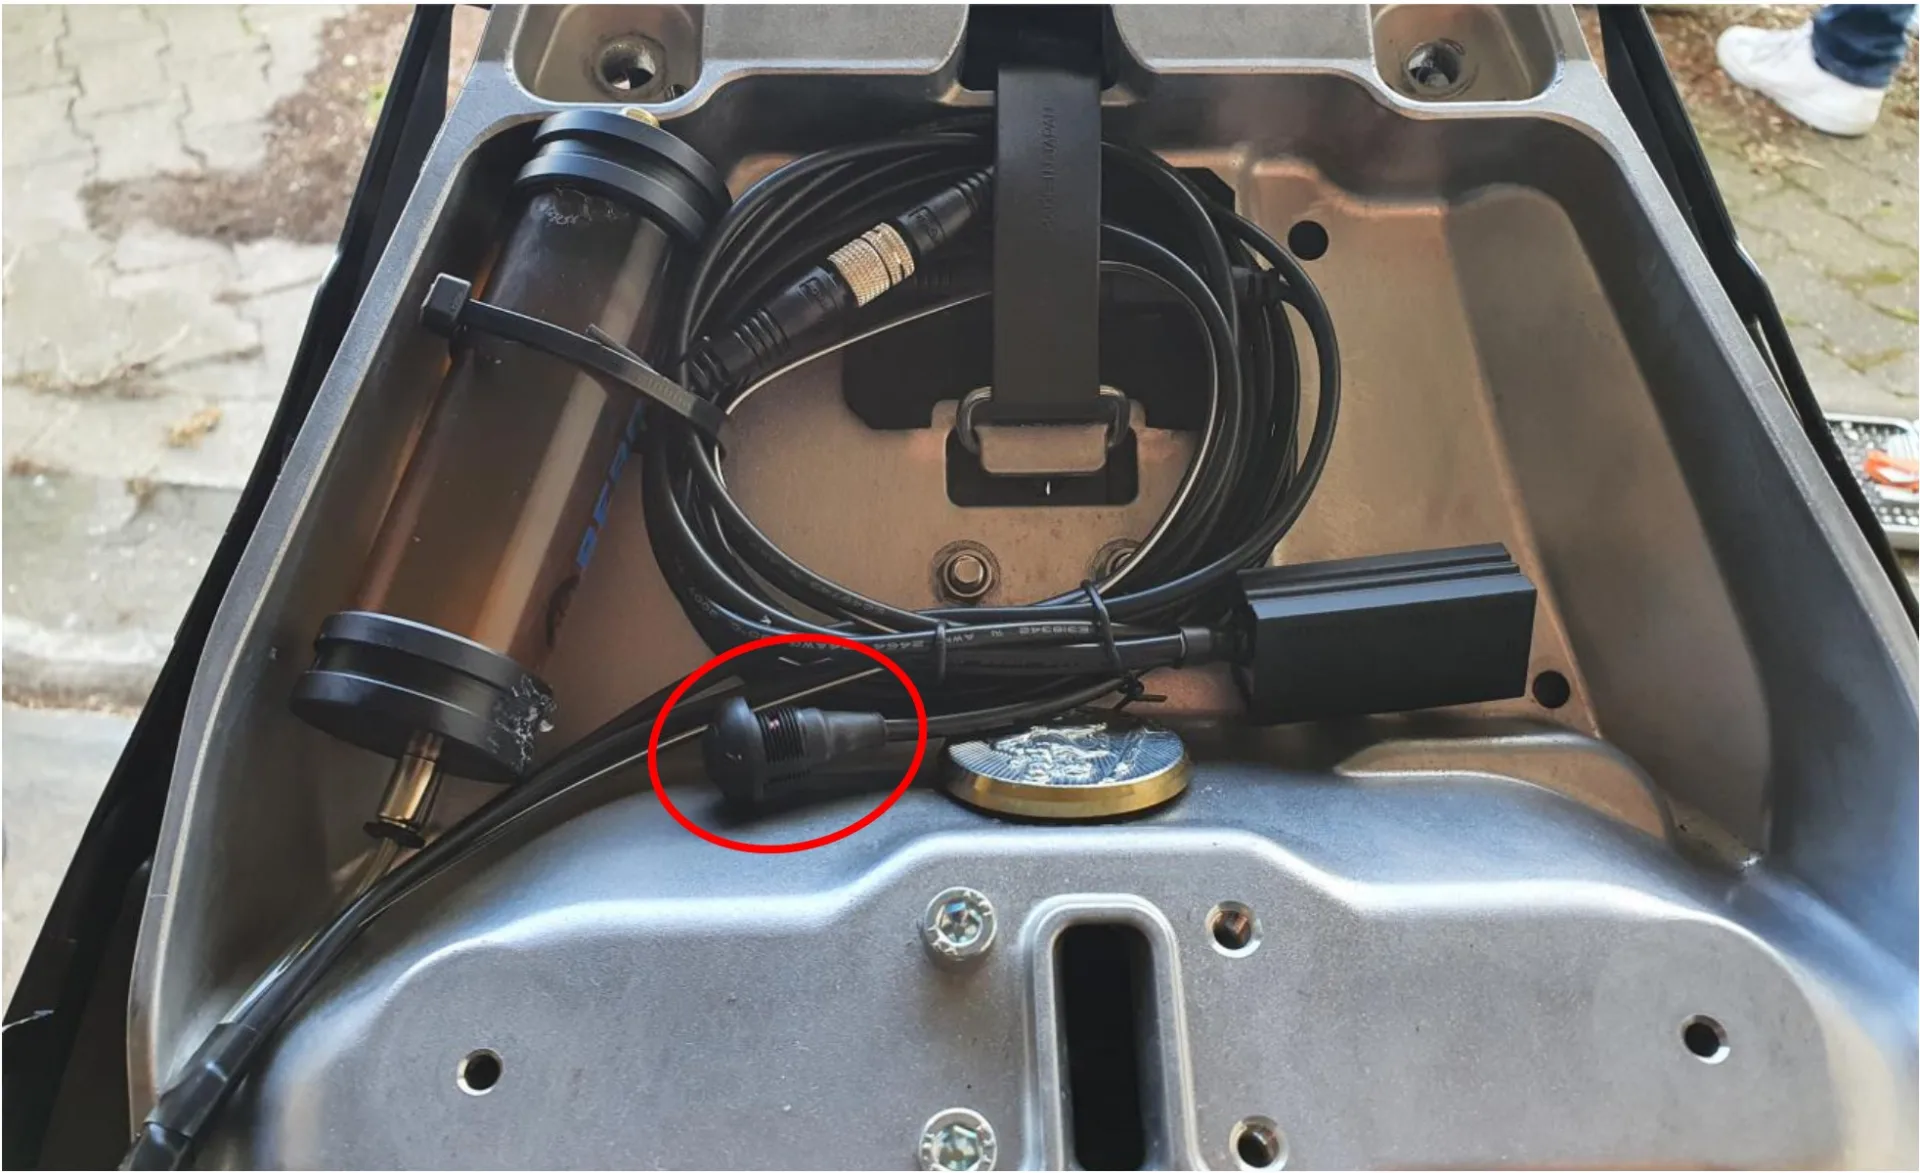
Control unit
The control unit is fitted, together with the oil reservoir and the rain switch, in the small compartment below the pillion seat. I can get to the control unit within seconds and adjust it.

Have you fitted a MOFESSOR? Contribute your own installation report – directly here, with your photos.


