
Chain oiler for the Ducati SuperSport 939 S
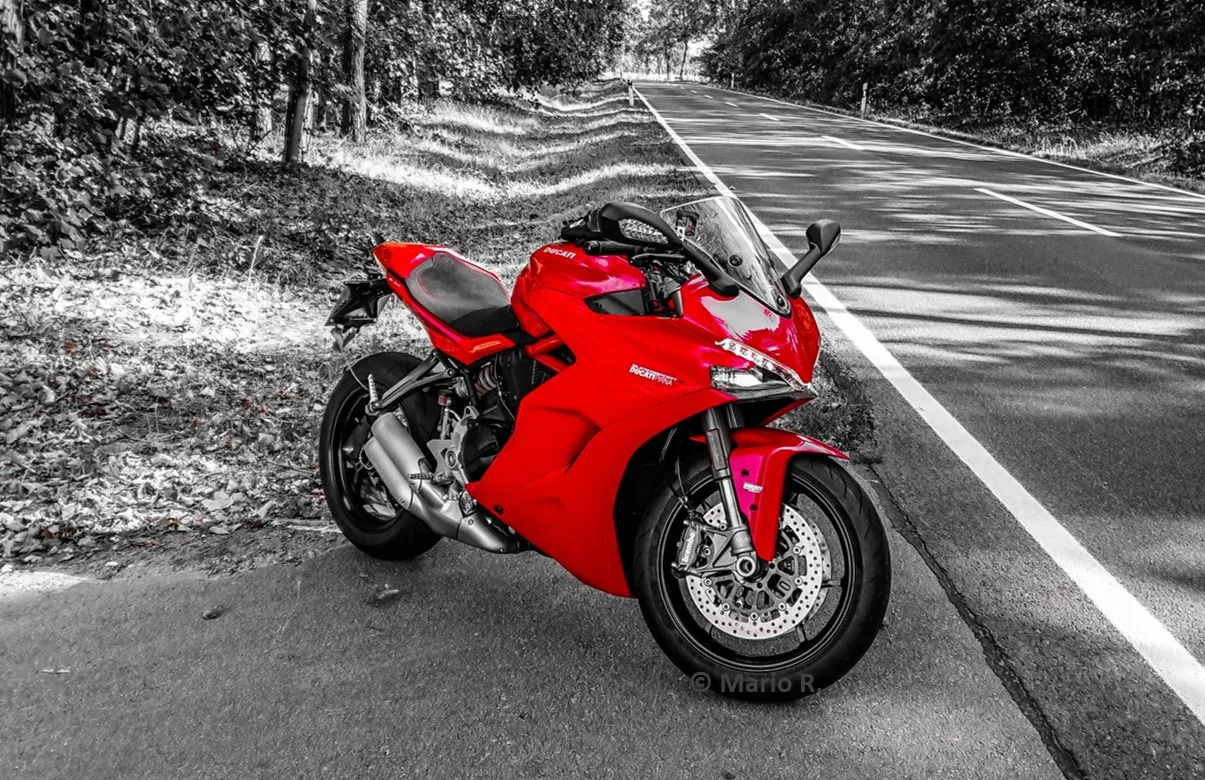
Installation report by Mario
Ducati SuperSport 939 S – year of manufacture 2018
This is how Mario solved the installation – unfortunately we cannot guarantee that it works correctly, as we were not able to check the installation ourselves.
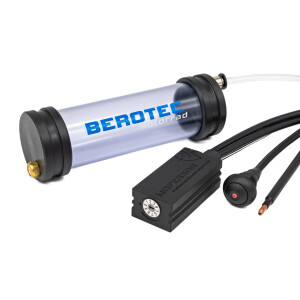
Oil reservoir 60 ml
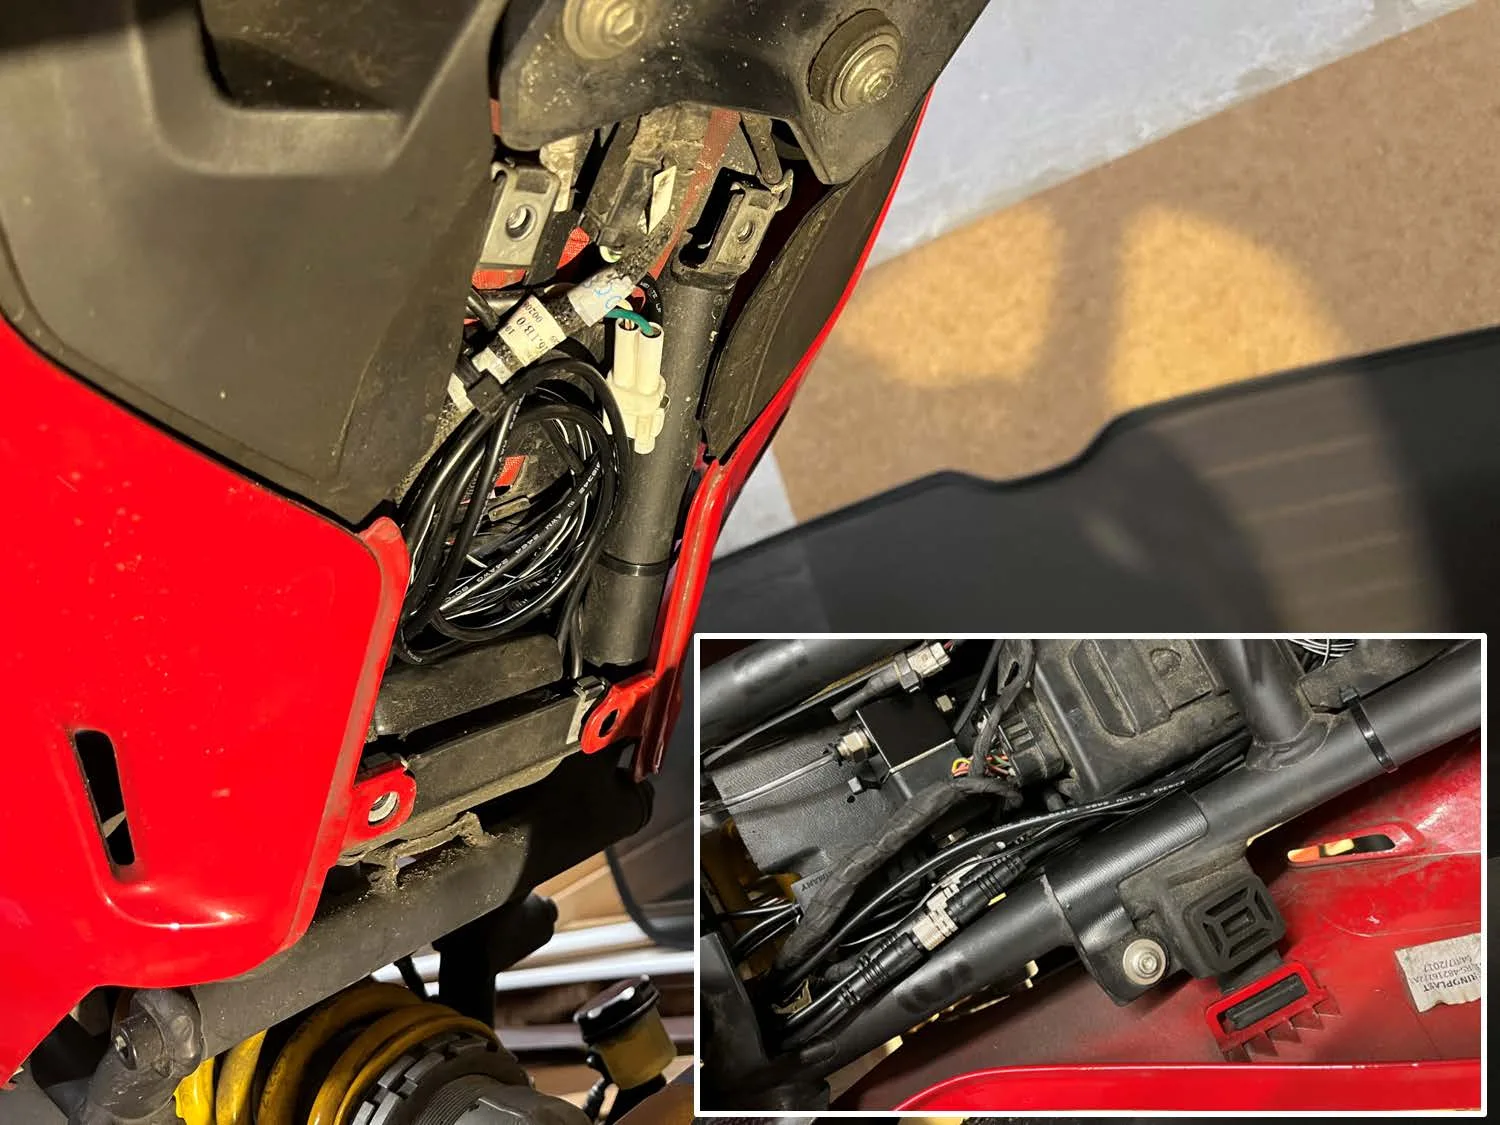
Under the rear fairing, on the right-hand side of the frame (foam rubber at all contact surfaces to avoid vibration). Route the hose (inside a corrugated conduit) rearwards in the gap between the frame parts and lead it through the frame at the height of the tool compartment (small photo bottom left). Shorten the cable ties. :) Despite the uphill run, the oiler works without any problems.

Metering valve
Under the seat: drill a small hole in front of and behind the valve and secure the valve with a cable tie (place foam rubber underneath). T-piece between the frame and the box; route the hose to the oil reservoir behind the cross brace through the trellis frame. Lead the filler hose to the rear and lay it in the tool compartment. (A corrugated conduit and, where there is heat, a heat protection sleeve were fitted in addition.)

Nozzle
Line routed in the ABS duct (led down at the fuel tank inside a braided sleeve). On the swingarm, cut a notch on the inner side of the duct behind the second-to-last bolt in order to bring the hose out and feed it over the duct. At the last bolt, fit the modified nozzle bracket as shown in the photo. A dual nozzle with an M5 bolt is required. Available on request.

Switched 12 V supply
Route the cable under the seat, along the subframe, into the small compartment beneath the tool compartment (access from below). Tap the switched positive at the connector of the USB socket. Make and fit a Y-piece with a Sumitomo MT90 connector (type designation without guarantee, please check yourself), or use a branch connector.
Rain switch
On the left-hand side of the handlebar, at the lower bolt, between the half shells of the clutch clamp. Flatten the bracket slightly so as to get close enough to the handlebar tube and be able to push the bolt through. If it does not have to be that discreet, simply bolt it on at the top, on the outside of the clamp.

Control unit
Under the seat, beneath the wiring harness in the rubber loop of the connector. Wedge the connector between the frame and the box.

Have you fitted a MOFESSOR? Contribute your own installation report – directly here, with your photos.


