
Chain oiler for the Triumph Street Triple 675
3 installation reports for this model

Installation report by Christian
Triumph Street Triple 675 – year of manufacture 2016
This is how Christian solved the installation – unfortunately we cannot guarantee that it works correctly, as we were not able to check the installation ourselves.
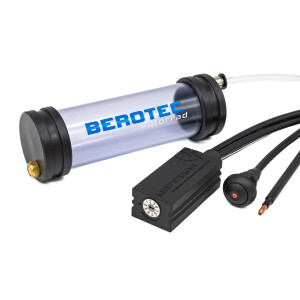
Oil reservoir 60 ml
Under the seat, on the left side, secured with a cable tie.

Metering valve
Under the seat, secured around the small fuse box with a cable tie.

Nozzle
At the rear sprocket, outer side. The hose was routed down from the seat, ahead of the tyre, to a mounting point and fixed there with the supplied clamp and an additional bolt. A heat protection sleeve was fitted as well.

Switched 12 V supply
Connected together with the positive lead of the chain oiler and a cable pulled through, using push-on terminals, and wrapped with insulating tape. The other end of the cable runs forwards to the horn. There, the positive cable of the horn was plugged onto the horn contact together with the new cable, using a piggyback blade terminal (hard to see, but the red cable in the photo).

Rain switch
Mounted on the left-hand side of the handlebar, on the clutch clamp.

Control unit
Right at the back under the seat, secured with a cable tie and the supplied self-adhesive foam rubber.


Installation report by Jan
Triumph Street Triple 675 – year of manufacture 2015
This is how Jan solved the installation – unfortunately we cannot guarantee that it works correctly, as we were not able to check the installation ourselves.
Oil reservoir 60 ml
The oil reservoir is attached in the rear compartment with a 3D-printed bracket and double-sided tape.
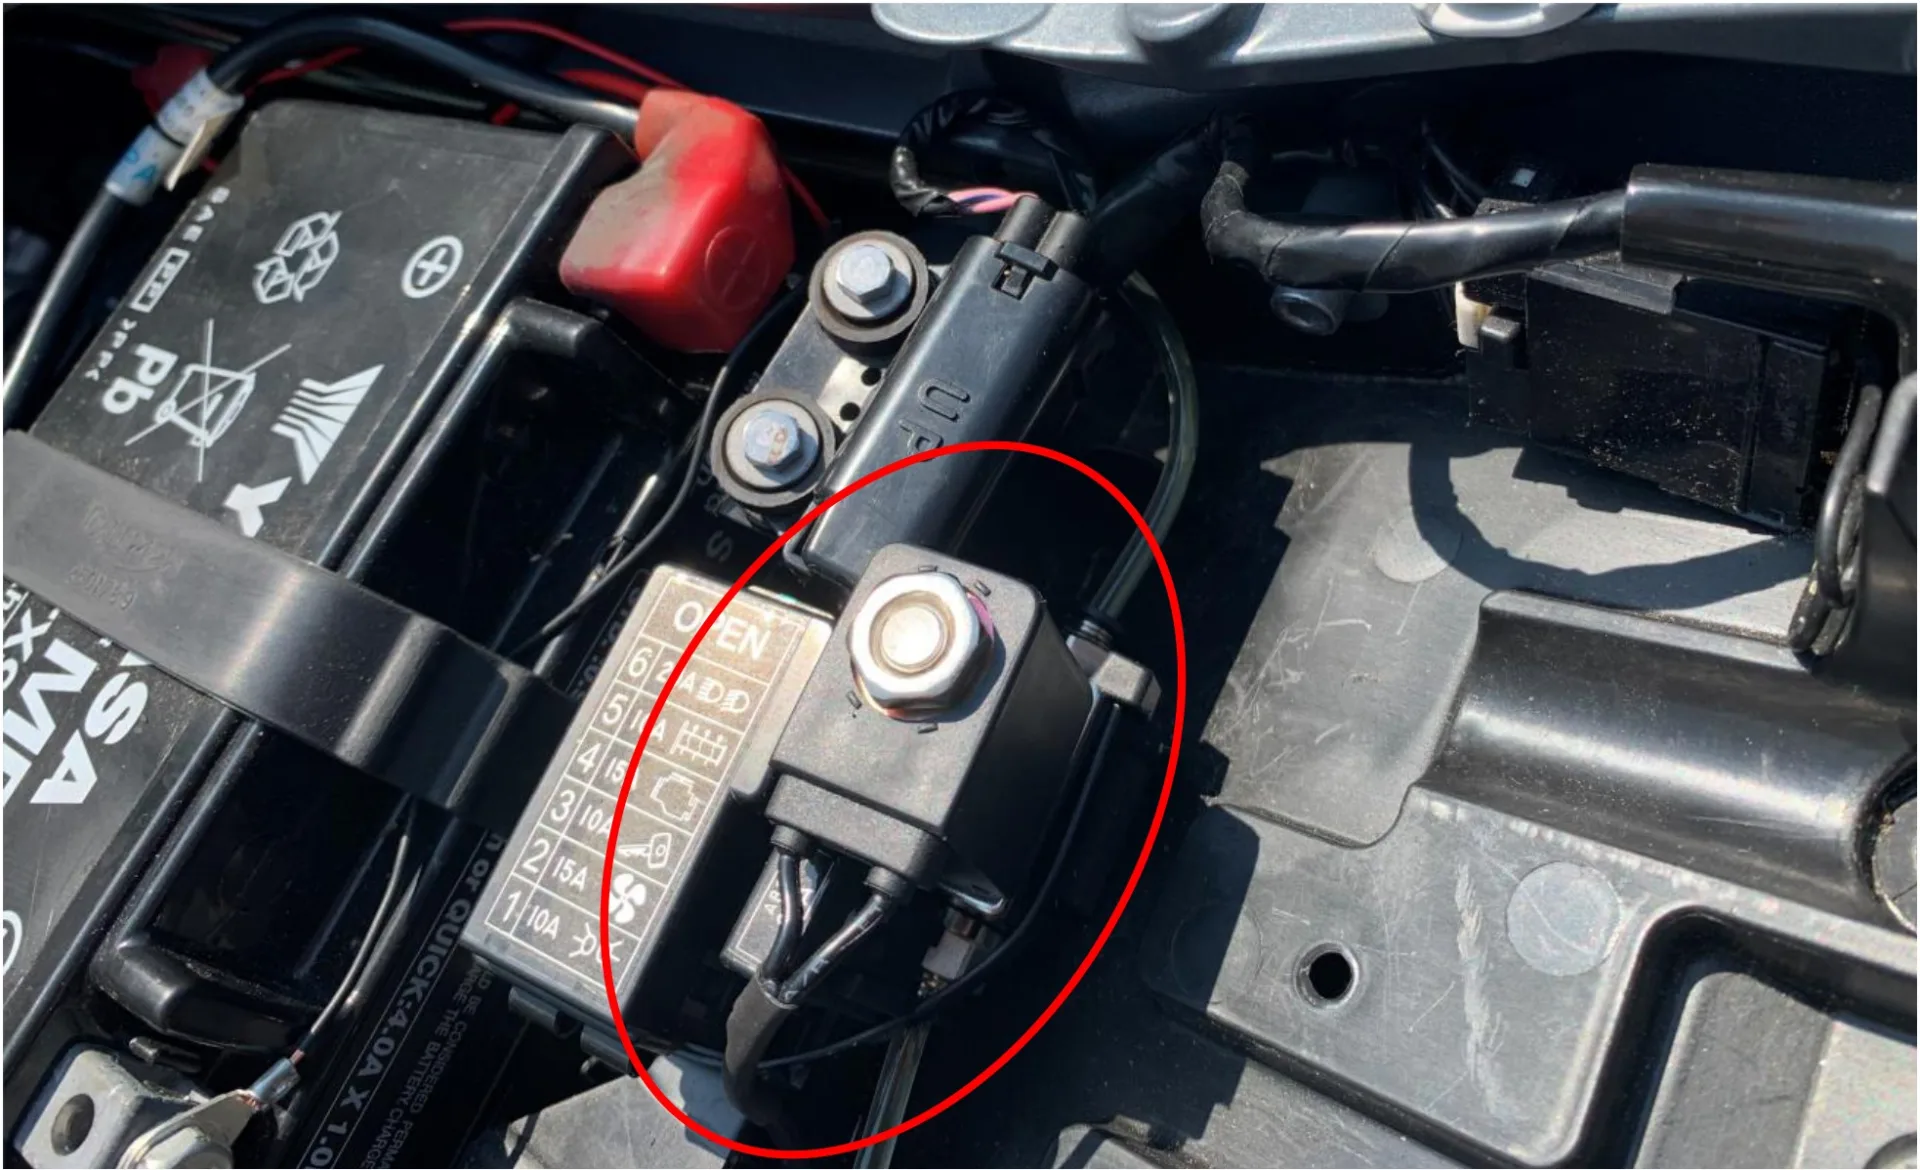
Metering valve
The metering valve is attached with a cable tie around the fuse holder.
Nozzle
The nozzle is attached with the supplied aluminium clamp to the mount of the lower chain guard and positioned at the rear sprocket.

Switched 12 V supply
As the licence plate light was converted to LED, the switched positive (white wire) could be tapped directly on that wire. The vehicle wiring harness is thus left intact.

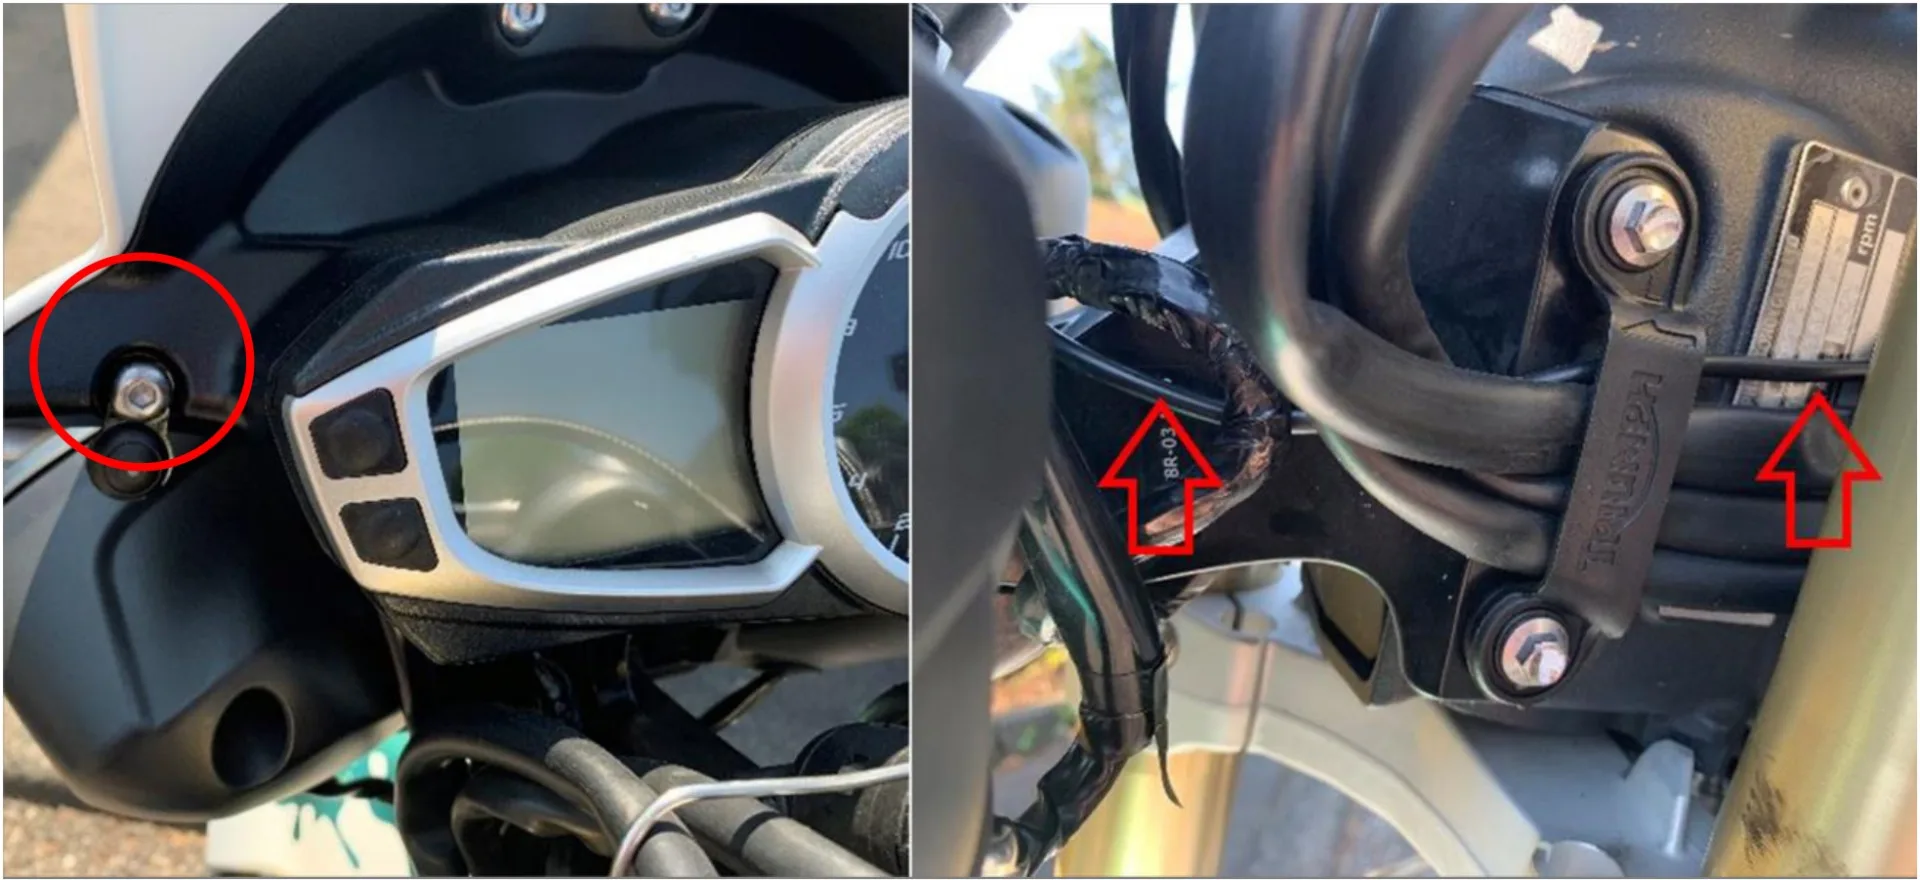
Rain switch
The rain switch was attached to the instrument cover with the supplied bracket. The switch cable is secured with a cable tie under the windscreen to the wiring harness of the headlights and led through the cable holder from the handlebar. Through the cover in the frame, the rain switch cable is routed together with the other cables under the fuel tank. There it follows the wiring harness past the ABS unit to the control unit.
Control unit
The control unit is attached with double-sided tape in the compartment under the seat. The excess cables are stowed on the left in the frame, next to the control unit.


Installation report by TimOnTriumph
Triumph Street Triple 675 – year of manufacture 2013
This is how TimOnTriumph solved the installation – unfortunately we cannot guarantee that it works correctly, as we were not able to check the installation ourselves.
Oil reservoir 60 ml
Standard oil reservoir under the seat: to fit the reservoir, remove the onboard toolkit on the right and feed the cable ties through the openings this creates. Make sure the outlet valve of the reservoir points downwards.
Metering valve
The metering valve can be attached with its bracket at the rear by replacing the existing bolt in the Triumph with a longer one, in order to fix the metering valve with its bracket (in the photo: above and below the metering valve bracket the two fixing points at the rear of the Triumph are clearly visible; at the upper fixing point the bolt and plastic holder have already been removed. The metering valve bracket can be mounted here without any wobble).

Nozzle
With the aluminium clamp, the nozzle finds its place at the rear bolt position of the toe guard and can be brought up against the rear sprocket

Switched 12 V supply
The switched positive is connected via a branch connector at the machine’s taillight (yellow wire). Insulate it afterwards to be safe.

Rain switch
The rain switch cable can be run past the battery on the right and then under the fuel tank. The cable then comes back out on the right at the panel (see photo) and is led forwards to the handlebar.

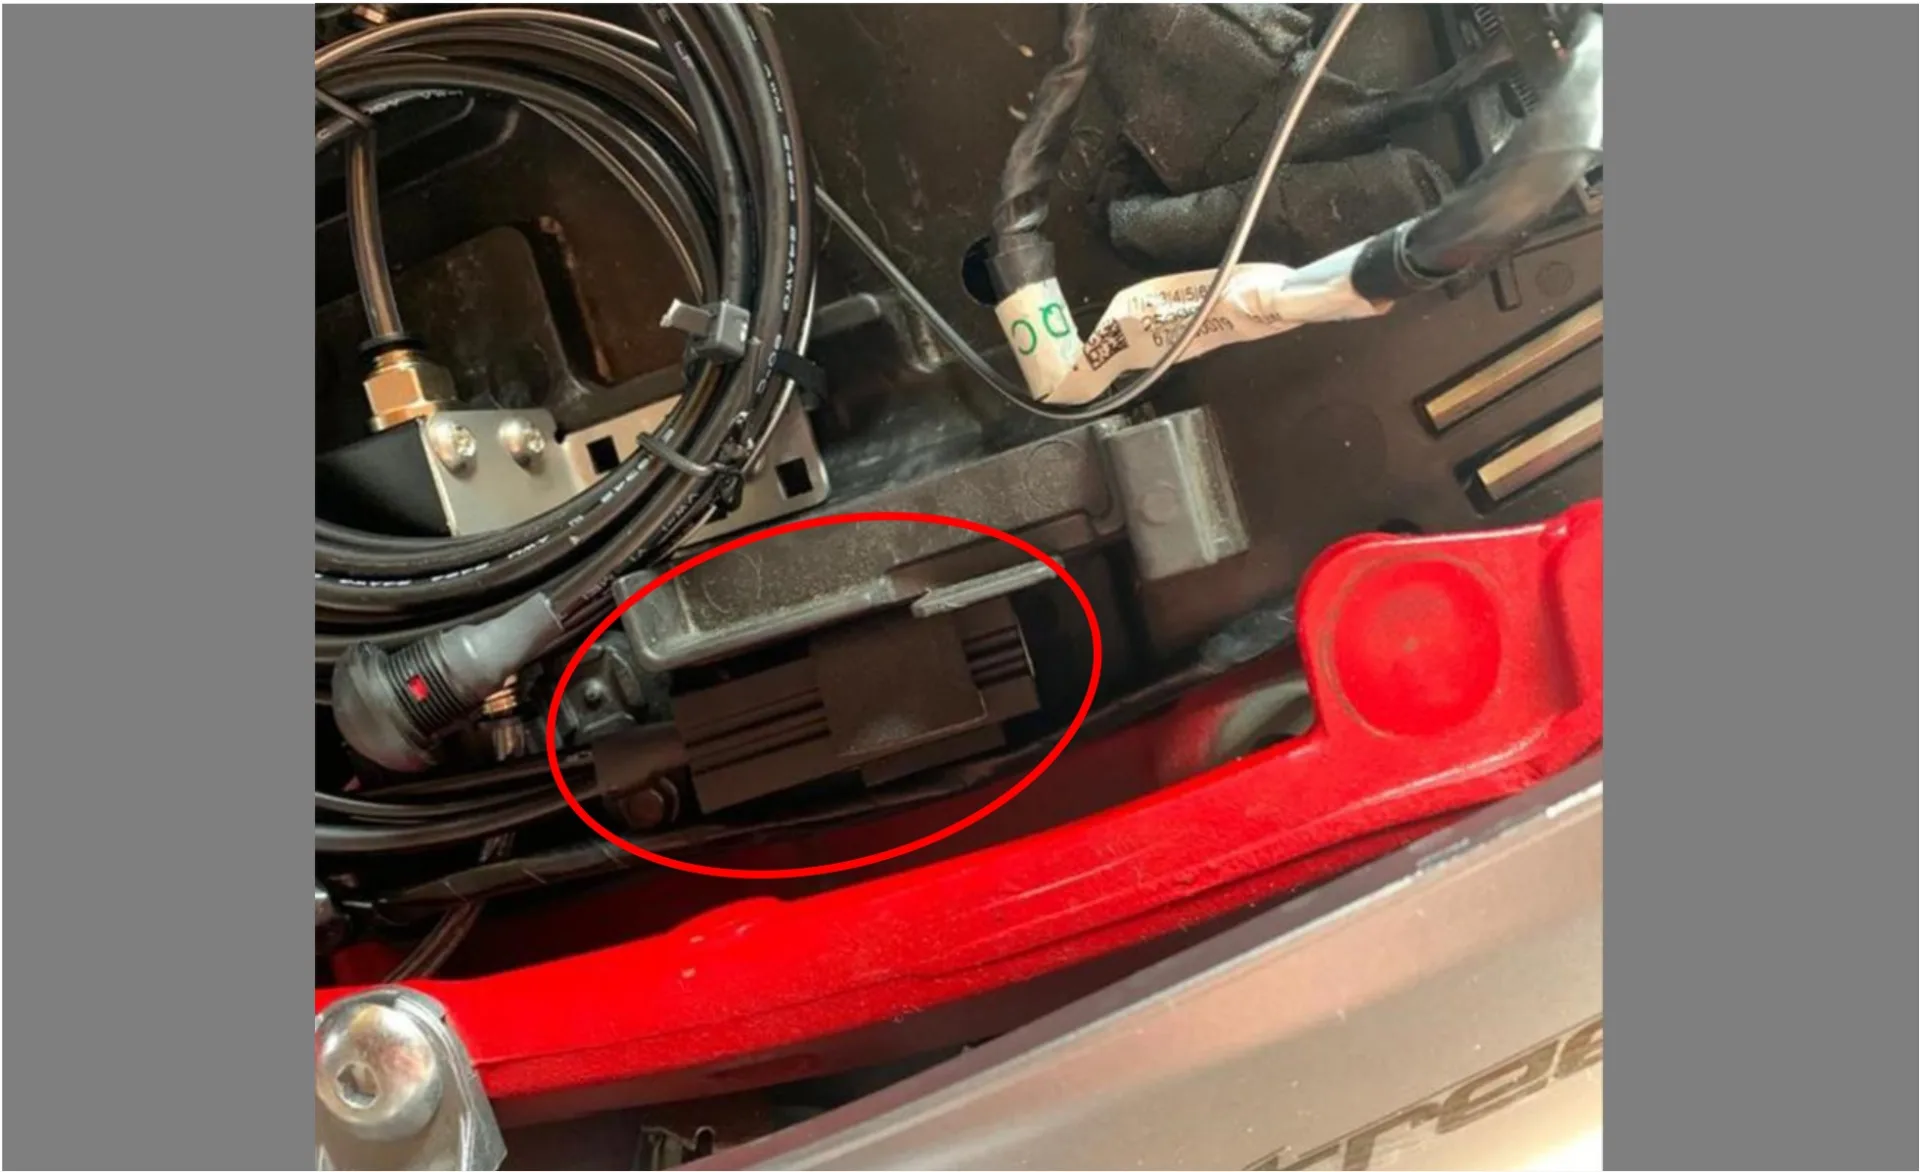
Control unit
Wrap the control unit in foam so that it does not scratch or rattle. The now thicker unit finds a wobble-free place on the left side under the seat, at the spot shown in the photo.
Have you fitted a MOFESSOR? Contribute your own installation report – directly here, with your photos.


