
Chain oiler for the BMW F 800 GS
4 installation reports for this model
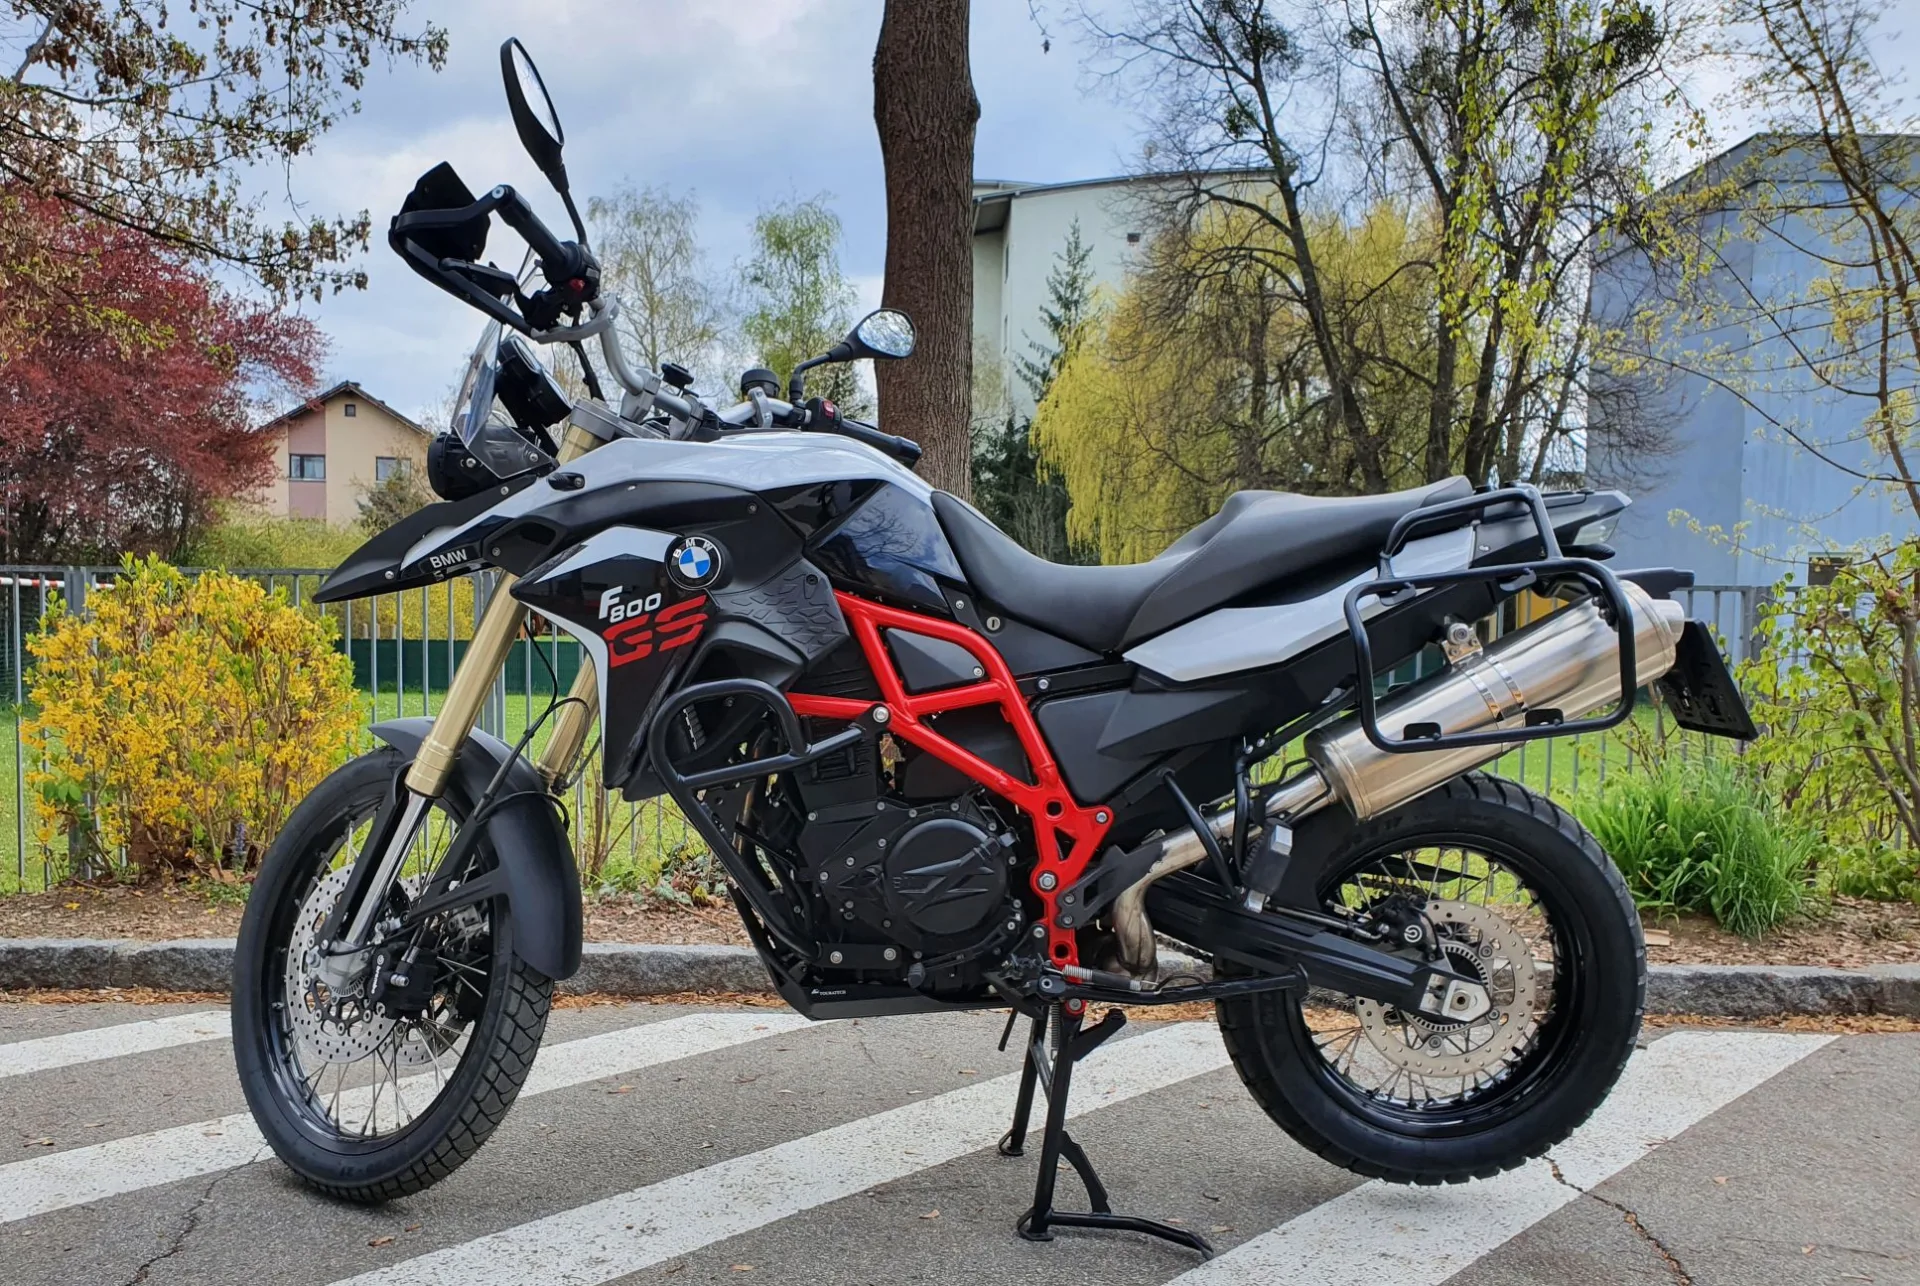
Installation report by Simon
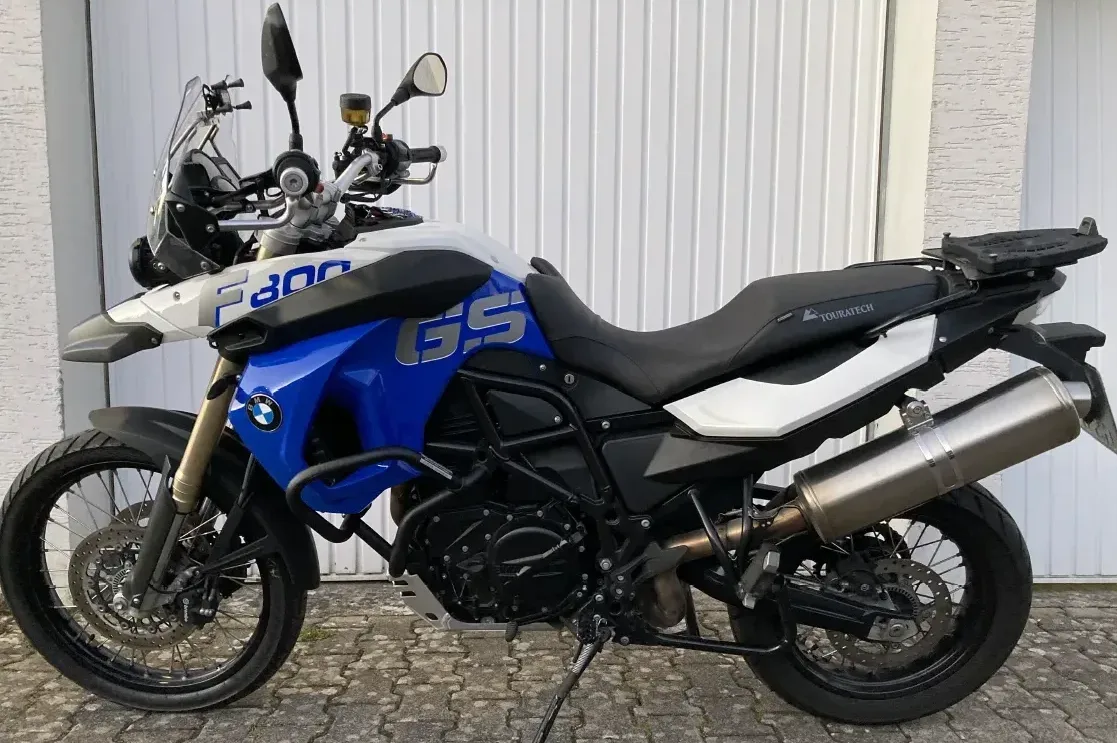
BMW F 800 GS – year of manufacture 2015
This is how Simon solved the installation – unfortunately we cannot guarantee that it works correctly, as we were not able to check the installation ourselves.

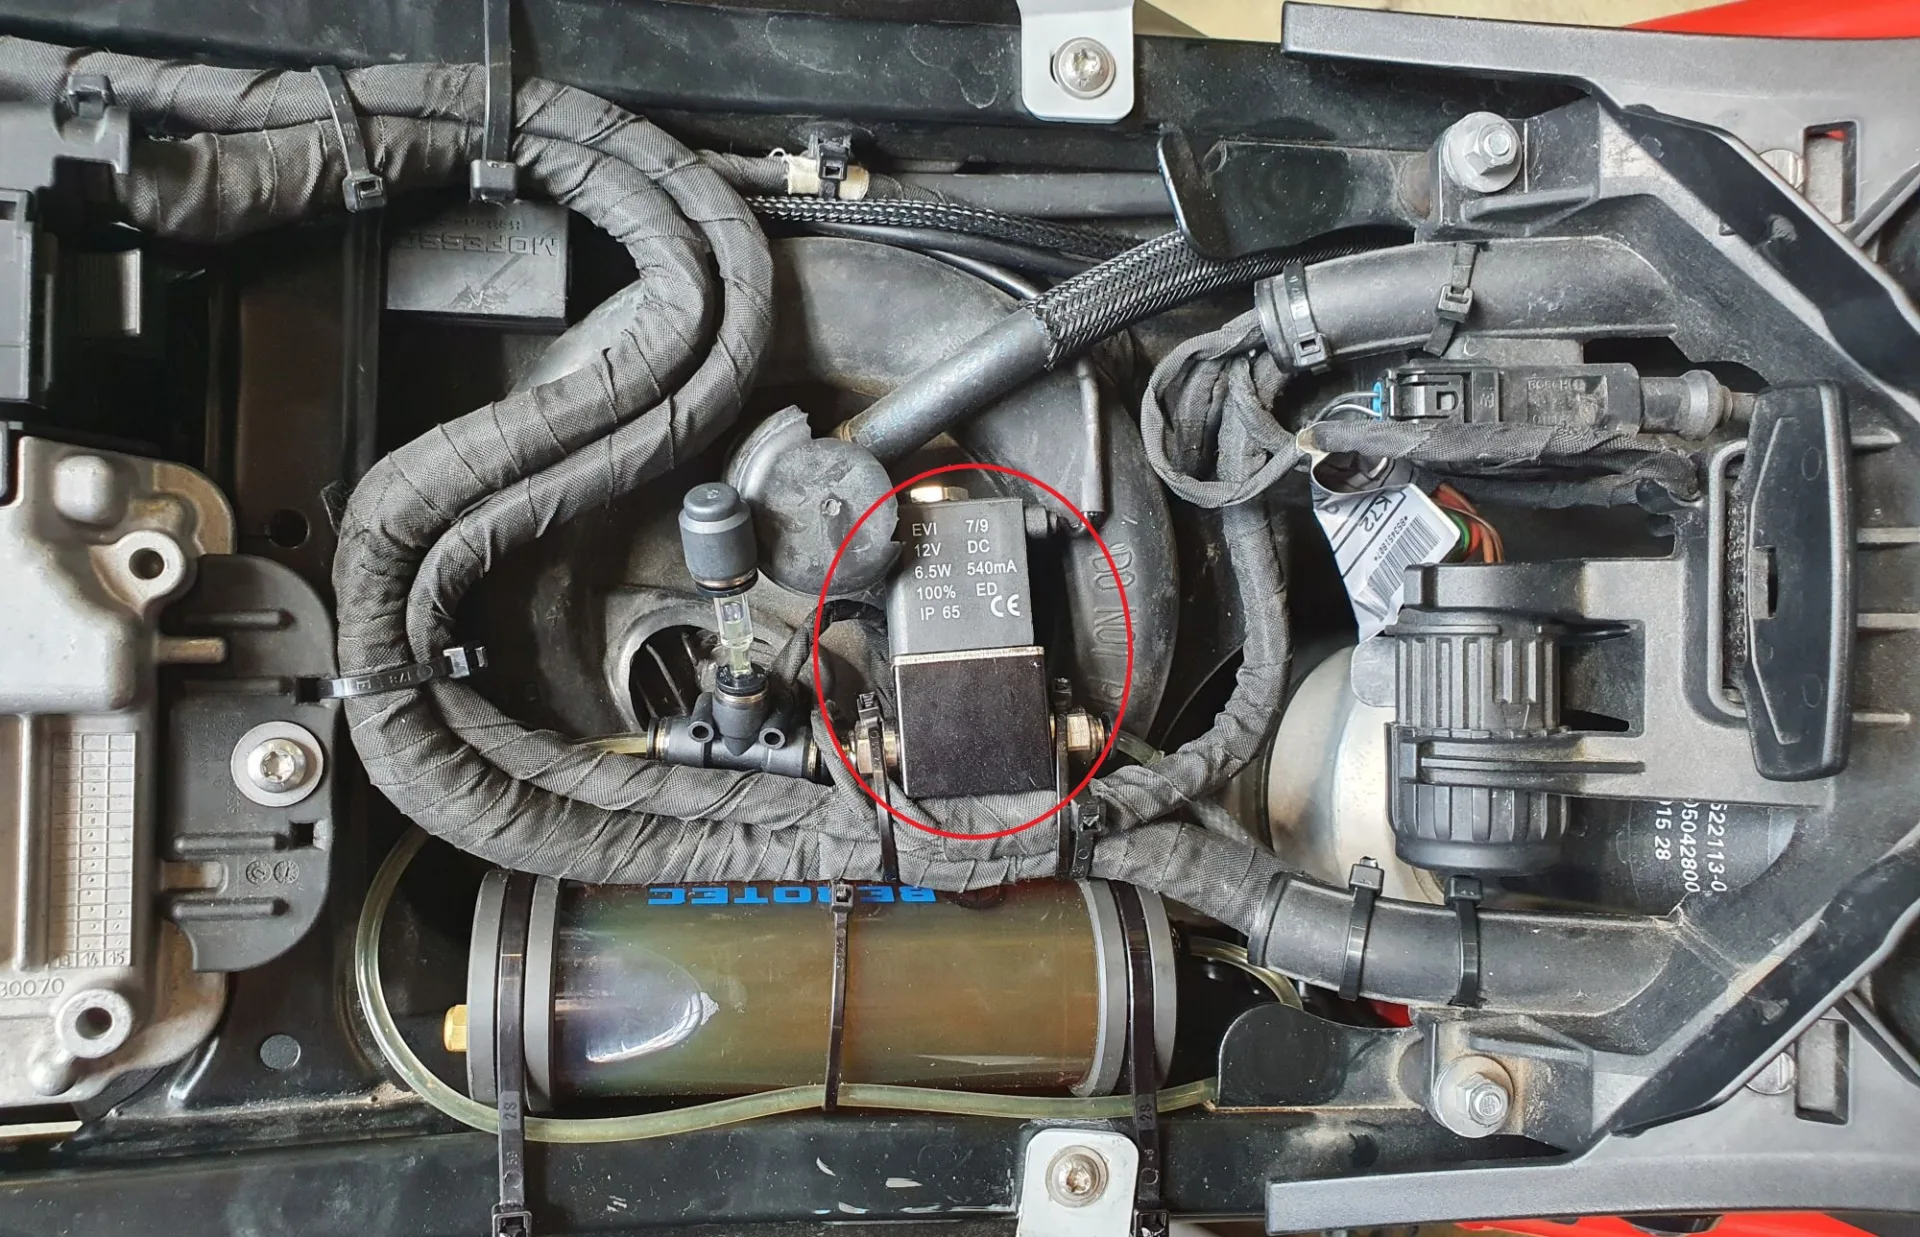
Oil reservoir 120 ml
Secured to the frame under the seat with cable ties. The position is only slightly inclined; an external reservoir vent would certainly not hurt.

Metering valve
The metering valve also sits under the seat, together with the T-piece for refilling. The hose to the nozzle is protected with a braided sleeve.
Nozzle
At the rear sprocket, outer side, hose routed on the inside of the swingarm and protected with a braided sleeve. Take care when using the supplied hose brackets: they have a very tight fit and a sheathed hose no longer goes in. In my case I made cut-outs in the fixings.

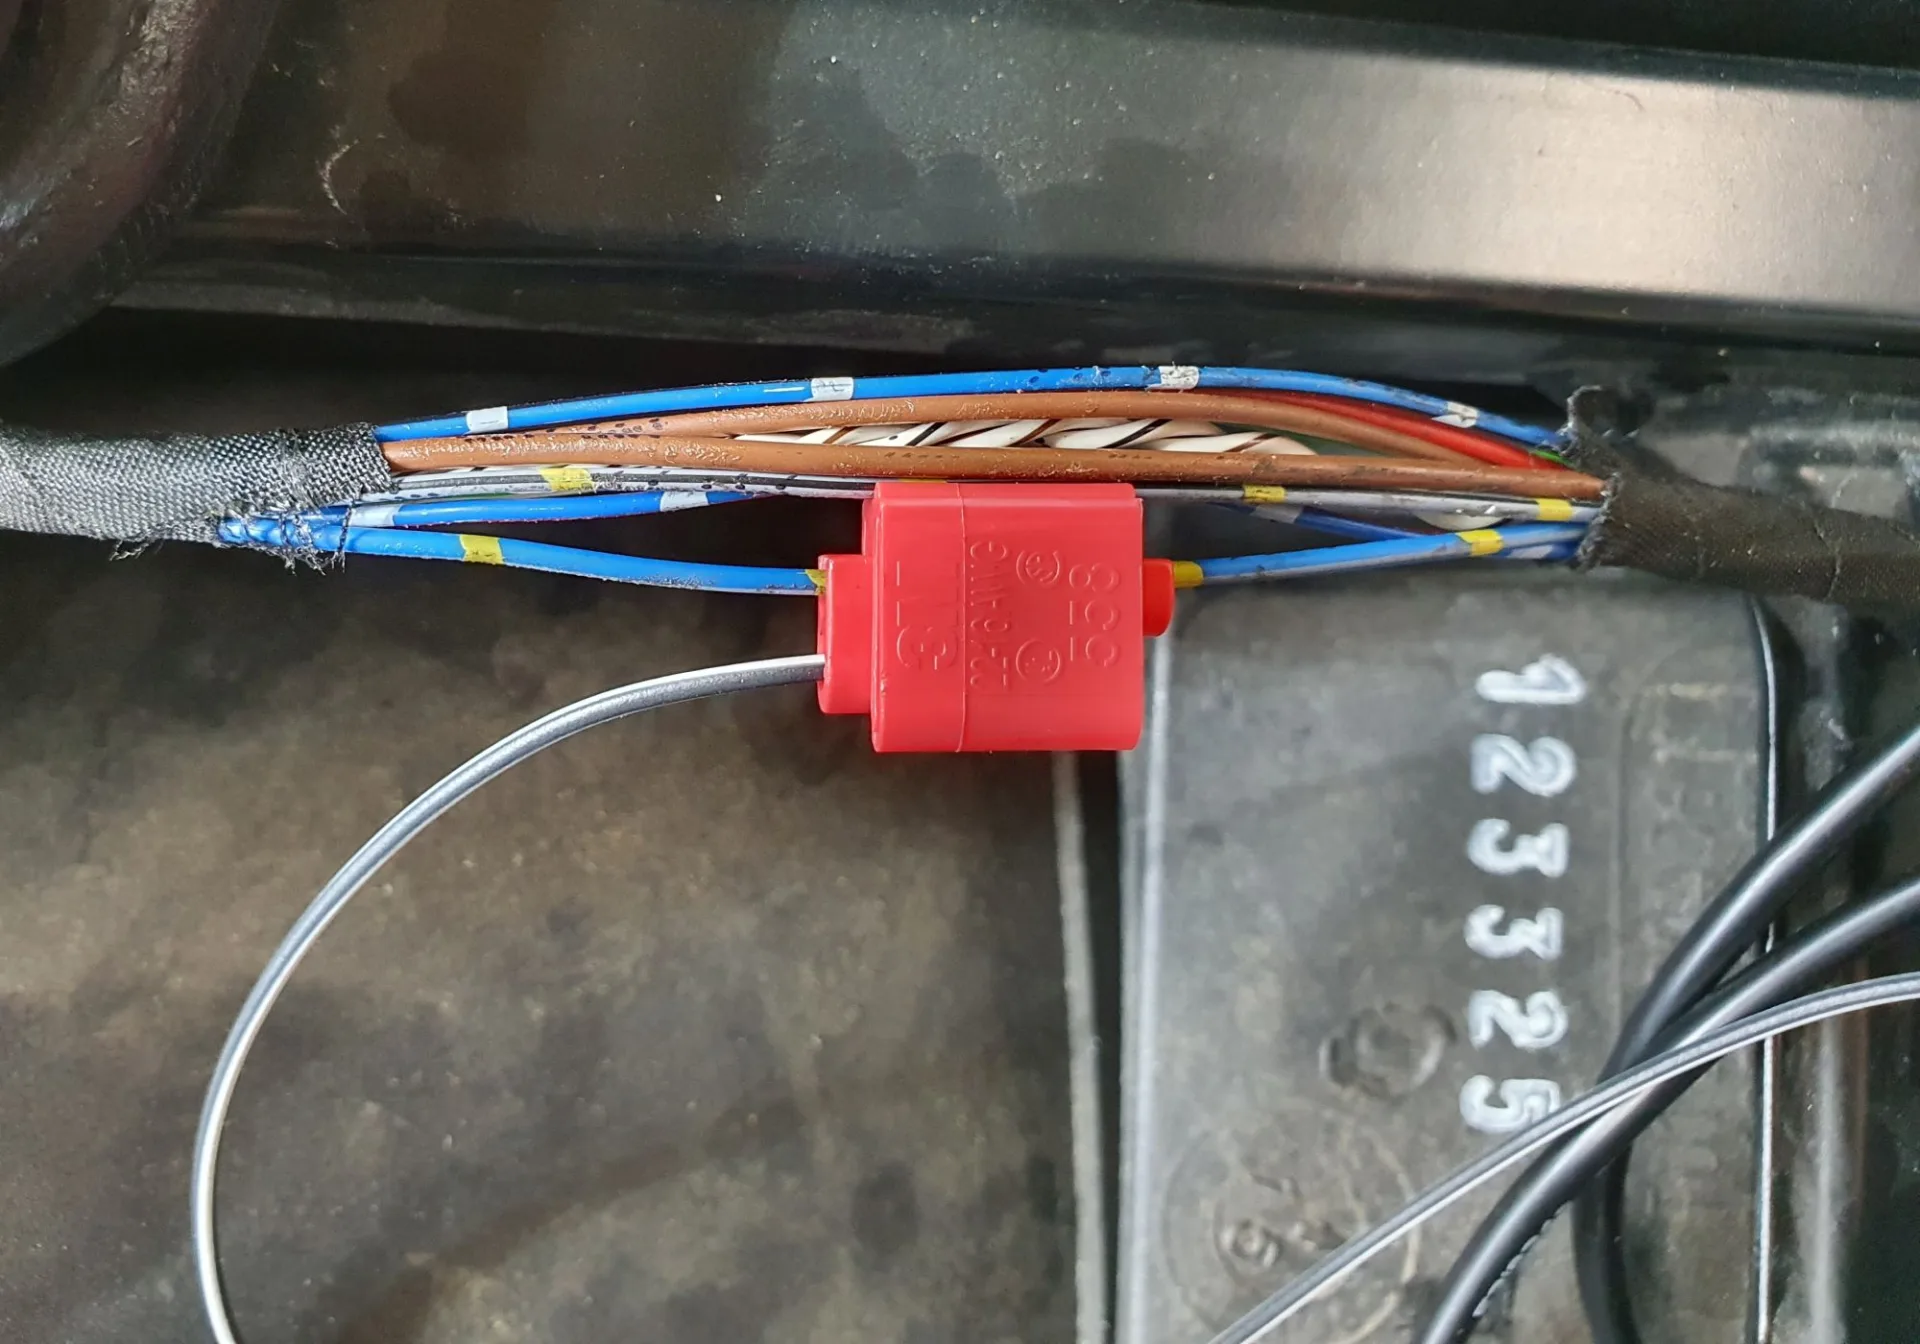
Switched 12 V supply
On the wiring harness next to the ECU, the fabric tape was removed and the switched positive tapped from the licence plate light wire (blue with yellow stripes). Everything was then protected again with fabric tape and secured to the frame with a cable tie.
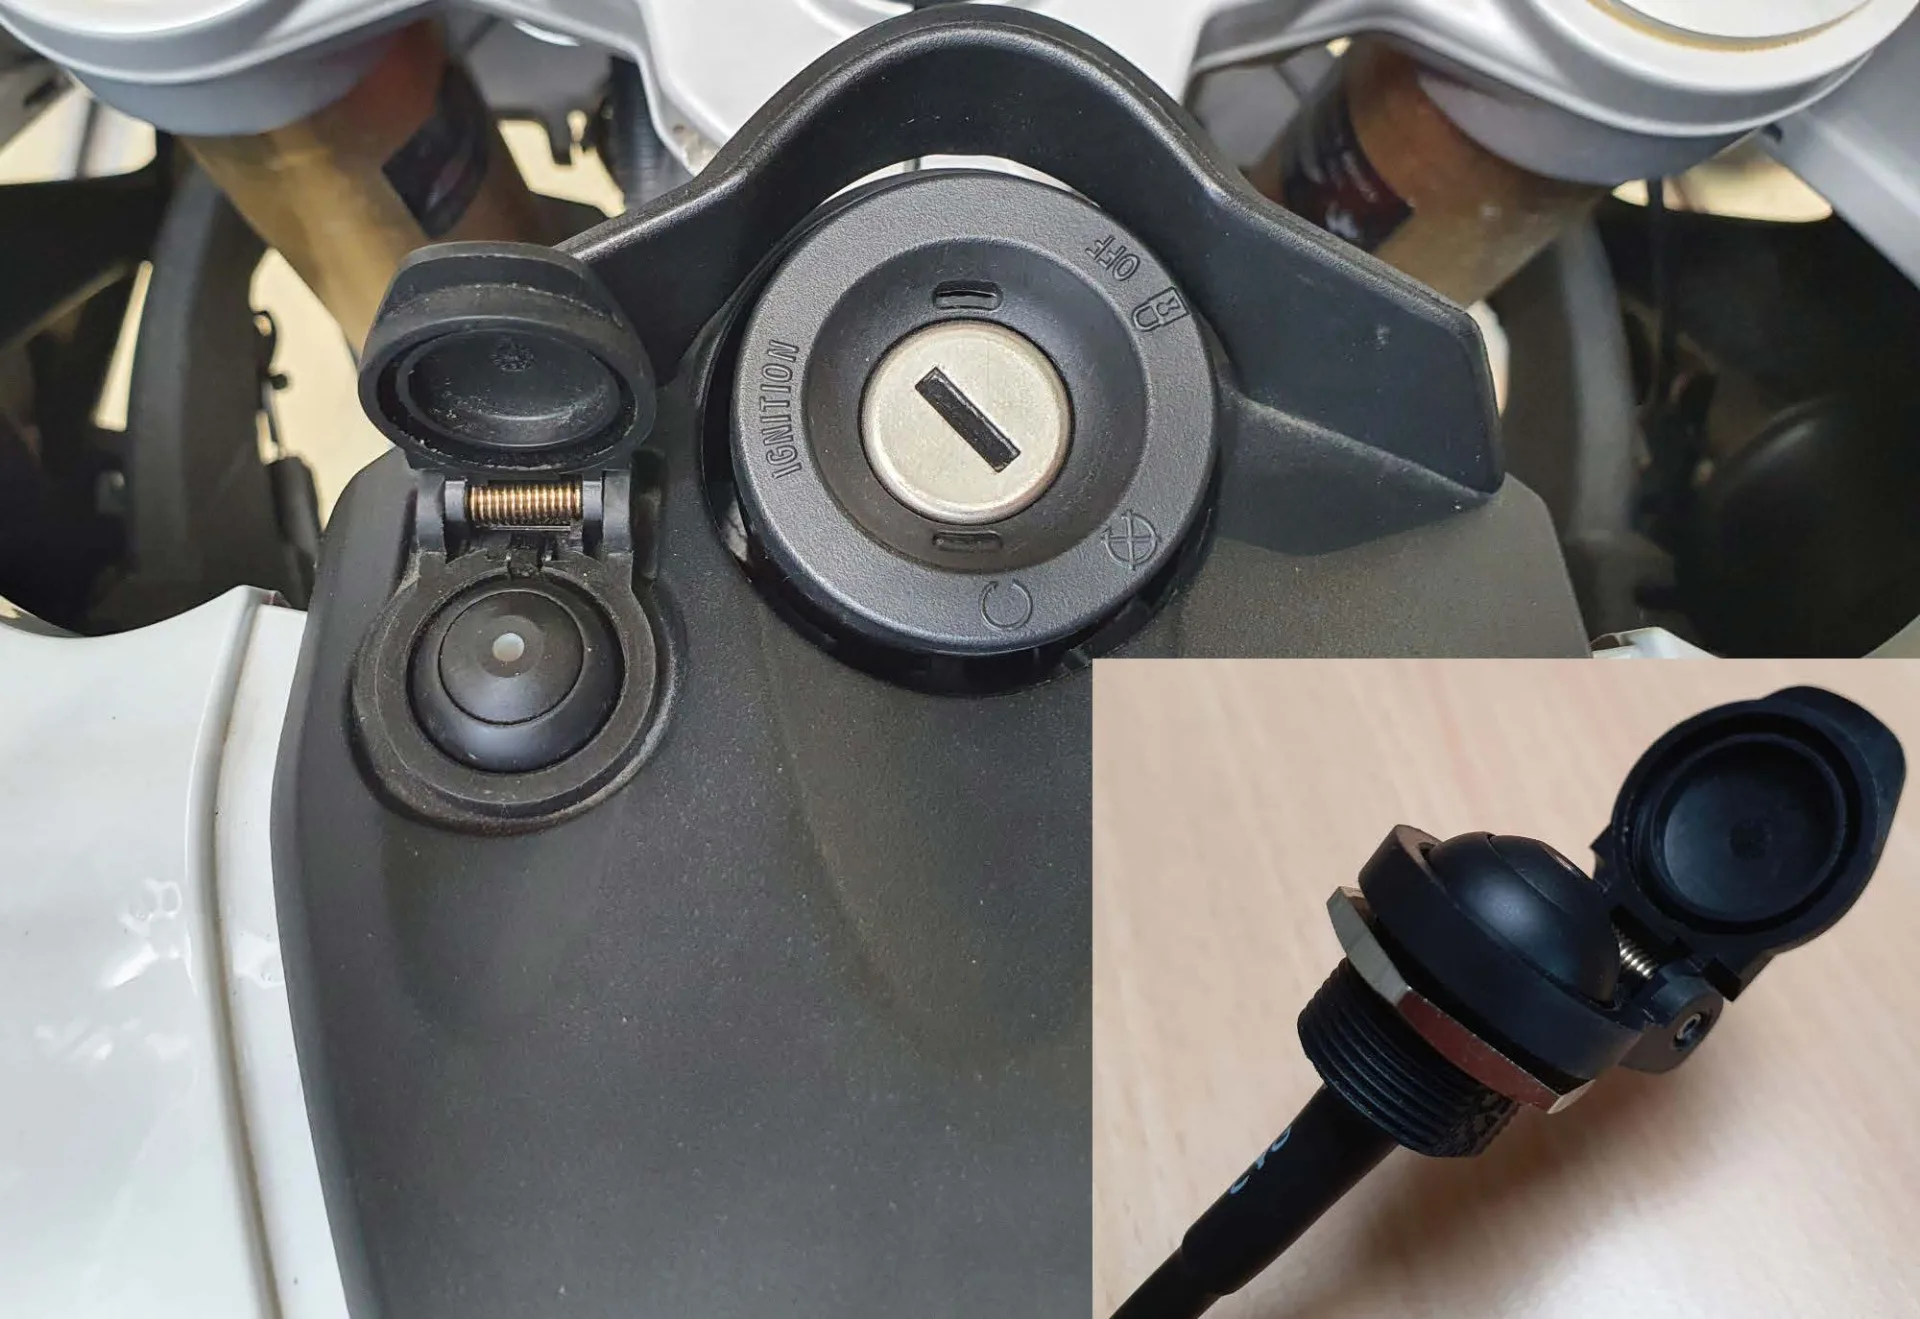
Rain switch
The original DIN socket next to the ignition lock was modified so that the rain switch can easily be housed in it. Simply cut the socket off after the mounting thread and open up the aperture on the top a little, so that the switch sits perfectly and the flap closes.
Control unit
The control unit sits under the cross brace at the top right of the picture. That gives easy access and usable temperature readings. The cables for the power supply were modified a little so that things stay tidy around the battery. The rest was stowed under the ECU with cable ties.

Installation report by Franjo
BMW F 800 GS – year of manufacture 2012
This is how Franjo solved the installation – unfortunately we cannot guarantee that it works correctly, as we were not able to check the installation ourselves.
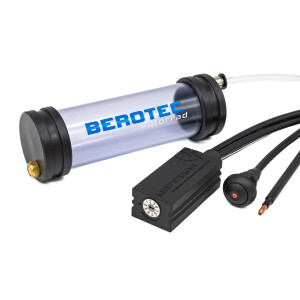


Oil reservoir 60 ml
At the rear, on the right in the direction of travel, under the seat, with the variable reservoir vent.

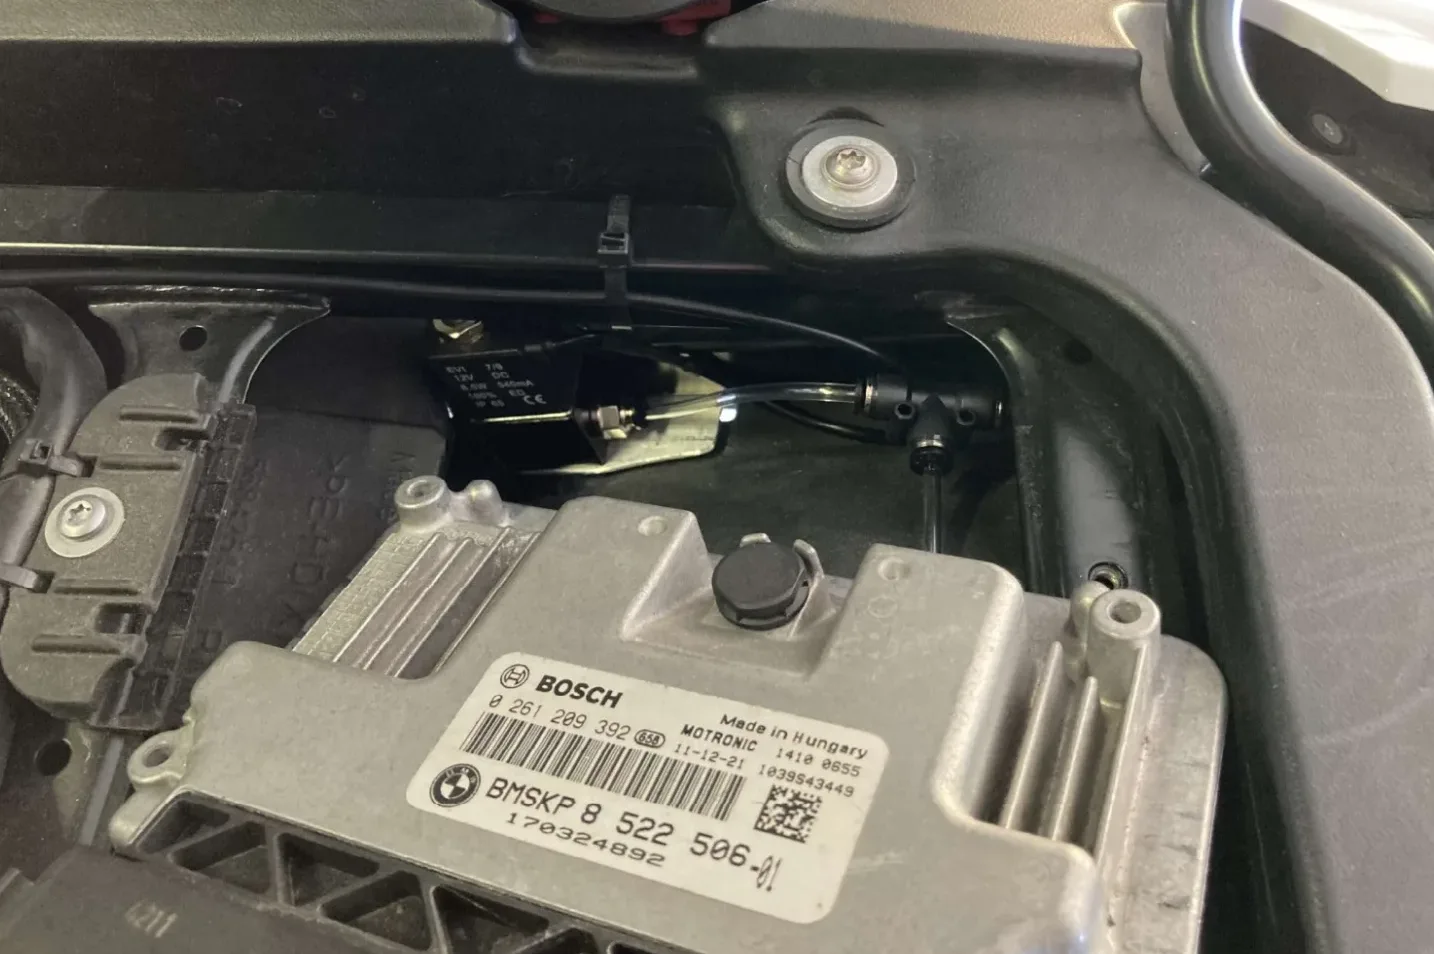
Metering valve
On the right under the ECU, in line with the oil reservoir.
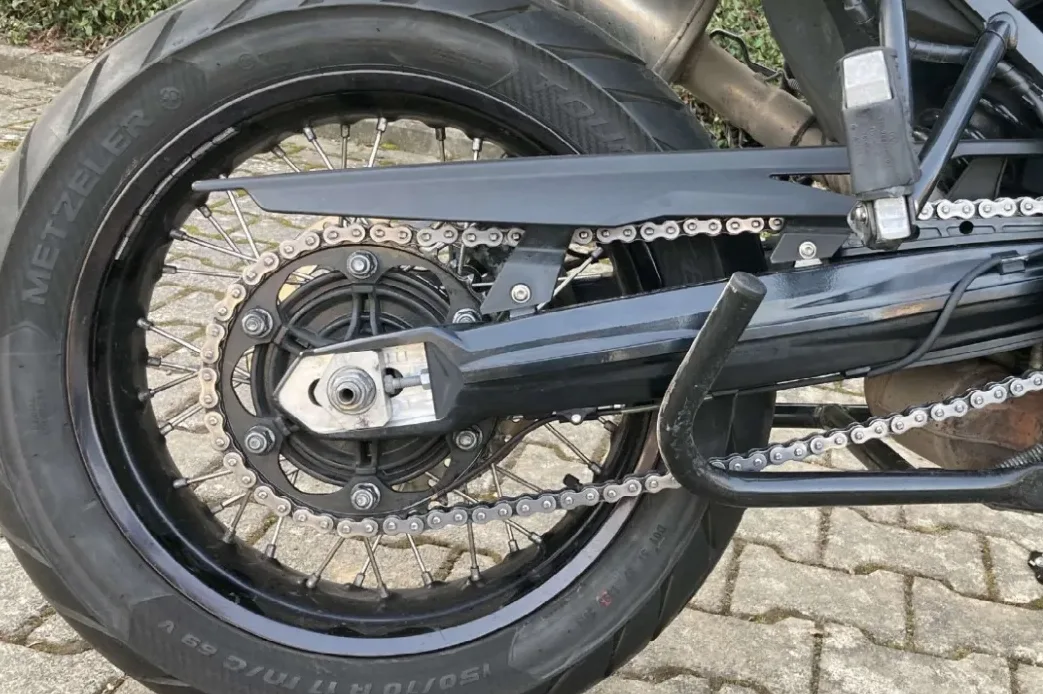
Nozzle
At the rear sprocket, outer side, hose routed under the swingarm and sideways at the end. Partly run inside the heat protection sleeve for appearance.
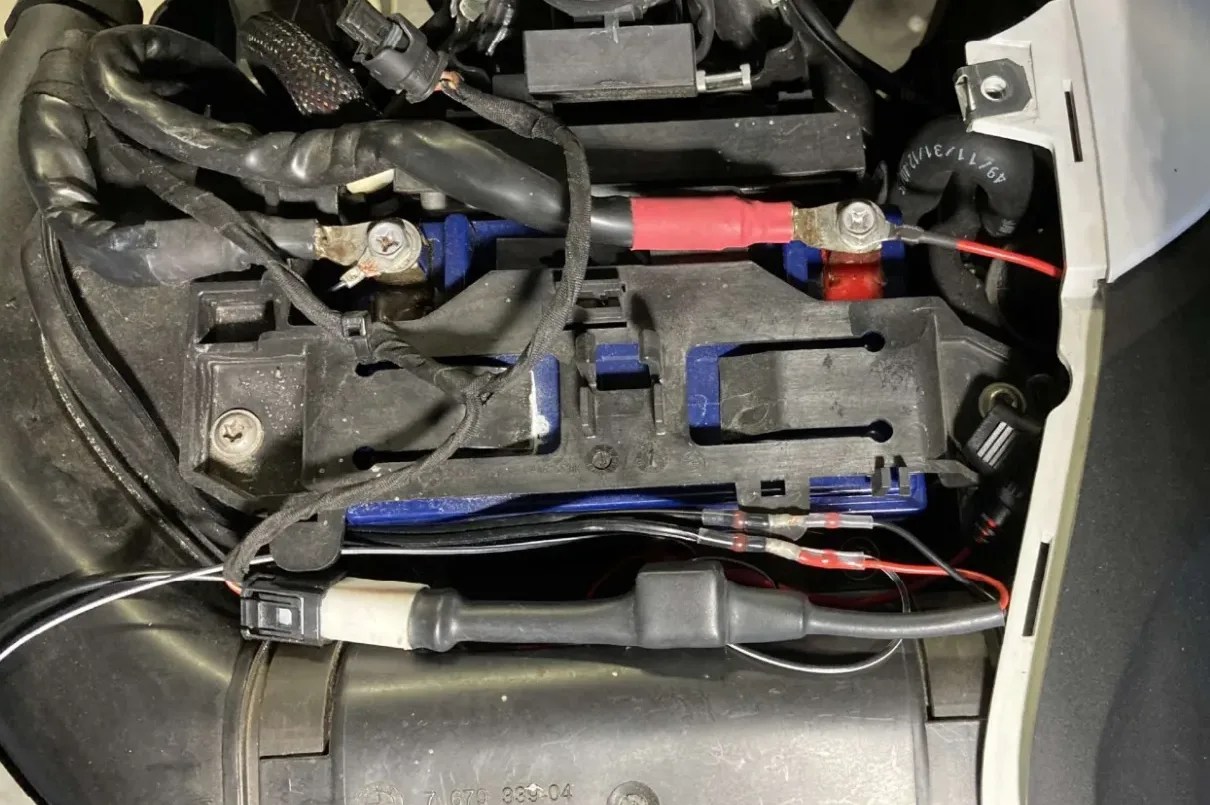
Switched 12 V supply
Connected to the BMW navigation interface.
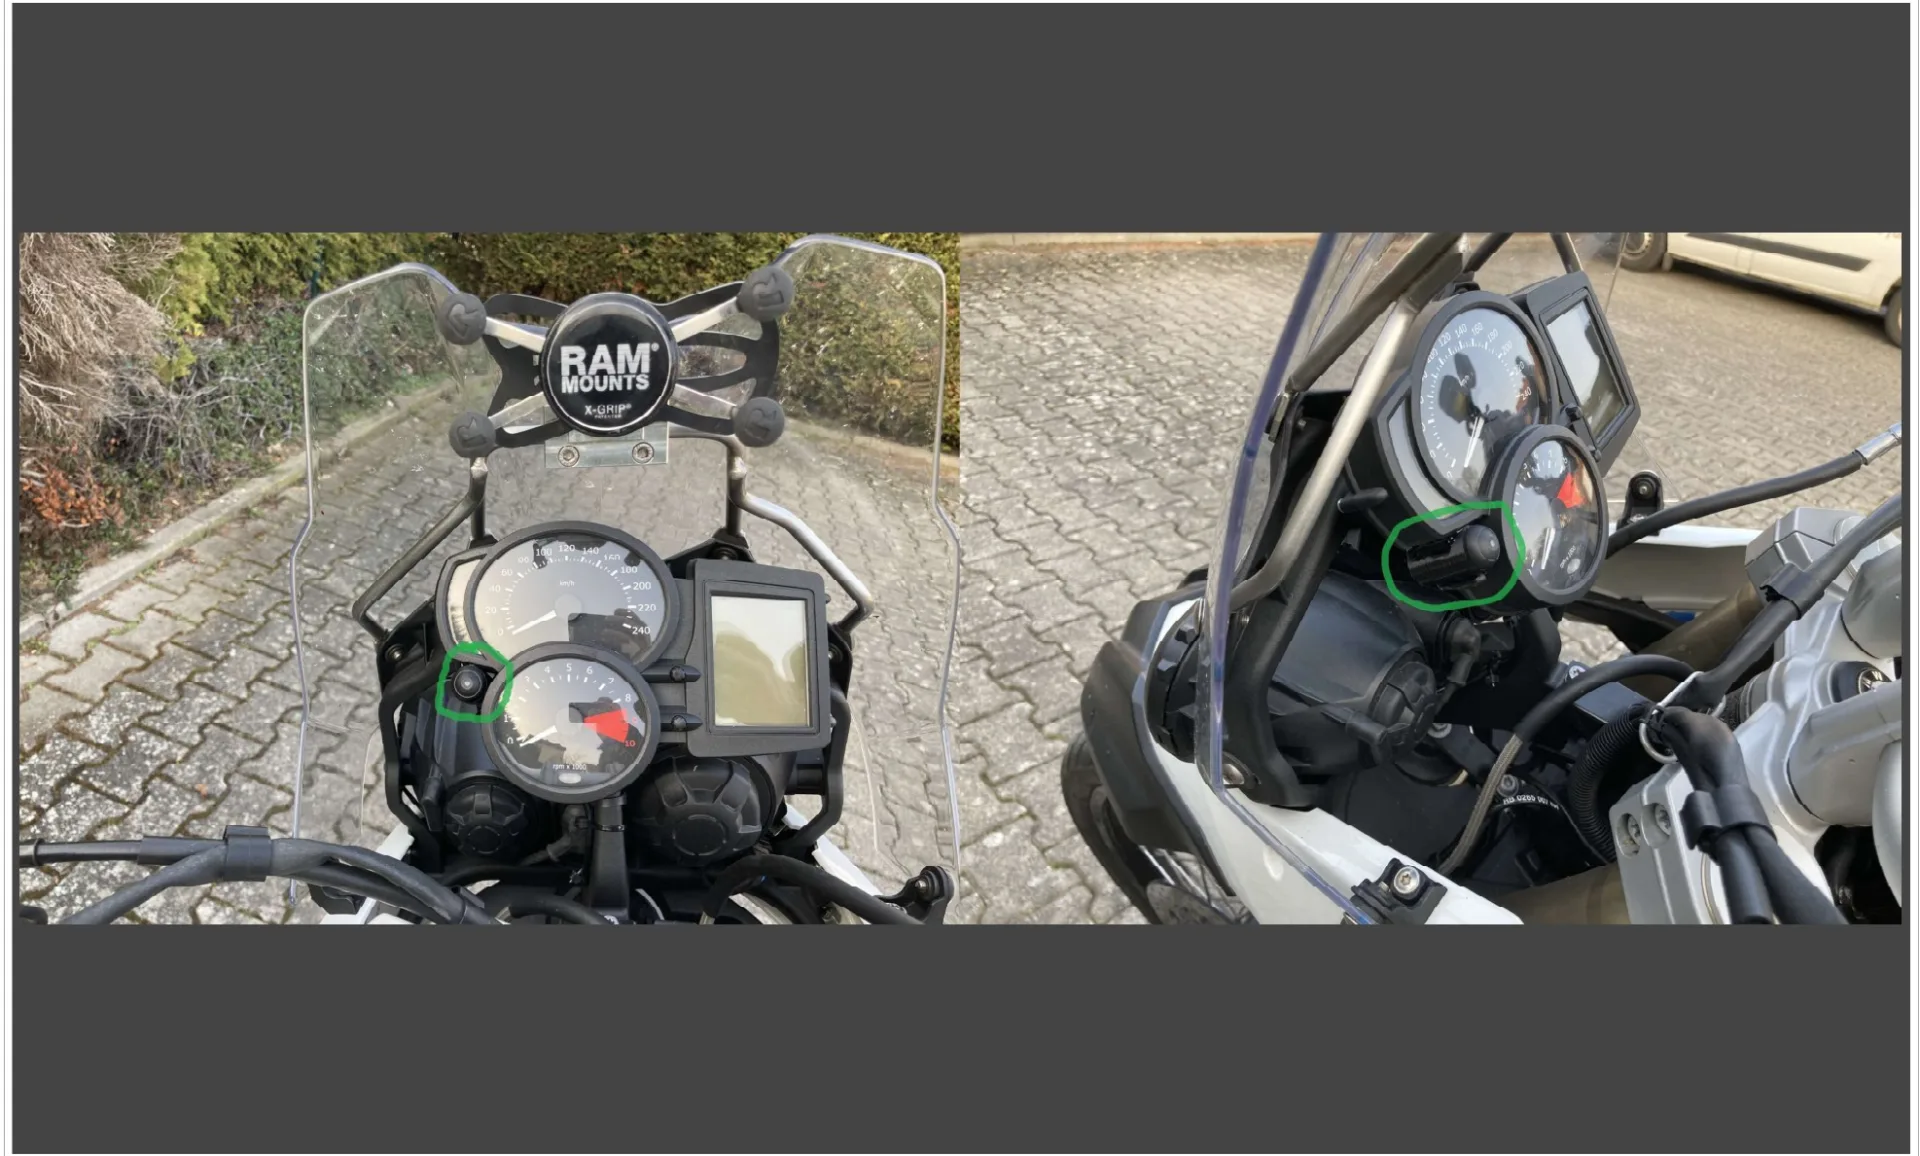
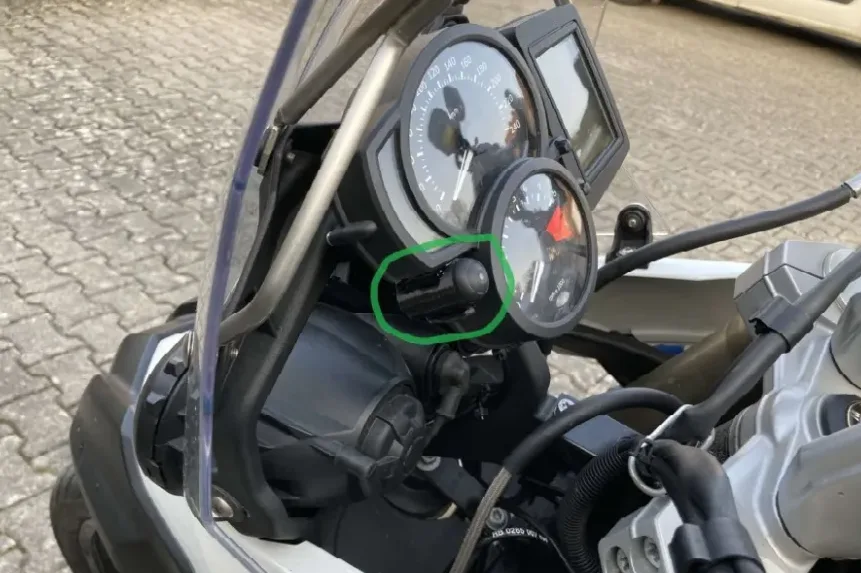
Rain switch
In a 3D-printed tube in the instrument panel.
Control unit
Under the seat.


Installation report by Timoto
BMW F 800 GS – year of manufacture 2012
This is how Timoto solved the installation – unfortunately we cannot guarantee that it works correctly, as we were not able to check the installation ourselves.
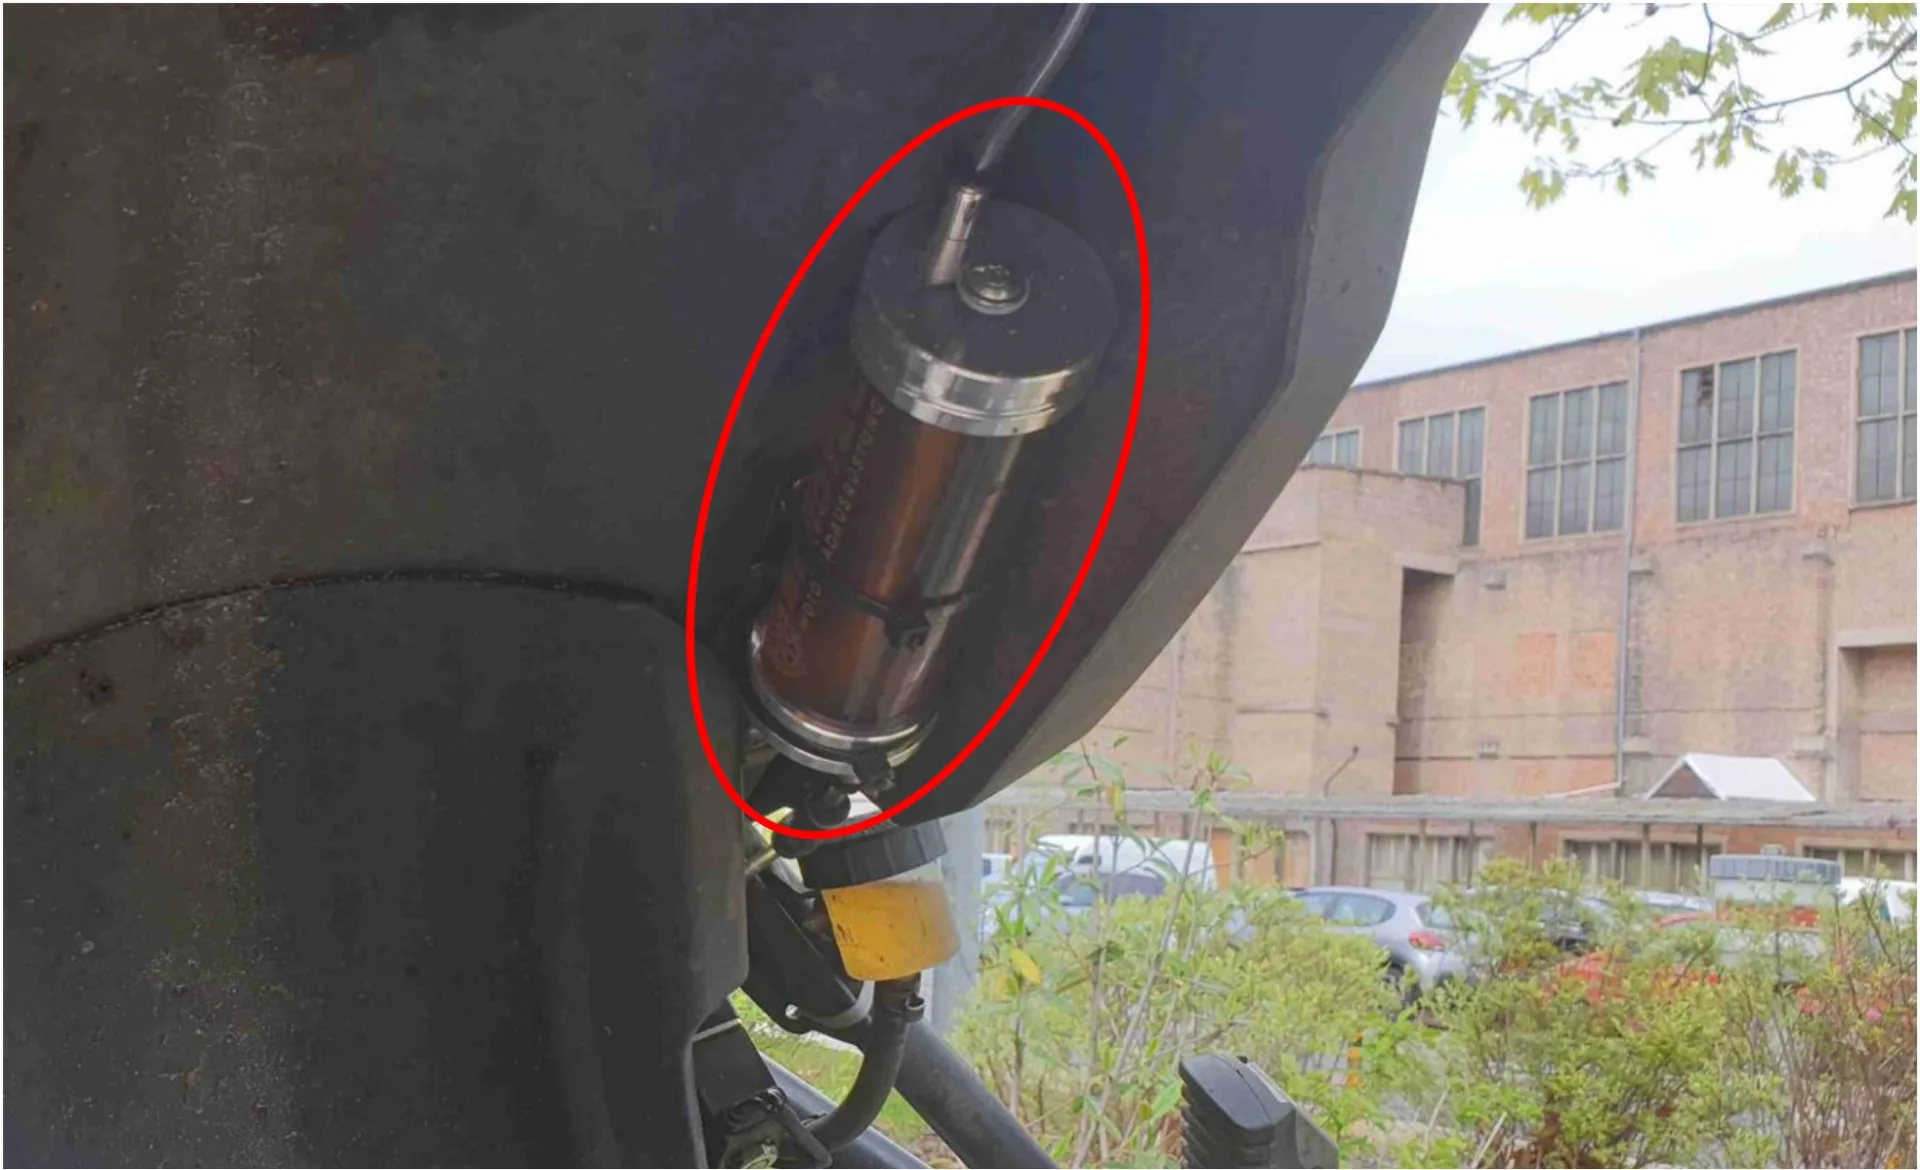
Oil reservoir 120 ml
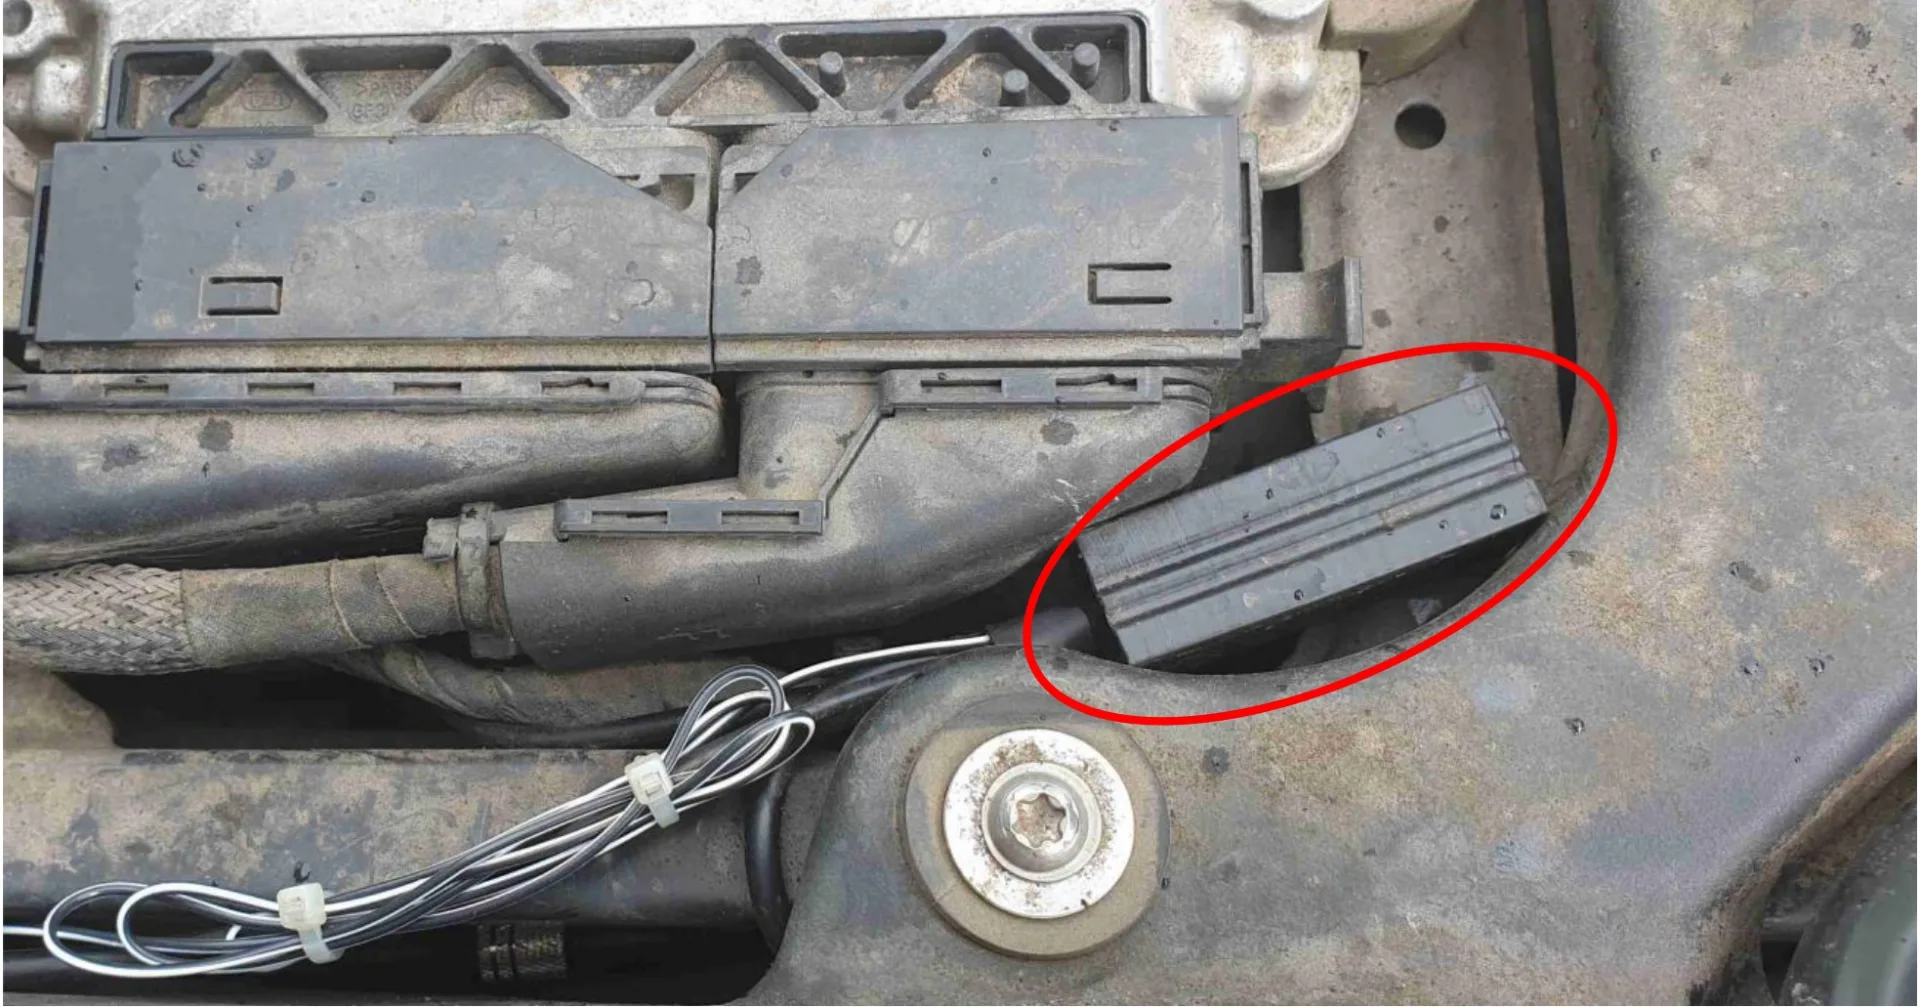
In the rear wheel arch on the right; it can be attached to the frame there. A vent extension is necessary. I had already used this position for more than 80,000 km for the cheap plastic oil reservoir of my Pro-Oiler on the KTM 990, and it worked without any problems despite rough treatment. Stone chips are not really to be expected in this position – mud and dust yes, but the pressure washer takes care of that.
Metering valve
On the frame, right-hand side. Below the oil reservoir for gravity feed, with short runs.

Nozzle
At the rear sprocket – oil hose routed along the swingarm, with hose brackets and an adhesive bracket for the nozzle.

Switched 12 V supply
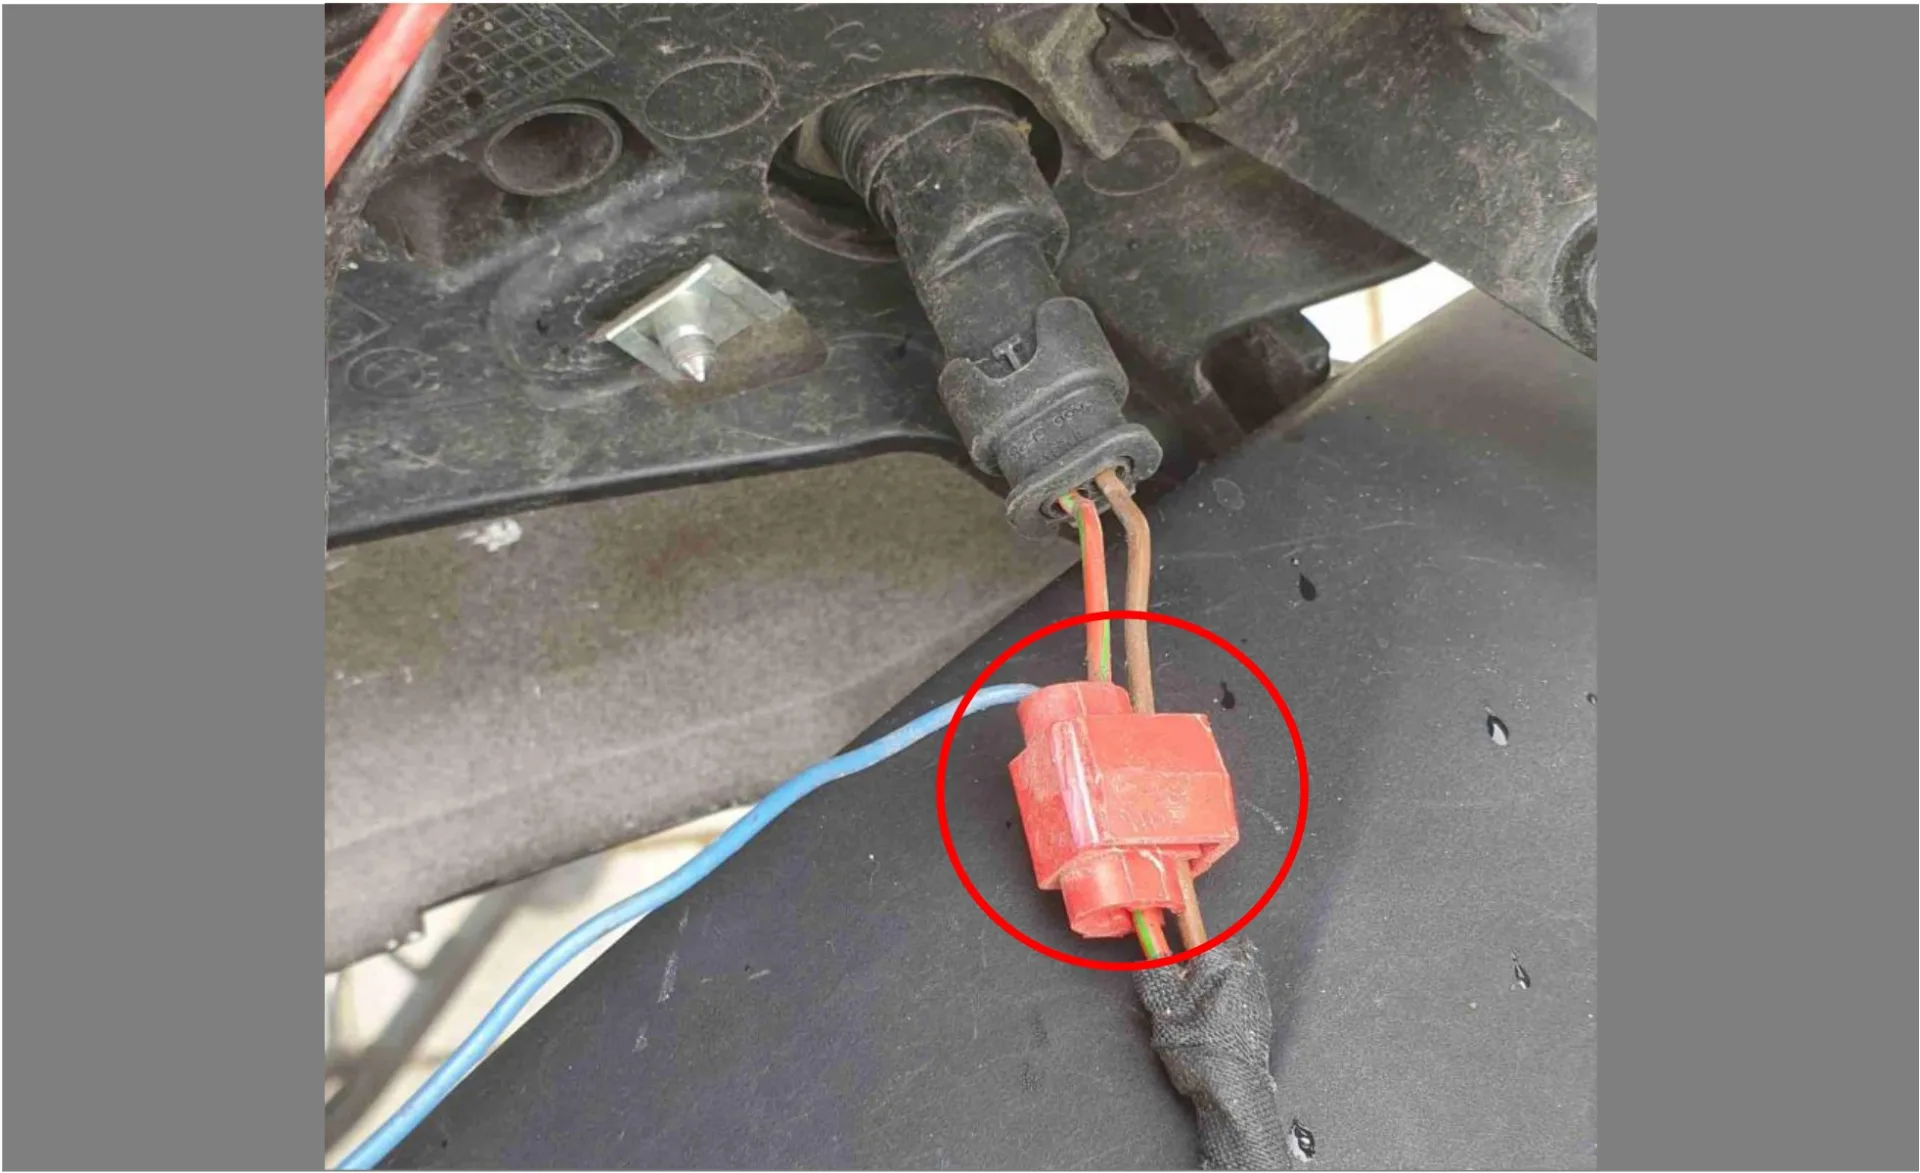
With a branch connector at the original onboard socket (blue wire). This still has power for about 30 seconds after the ignition is switched off, so it can happen that the valve switches once more after the ignition is off. It does not bother me, but anyone who is bothered by it takes the ignition-switched positive from the licence plate light. The permanent positive comes from the battery; in my case it is distributed, including ground, via five-way lever connectors to the second onboard socket, the Garmin power supply and now the BEROTEC.
Rain switch
On the handlebar, right, directly under the mounting bolt of the brake fluid reservoir.

Control unit
Under the seat.
Installation report by Carsten
BMW F 800 GS – year of manufacture 2011
This is how Carsten solved the installation – unfortunately we cannot guarantee that it works correctly, as we were not able to check the installation ourselves.
Oil reservoir 60 ml
On the right-hand side of the frame.

Metering valve
Also on the right-hand side of the frame.
Nozzle
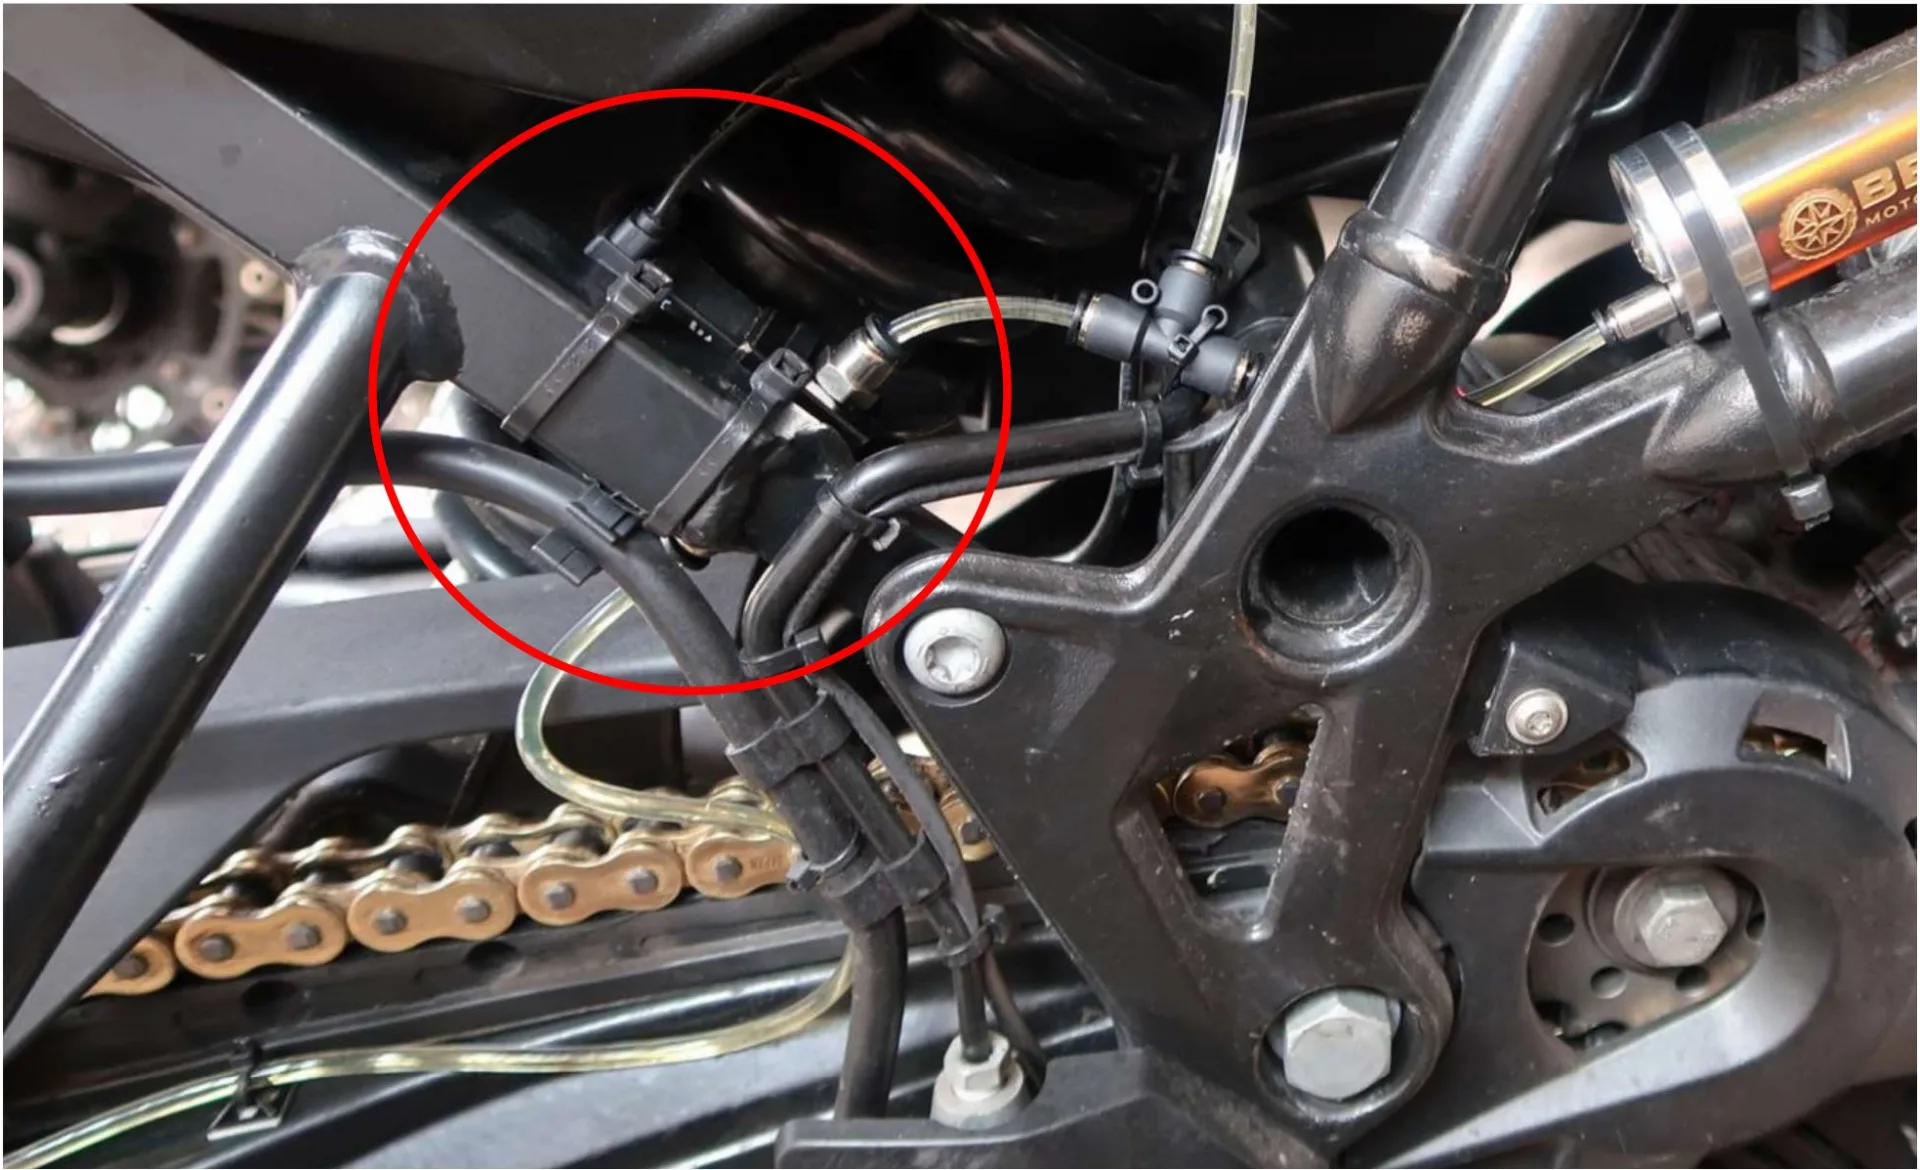
At the rear sprocket, outer side – aluminium bracket bolted to the back of the chain guard.

Switched 12 V supply
Tapped on the wire of the onboard socket under the dummy tank, right next to the battery. It is switched with the ignition as well.

Rain switch
On the right-hand side of the handlebar.

Control unit
Under the seat.

Have you fitted a MOFESSOR? Contribute your own installation report – directly here, with your photos.


